
Useful details to include first
You do not have to include everything. Start with details people are likely to need on the day, such as the meeting point and booking references.
- Trip basics: trip name, dates, destination, and participants
- Meeting up: date, time, place, and how to get in touch if someone is late
- Transport: flight or train, departure and arrival, and boarding location
- Accommodation: property name, address, check-in time, and booking reference
- Plan: sightseeing, meals, shopping, and free time
- Packing: ID, medication, chargers, and items specific to the trip
- Emergencies: contact details for properties and transport providers
Start with these six steps
- Enter a trip name and datesChoose a name you will recognize later.
- Add your meeting and return timesKnowing where the trip starts and ends makes it easier to fill in your plans.
- Add booked transport and accommodationBegin with the plans that are harder to change.
- Add ideas for sightseeing and mealsIf you have not decided yet, a flexible time such as “Afternoon” is enough.
- Add booking details and packing itemsKeep the references and files you will need close to the relevant plan.
- Leave some breathing room and shareAllow time for travel and breaks, then share your itinerary in an easy-to-read format.
Use trip days and local dates for international travel
In international travel mode, set a departure date and number of trip days instead of an end date. Your itinerary is organized by Day 1, Day 2, and so on, with local dates and time zones for each city.
Transport
Record separate trip days, local dates and times, and time zones for departure and arrival to make flights that cross dates easier to follow.
Accommodation
Set check-in and check-out by trip day so your accommodation also appears on the days in between.
You can optionally choose from five card colors to distinguish plans. Your itinerary works just as well without color coding.
It is fine to leave times flexible
Not every plan needs an exact time. Use precise times for fixed bookings, and choose all day, early morning, morning, around noon, afternoon, evening, night, or time undecided for flexible plans.
Plans that need an exact time
Plans where being late matters, such as train or flight departures, restaurant reservations, and check-in deadlines.
Plans that can stay flexible
Sightseeing that depends on the weather, a café you have not booked, or free time to decide on with your companions later.
If you are unsure, check whether your booking confirmation specifies a time. You can always change a flexible time to an exact one once your plan is settled.
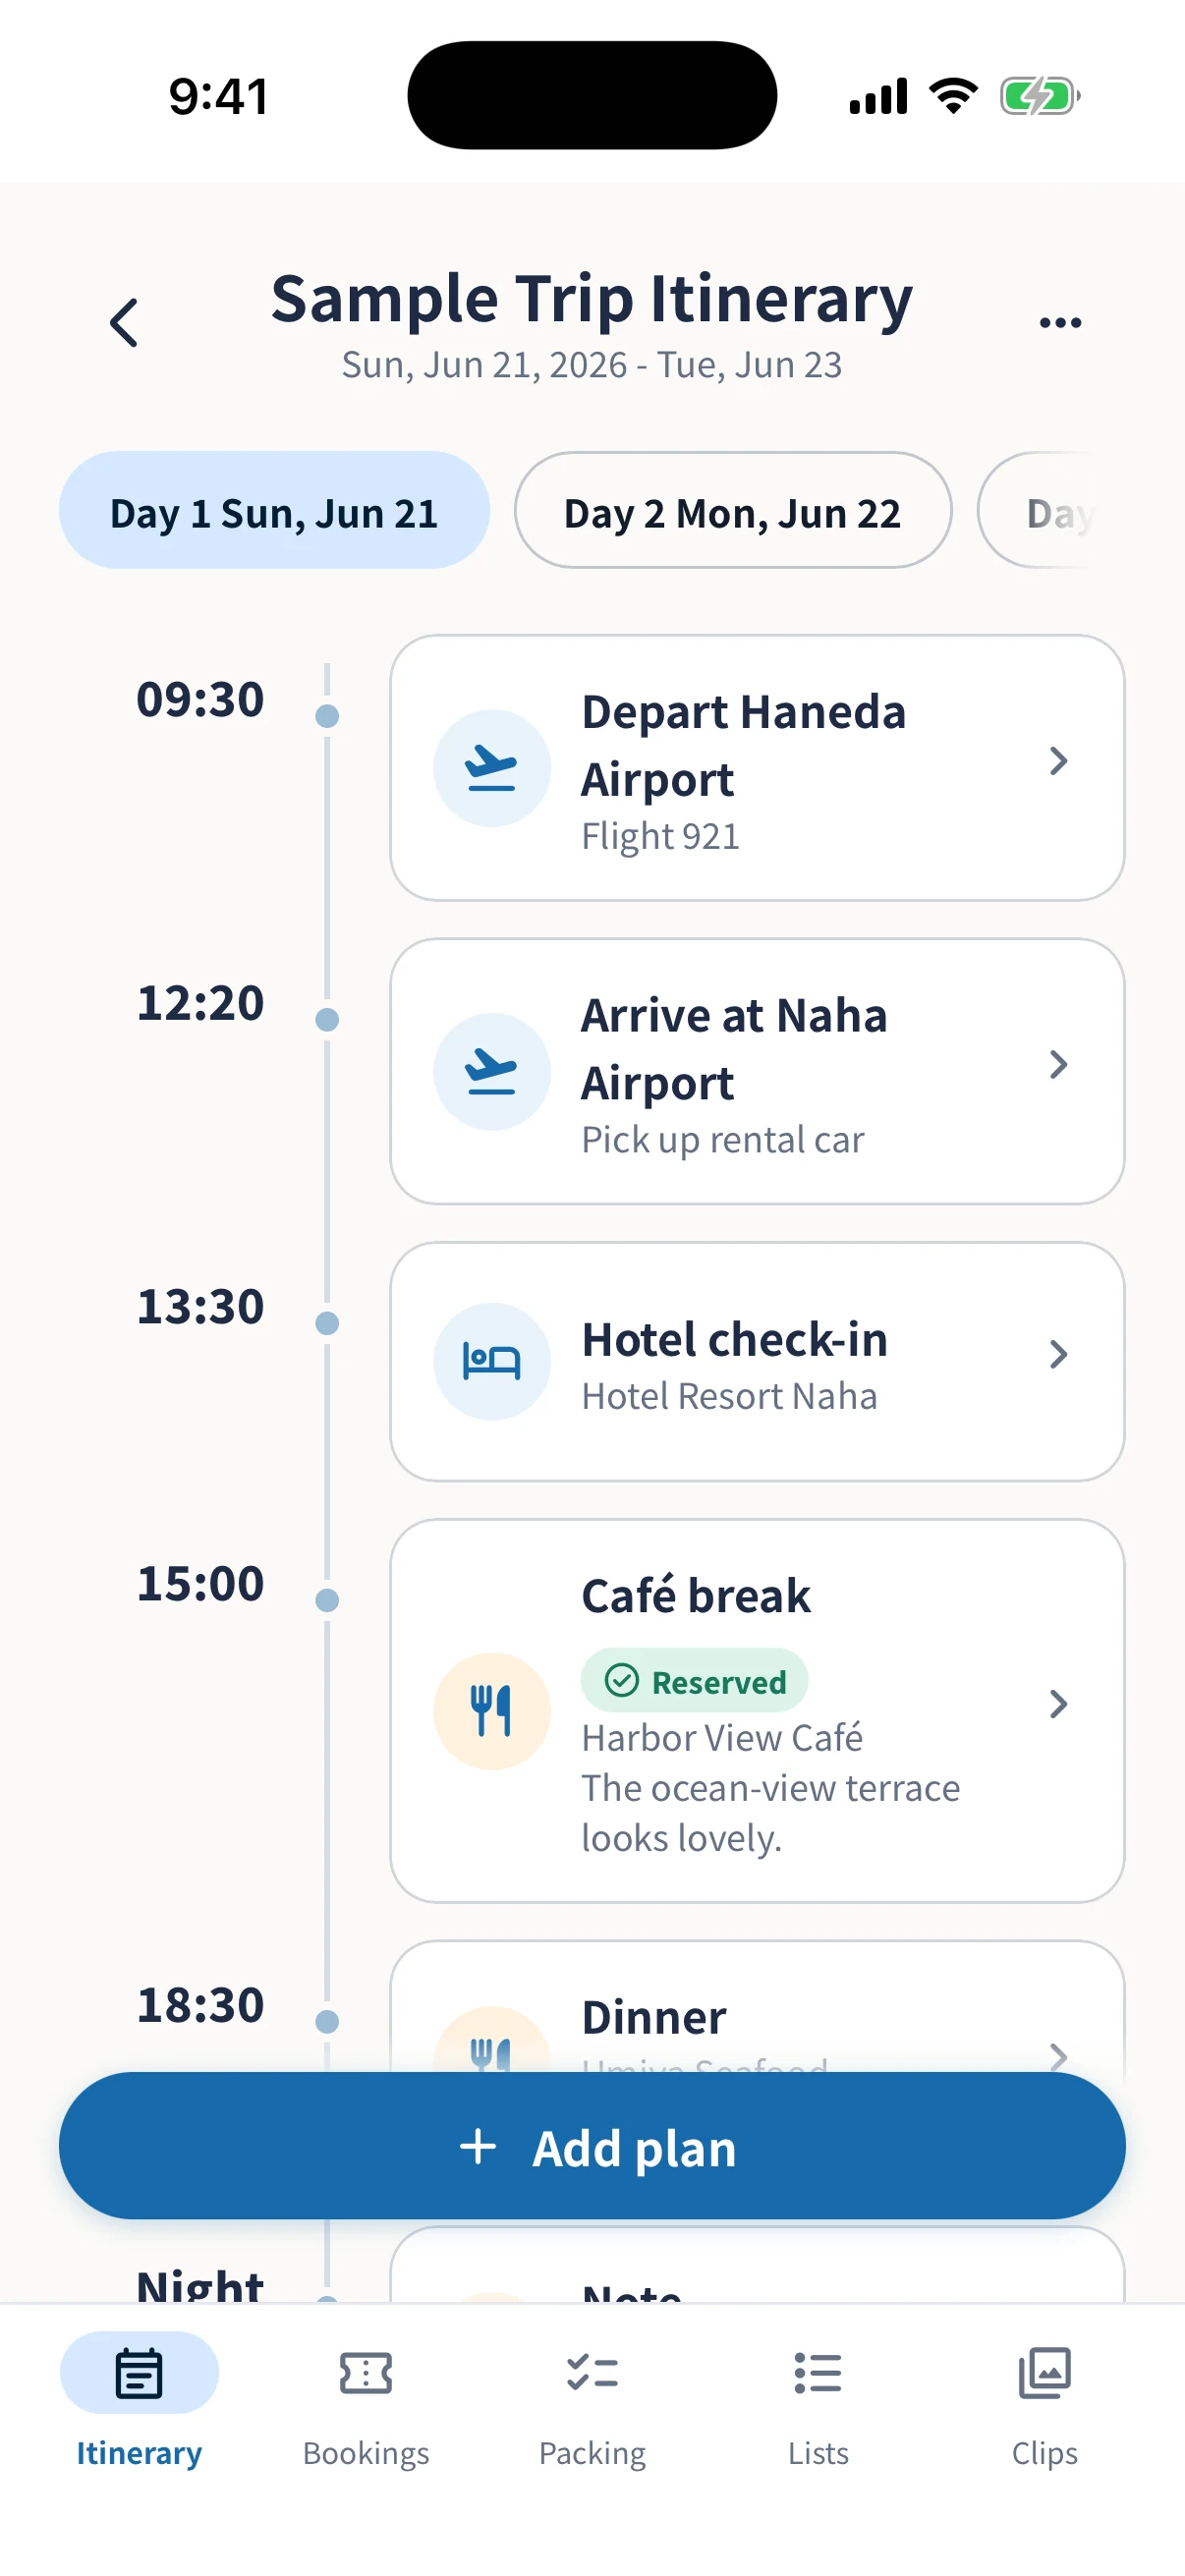
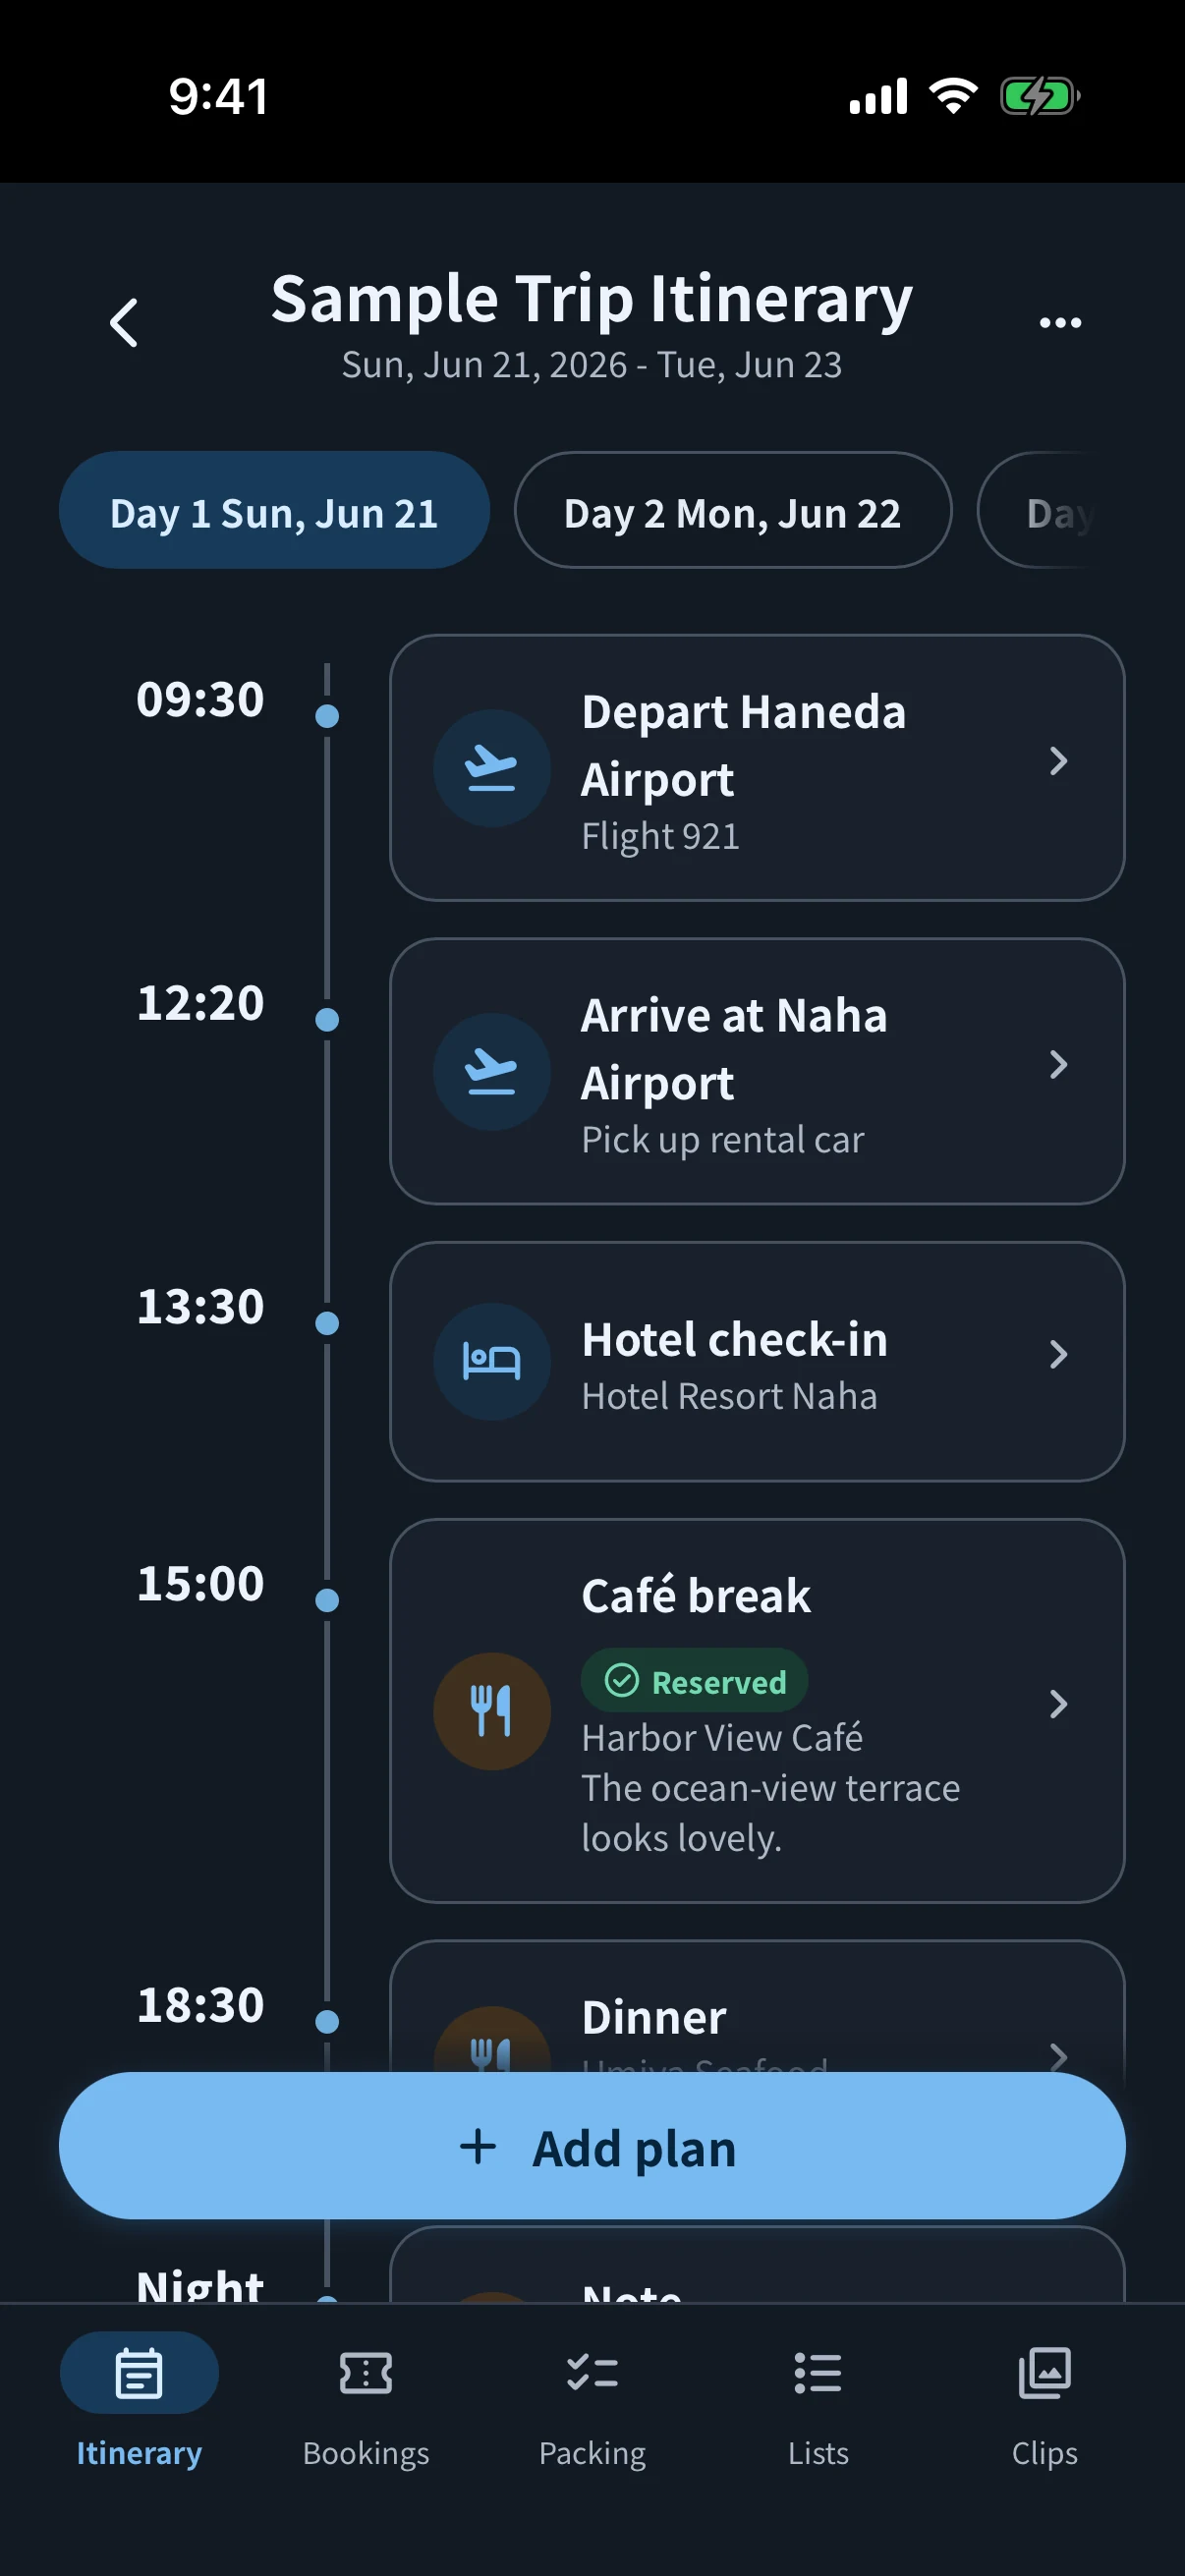
Group or copy plans as your itinerary grows
Group stops as sub-plans
For example, open a plan called “Old town walk” and use “Add sub-plan” to add “Market” and “Café.” This keeps the overall activity and the places within it connected.
Copy similar plans, then adjust the details
For repeating activities such as breakfast, use the plan’s copy action and edit the new plan’s date, time, place, and booking information. Attachments are not copied, so add any confirmation files needed for the new plan.
Example: a two-day, one-night trip
Day 1
- 08:30
- Meet at Tokyo Station
Yaesu South Exit. Message the group if you are running late. - 09:00
- Shinkansen departure
Add the train, car, seat, and e-ticket to the booking note. - 13:00
- Lunch
Booking reference, allergy details, and map URL. - 15:00
- Hotel
Drop off bags; check-in is at 17:00.
Day 2
- Morning
- Sightseeing ideas
Choose plan A or B depending on the weather. - 16:00
- Head to the station
Allow 30 minutes to buy souvenirs.
Replace the places and times to suit your trip. Distinguishing ideas from confirmed plans makes later changes easier to follow.
Review together before sharing
- Is the meeting point clear to someone visiting for the first time?
- Is there enough time for travel and transfers?
- Are the booking name, number of people, and dates correct?
- Is it appropriate to share the QR codes and booking references?
- Can everyone open the sharing format you chose?