
USER GUIDE
How to use simrip
Follow the complete flow from creating a trip to organizing plans and bookings, packing, collecting ideas, sharing, collaborating, and preparing for a device change.
01 CREATE A TRIP
Create your first trip without signing up
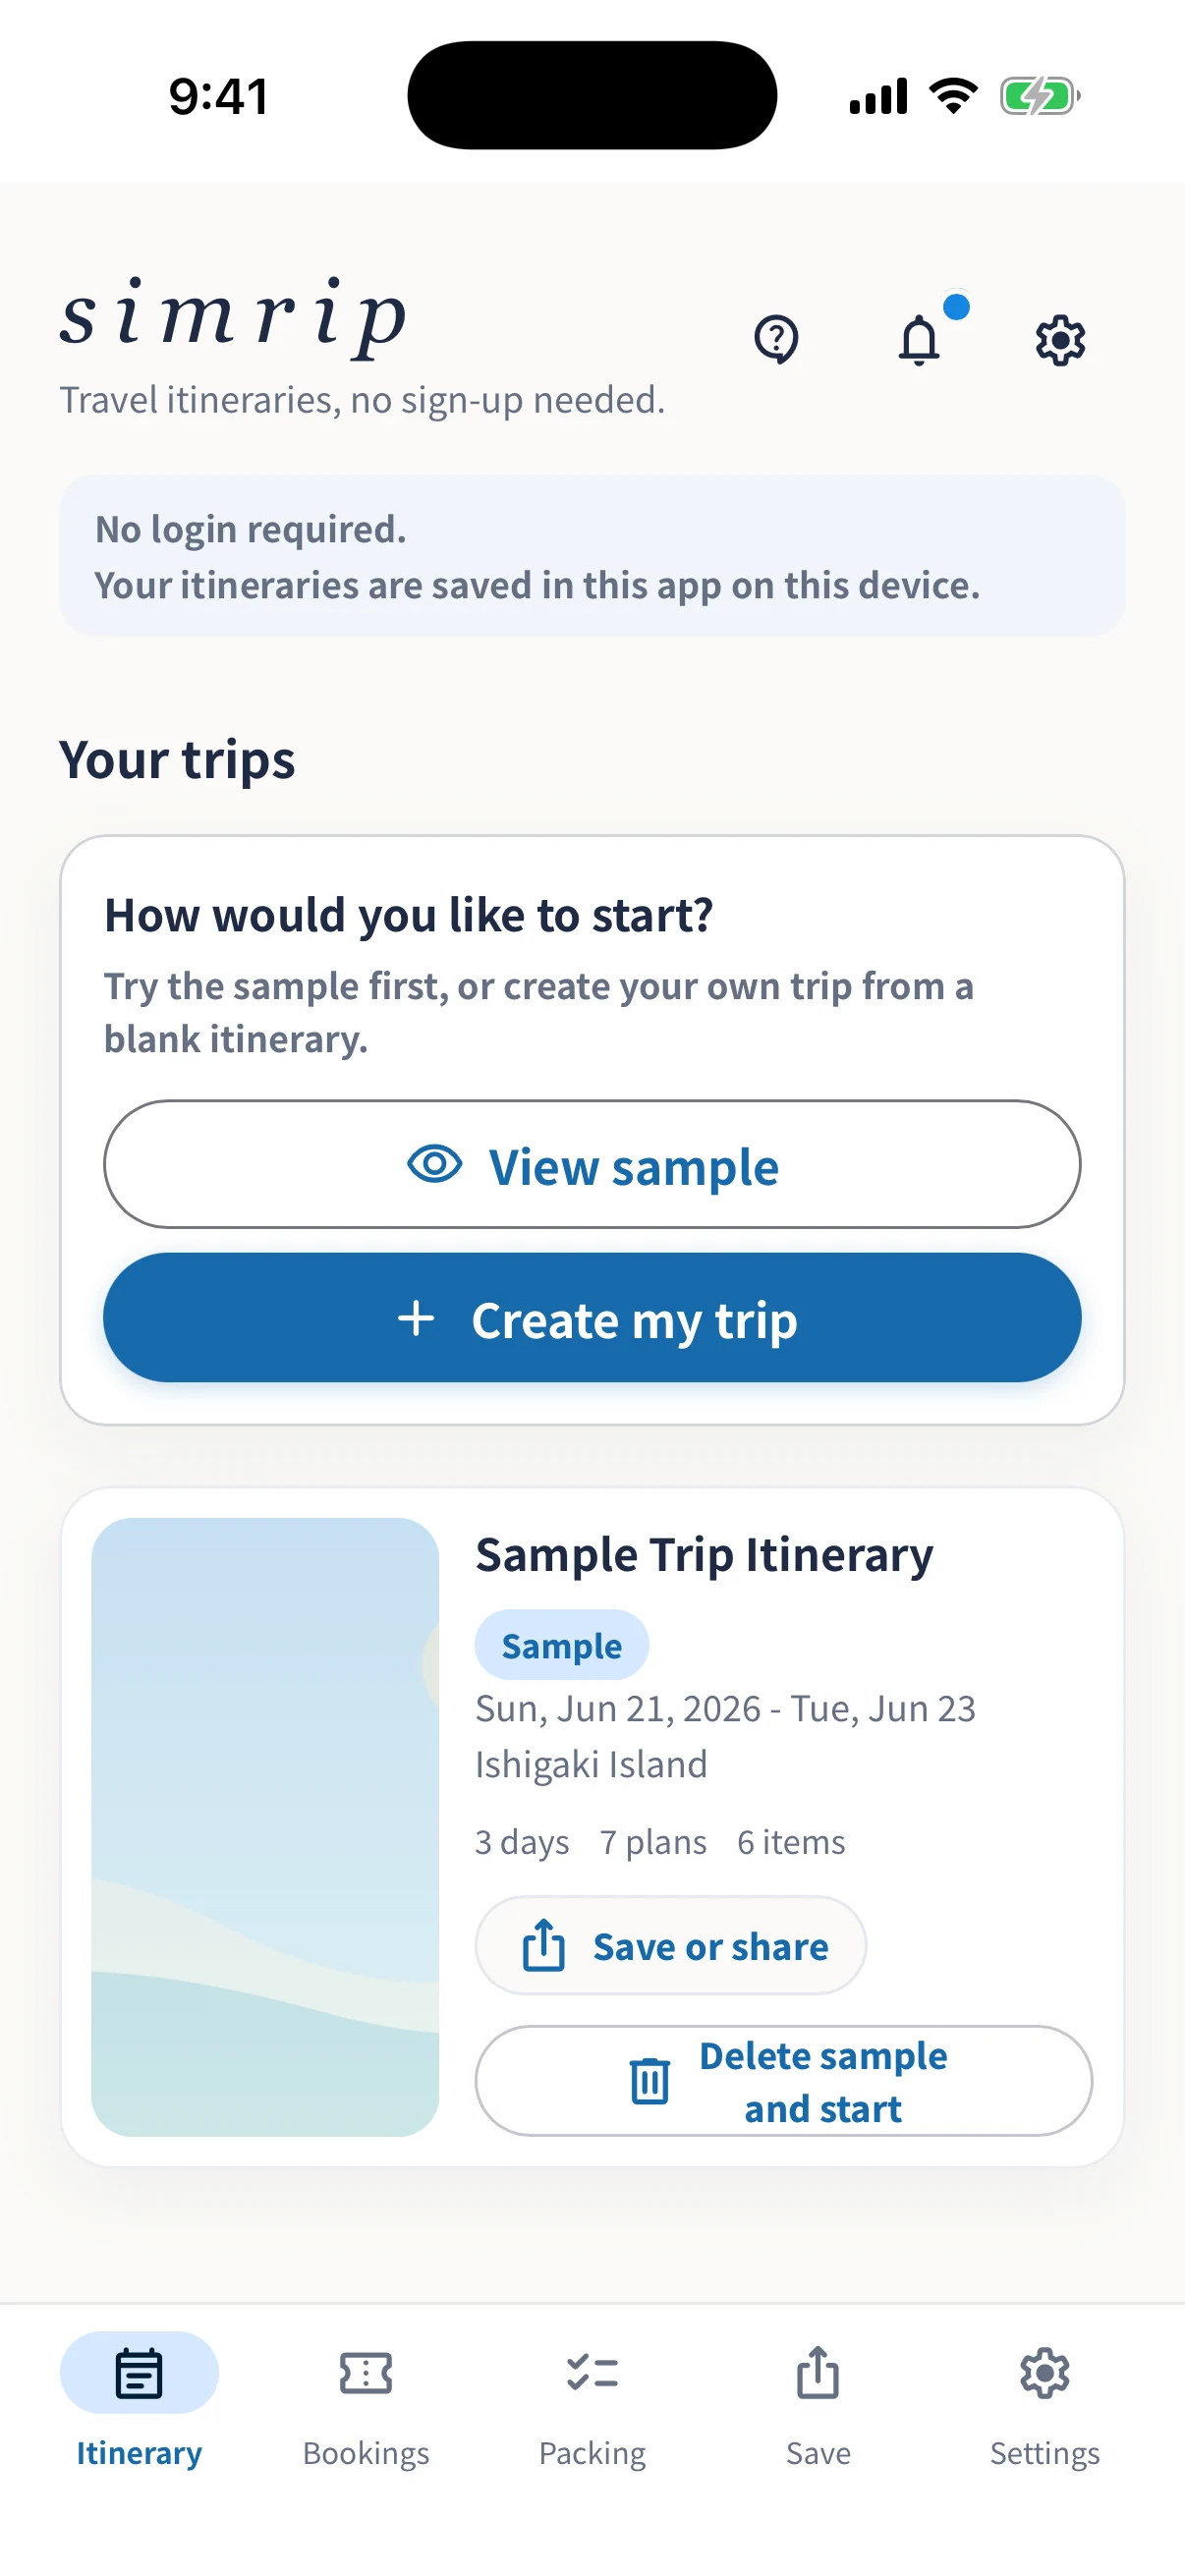
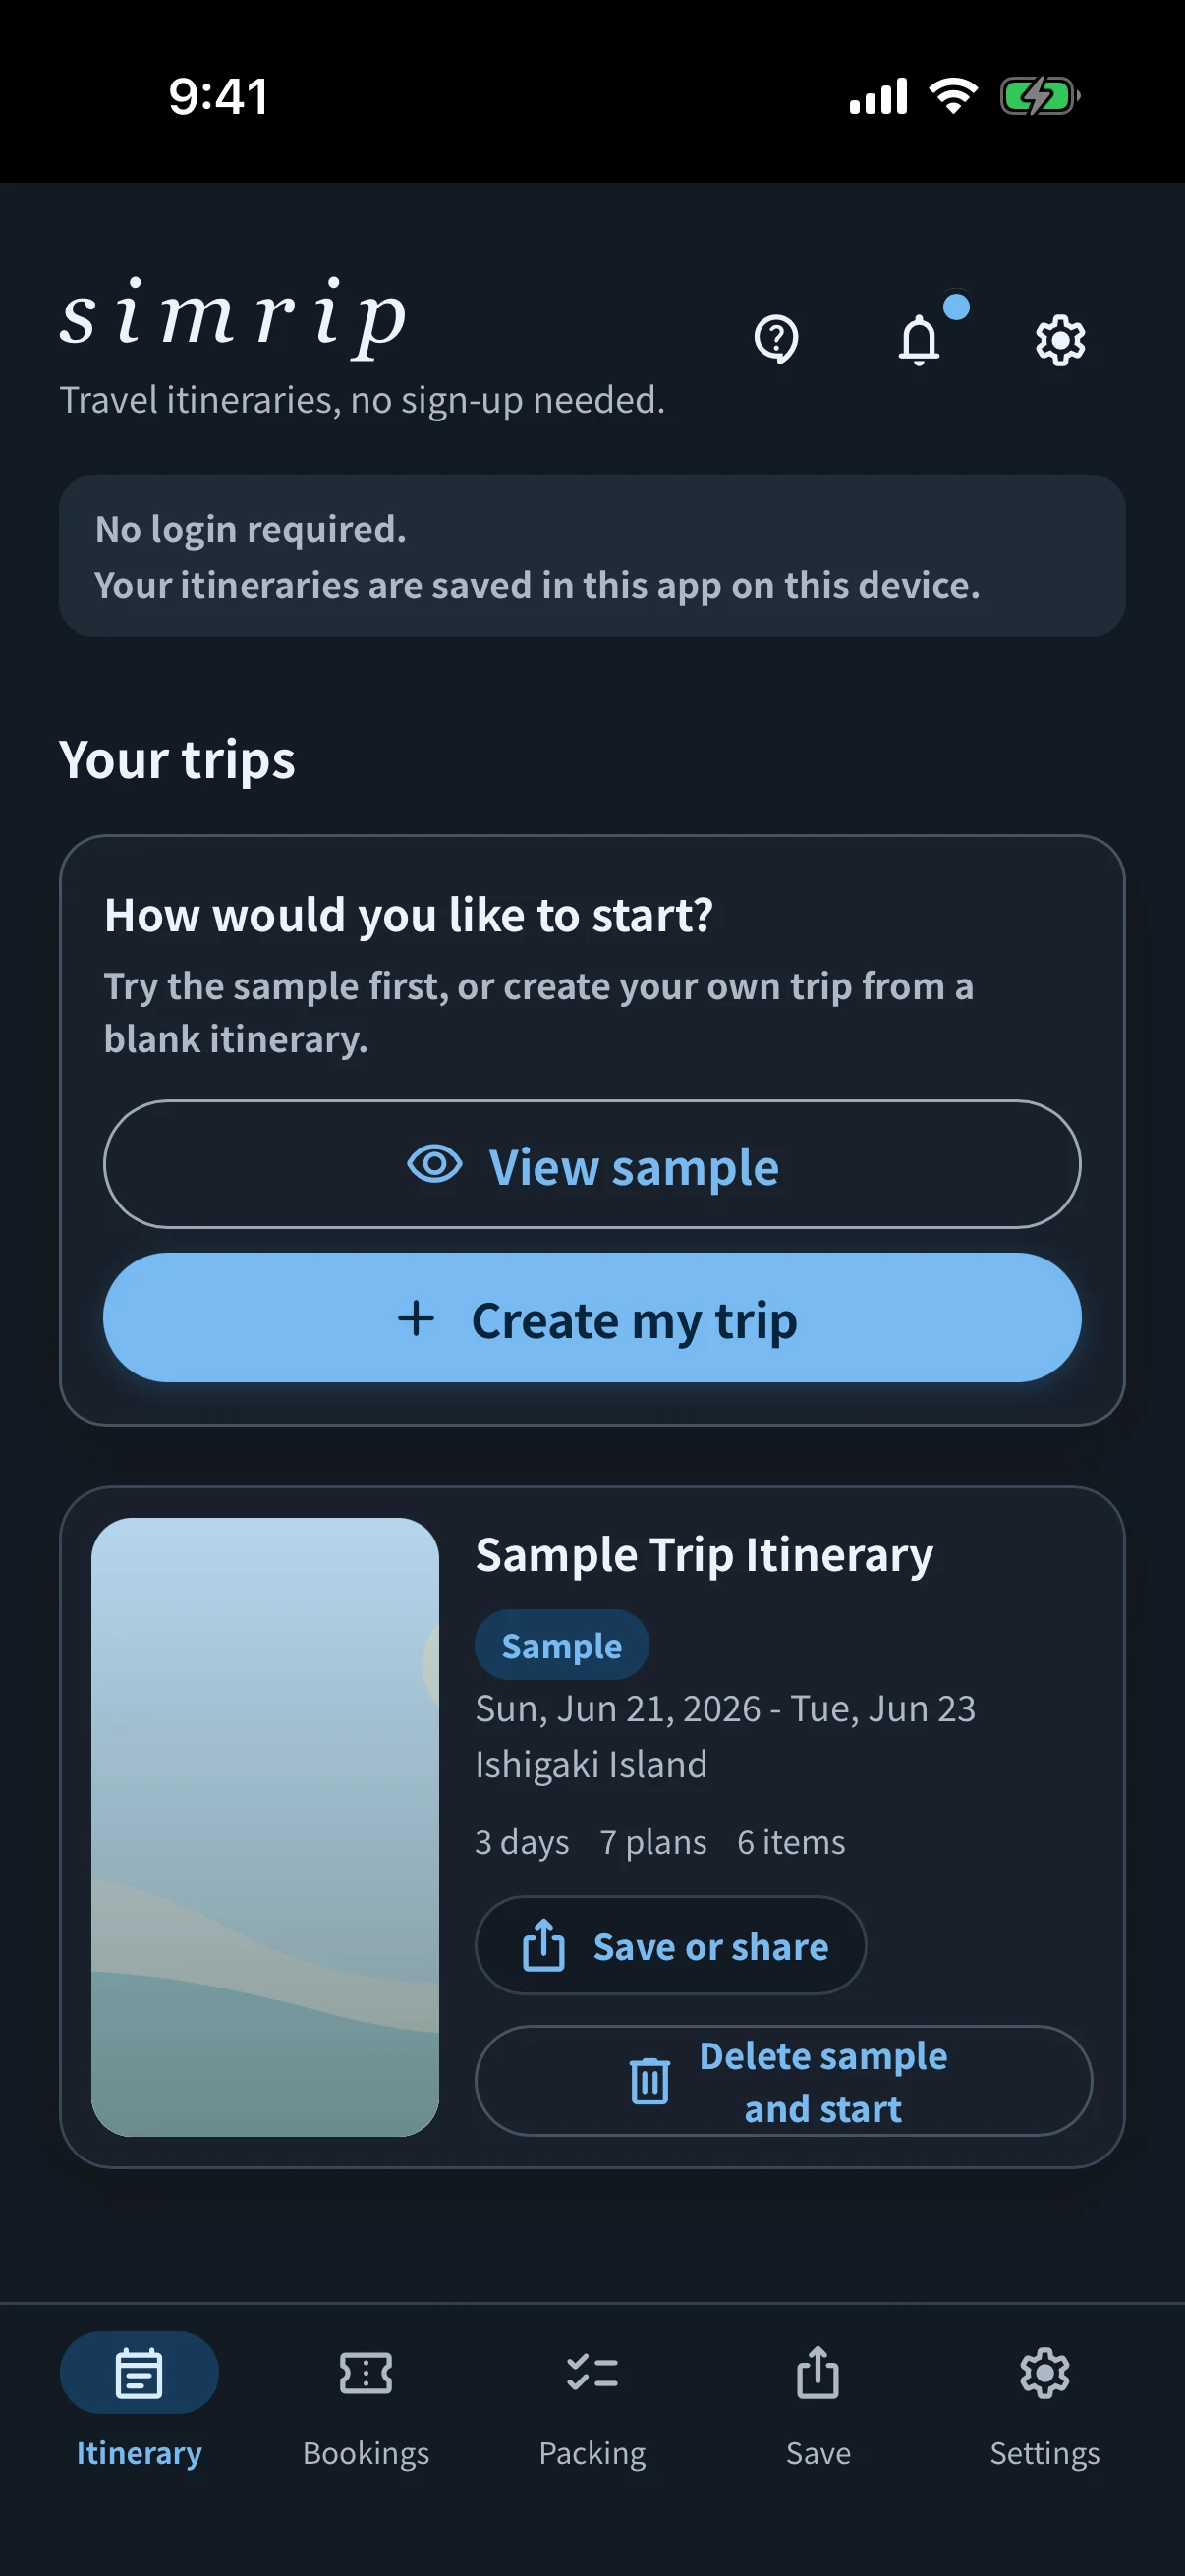
simrip works without login or email registration. Try the sample trip first, or begin with a blank trip.
- Select “Create my trip”Open the trip form from the start panel on Home. “View sample” lets you explore a ready-made itinerary.
- Enter the trip name and scheduleFor a standard trip, choose start and end dates. For a trip across time zones or the International Date Line, turn on International travel mode and choose a start date and number of trip days.
- Select “Create itinerary”After creating it, use Itinerary, Bookings, Packing, Save, and Settings to prepare your trip.
Sort tripsWith multiple trips, sort by creation date, travel date, or name.
Review past tripsTrips whose end date has passed are grouped under Past Trips.
02 MANAGE A TRIP
Update trip details and choose the features you use
Open a trip and select the menu in the upper-right corner to save, edit, copy, customize, configure, or delete it.
Edit trip
Name, schedule, travel mode, and cover
You can change the basics at any time. Standard trips use start and end dates; International travel mode uses a start date and number of trip days. When changing standard-trip dates, choose whether plans and bookings keep their day positions or only the trip dates change.
Copy trip
Copy everything or packing only
Duplicate the whole trip, including plans and bookings, or copy only packing items and categories with every check cleared.
Display
Choose your trip menus
Add Lists, Clips, and Money to the bottom navigation for each trip. Save and Settings remain available from the trip menu when space is limited.
Delete
Remove a trip
A regular trip is permanently removed from the device. Available actions differ for owners and participants of an Edit together trip.
03 ITINERARY
Use calendar dates at home and trip days abroad
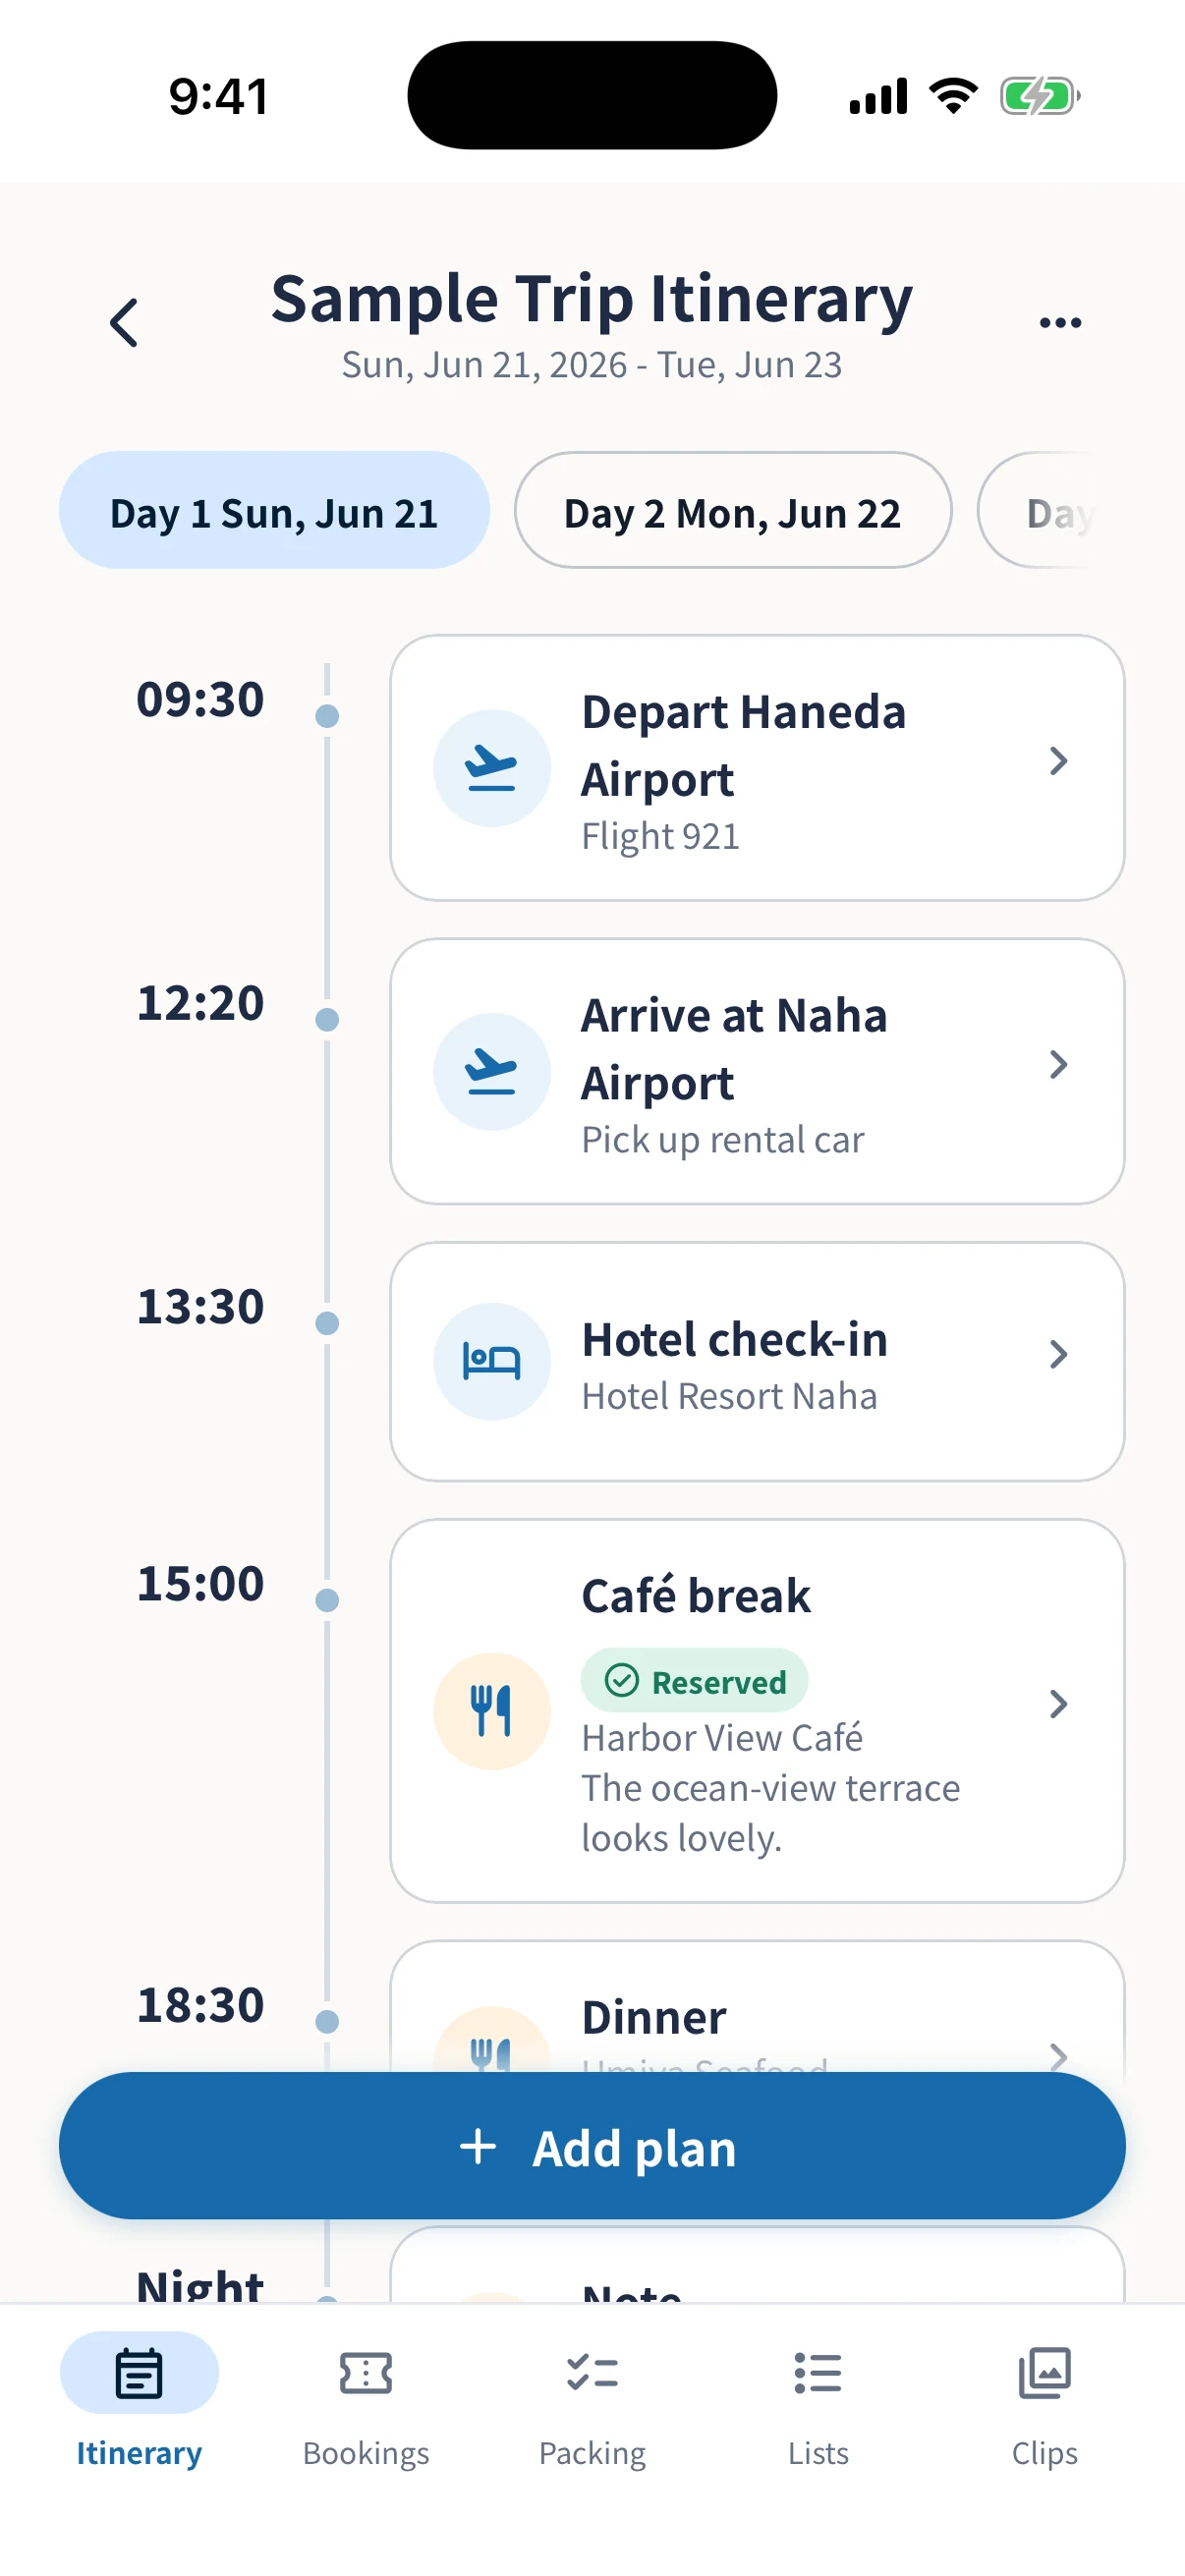
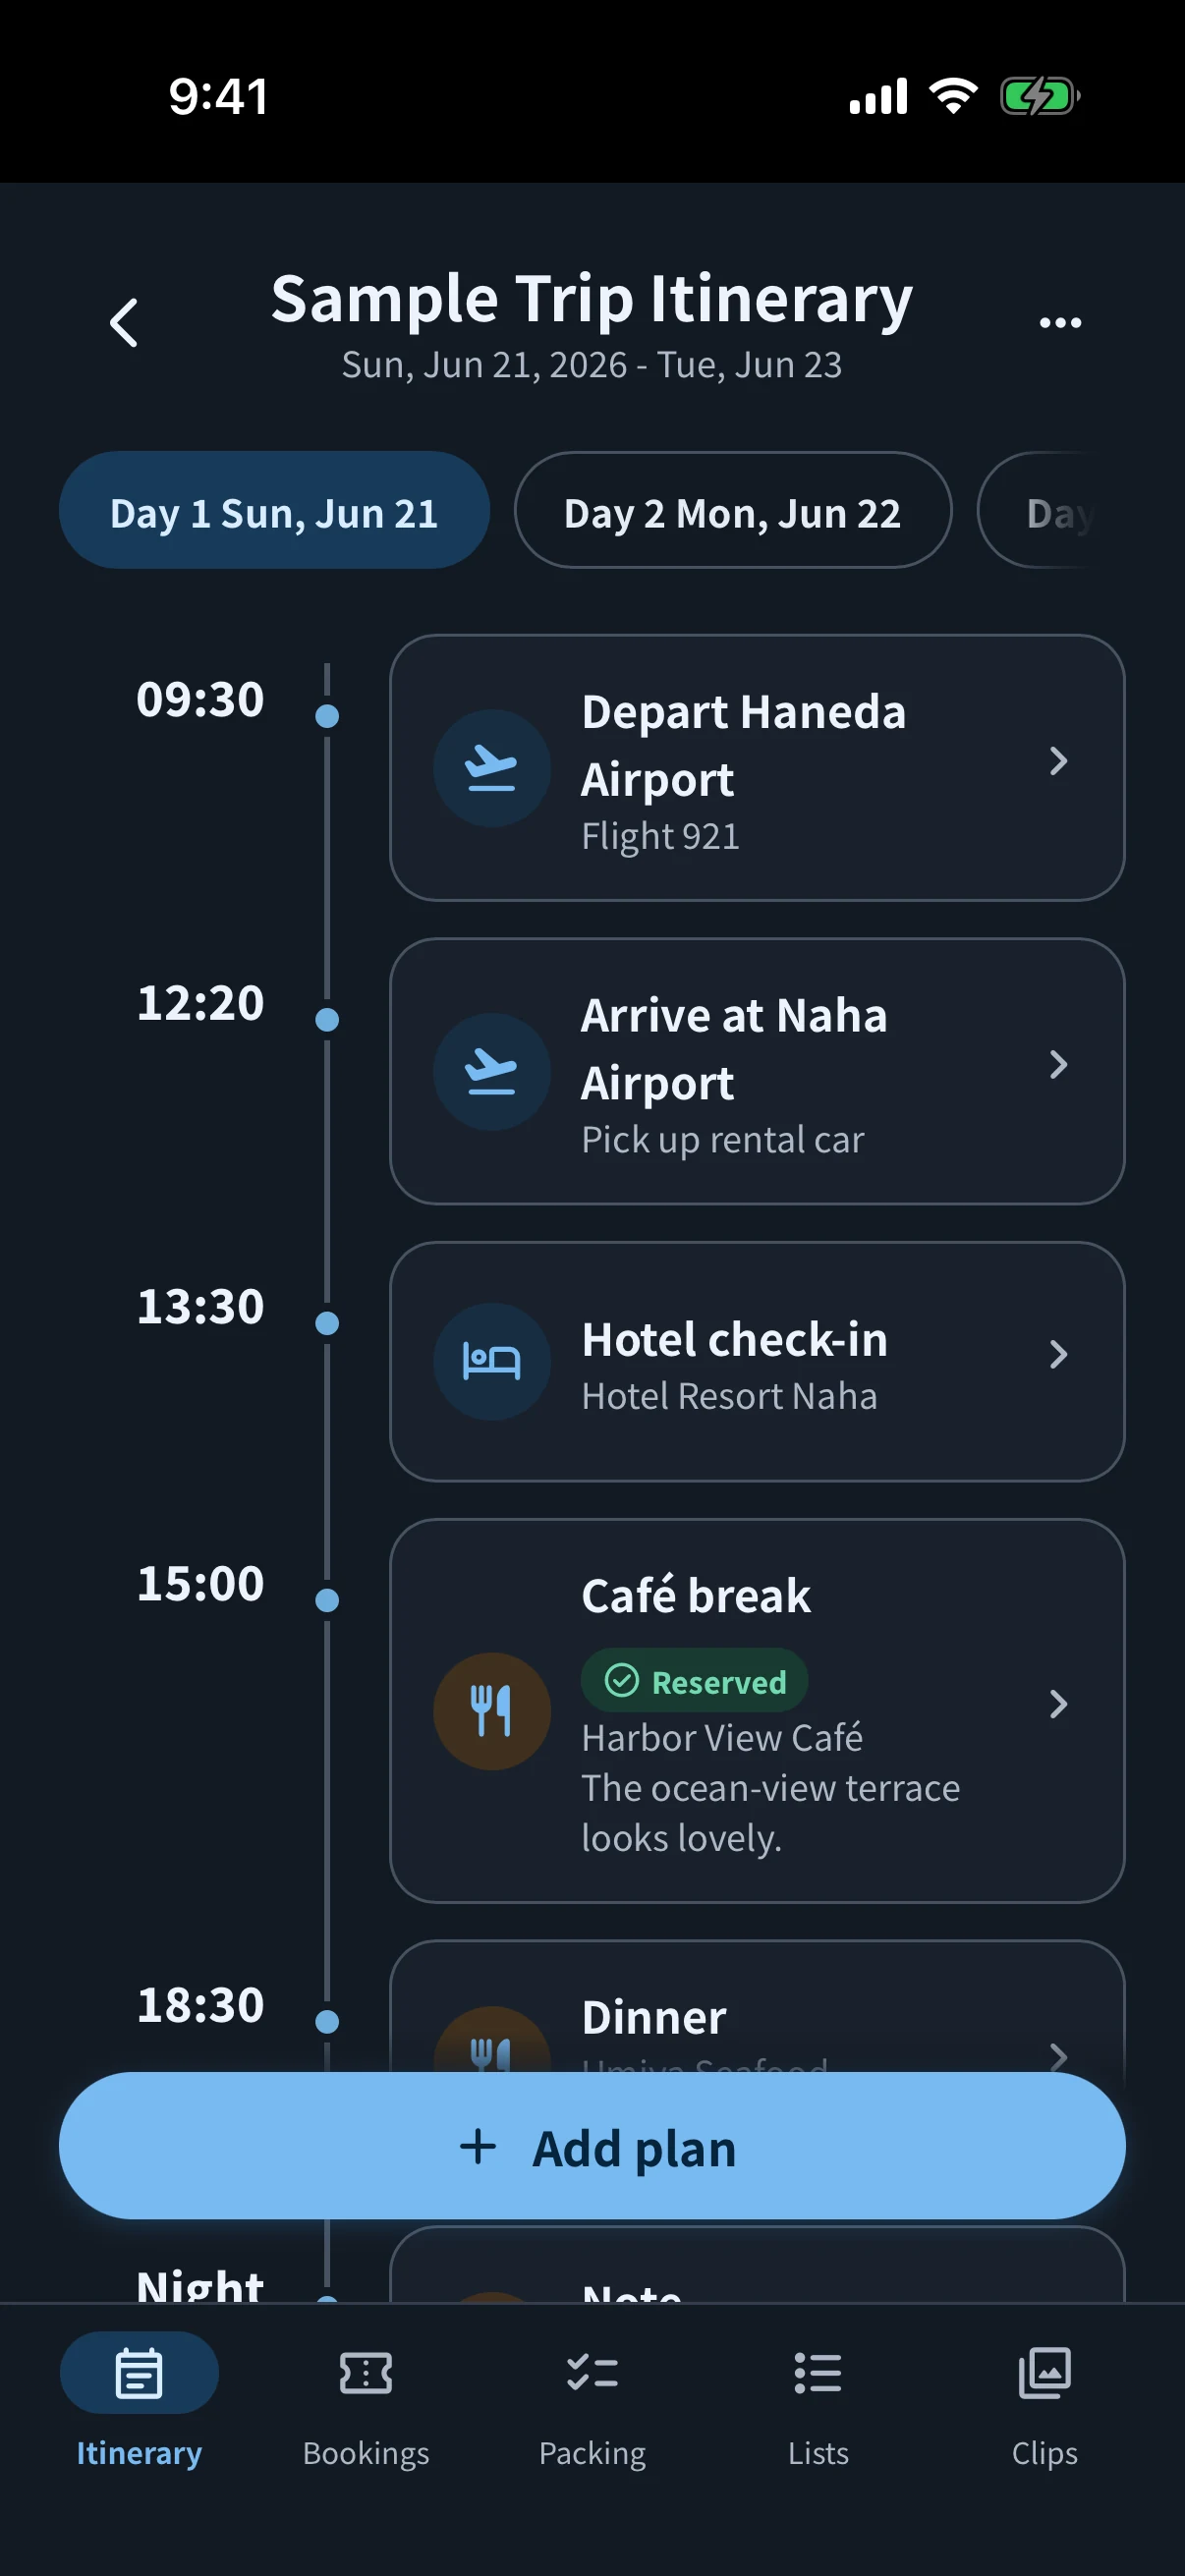
Domestic trips organize plans by calendar date. International trips use Day 1, Day 2, and local dates so time-zone changes do not split the flow of the trip.
- Choose where the plan belongsSelect a calendar date for a domestic trip. For an international trip, select Day 1, Day 2, or another trip day; one trip day may contain more than one local date.
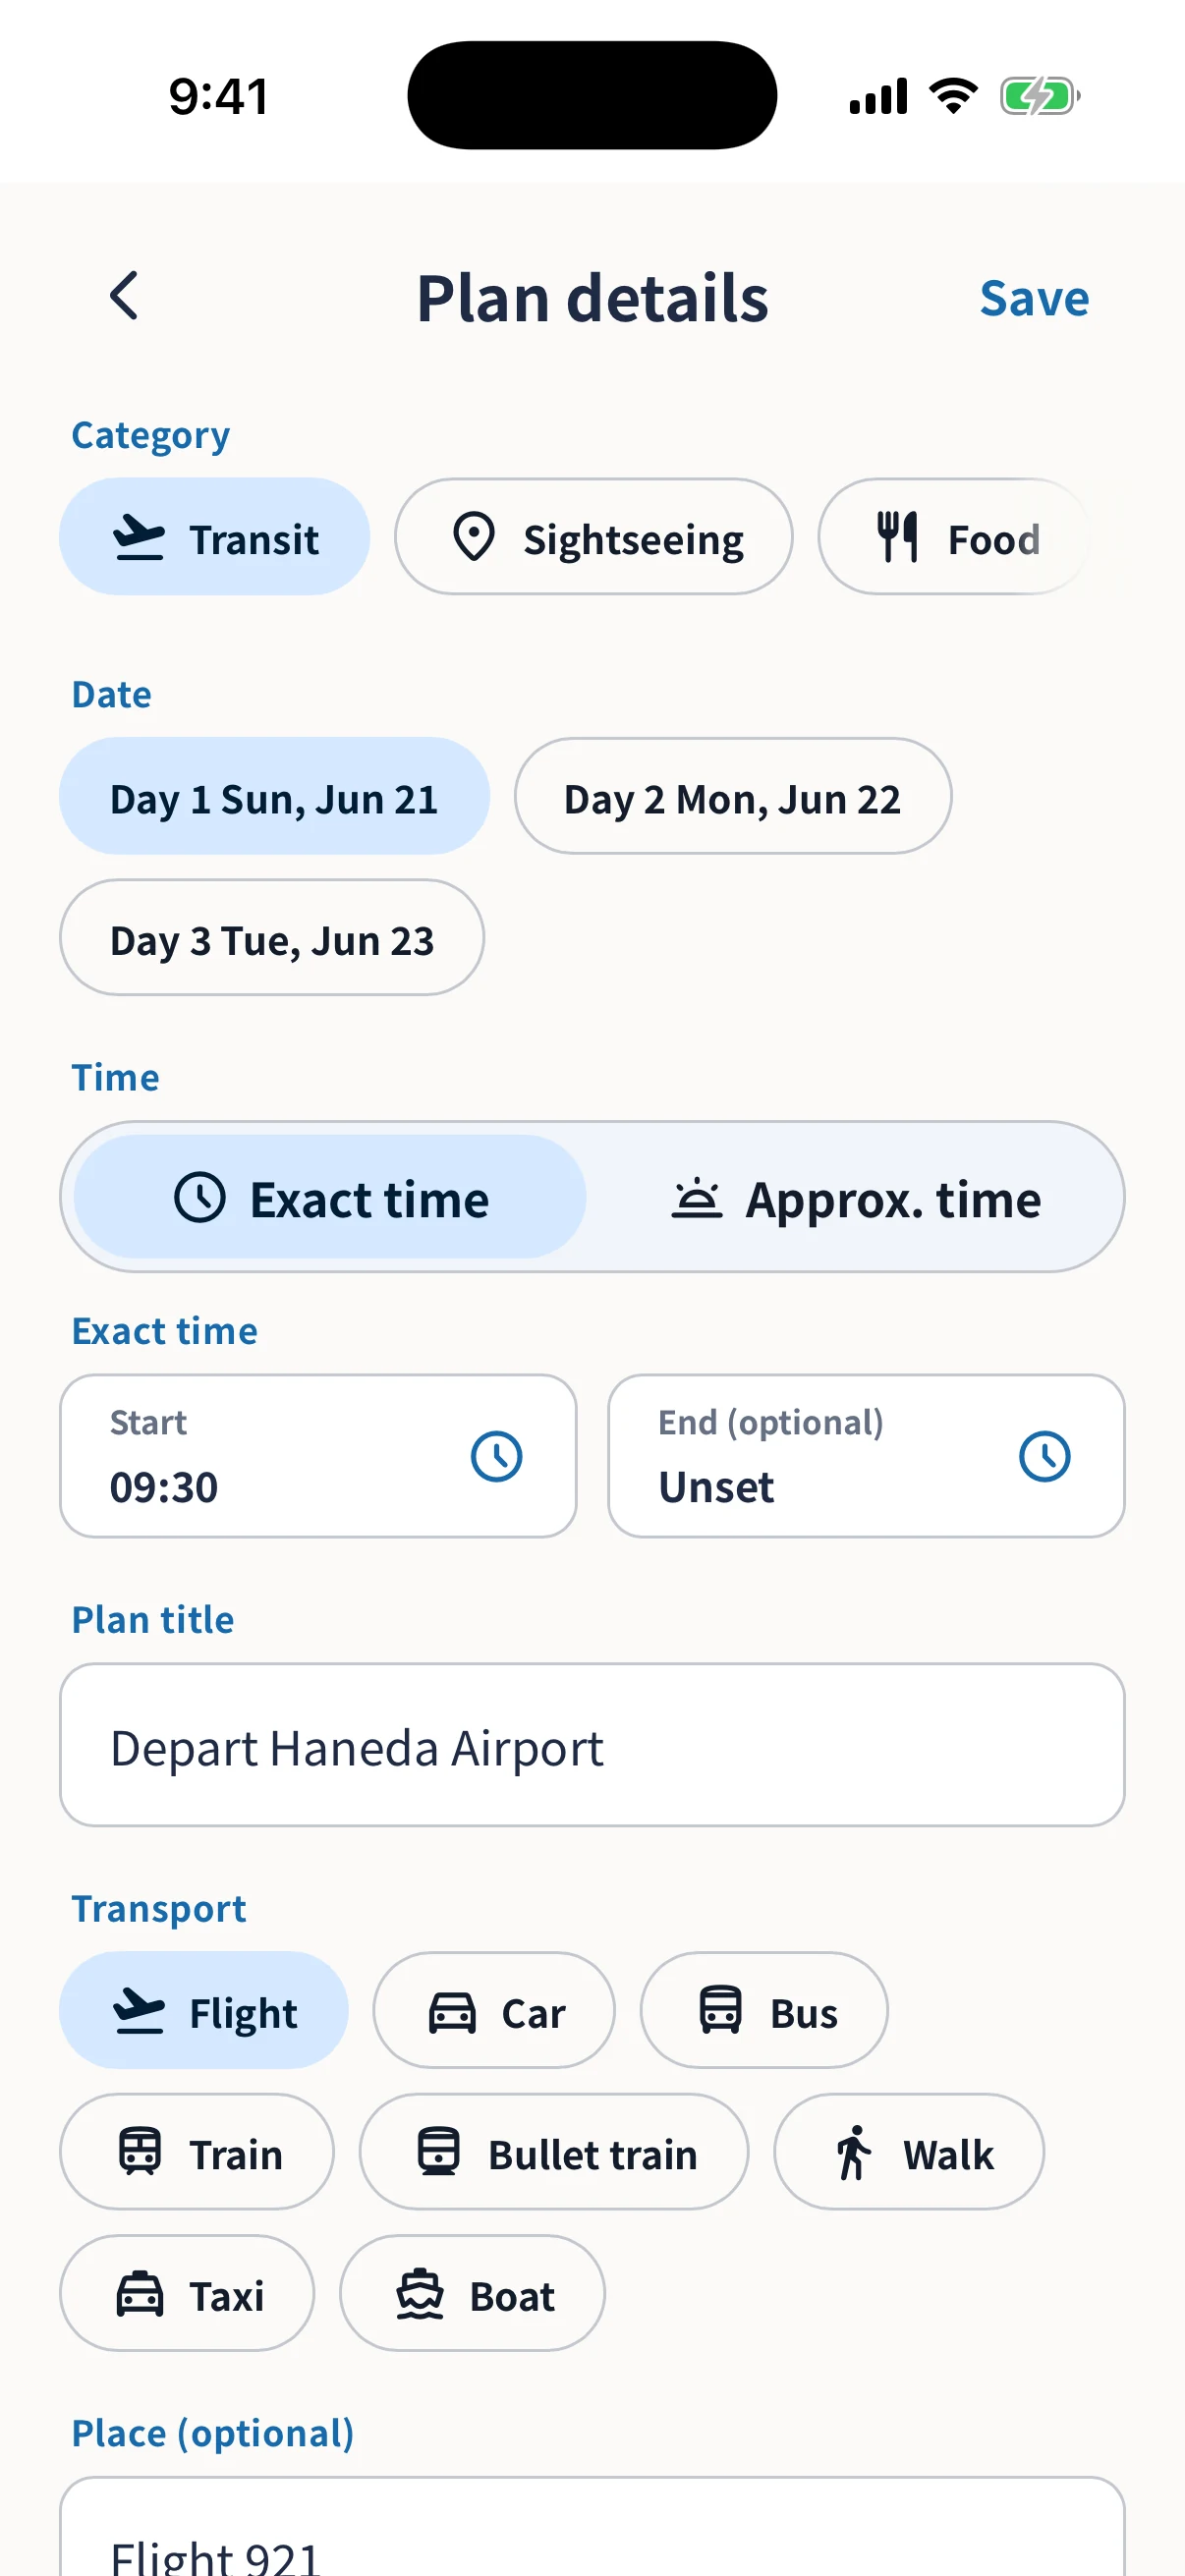
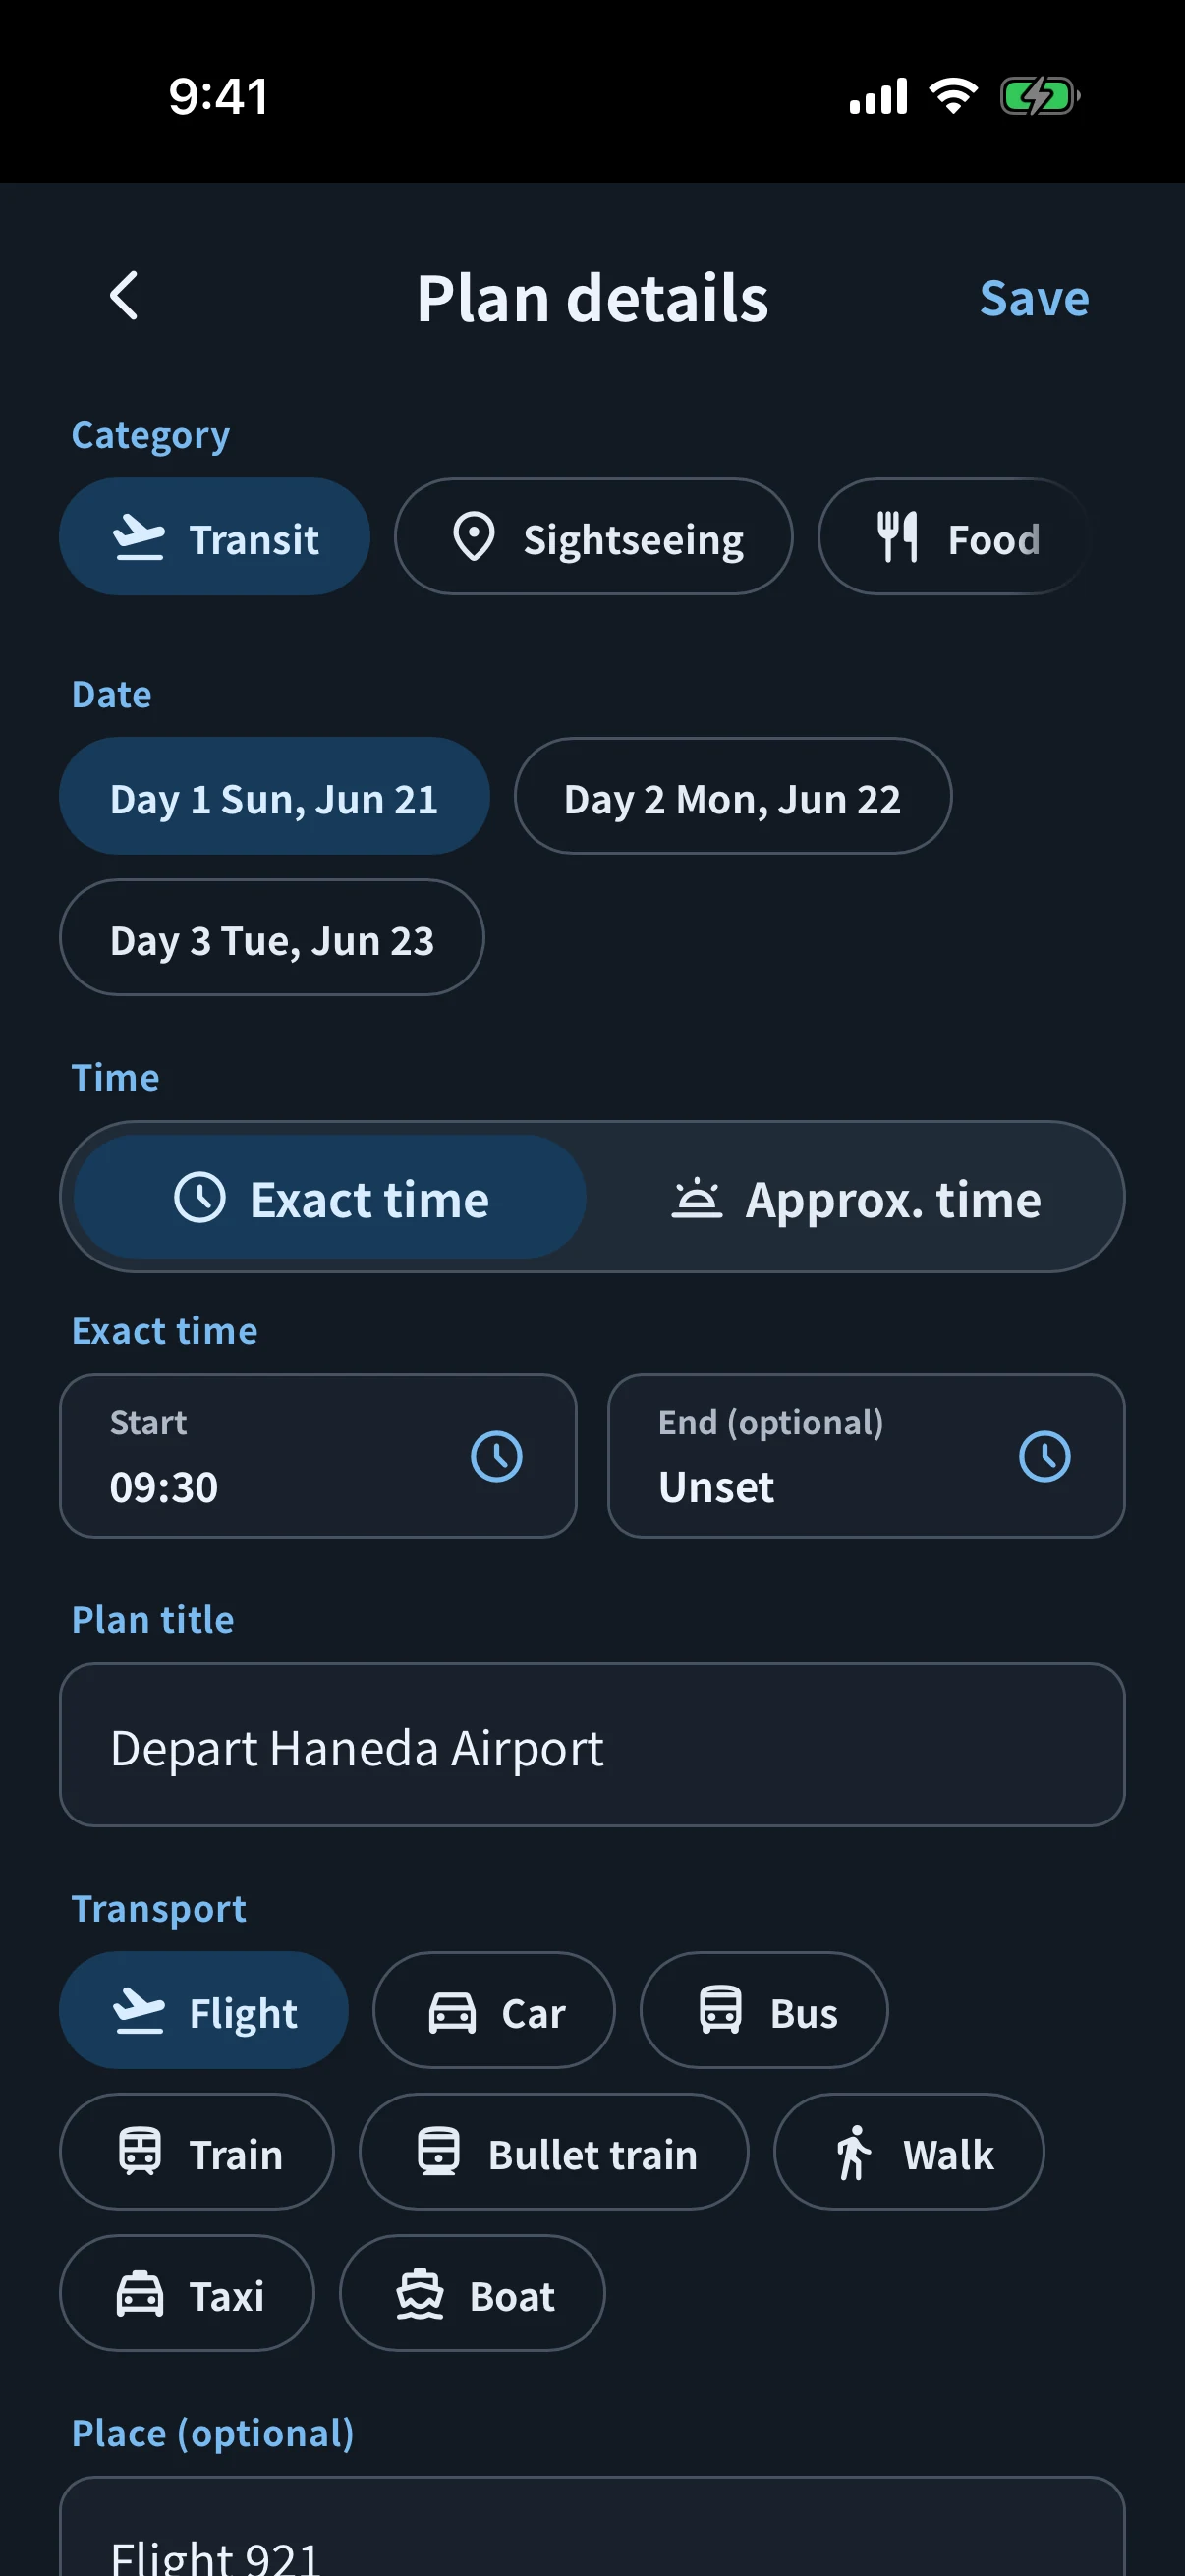
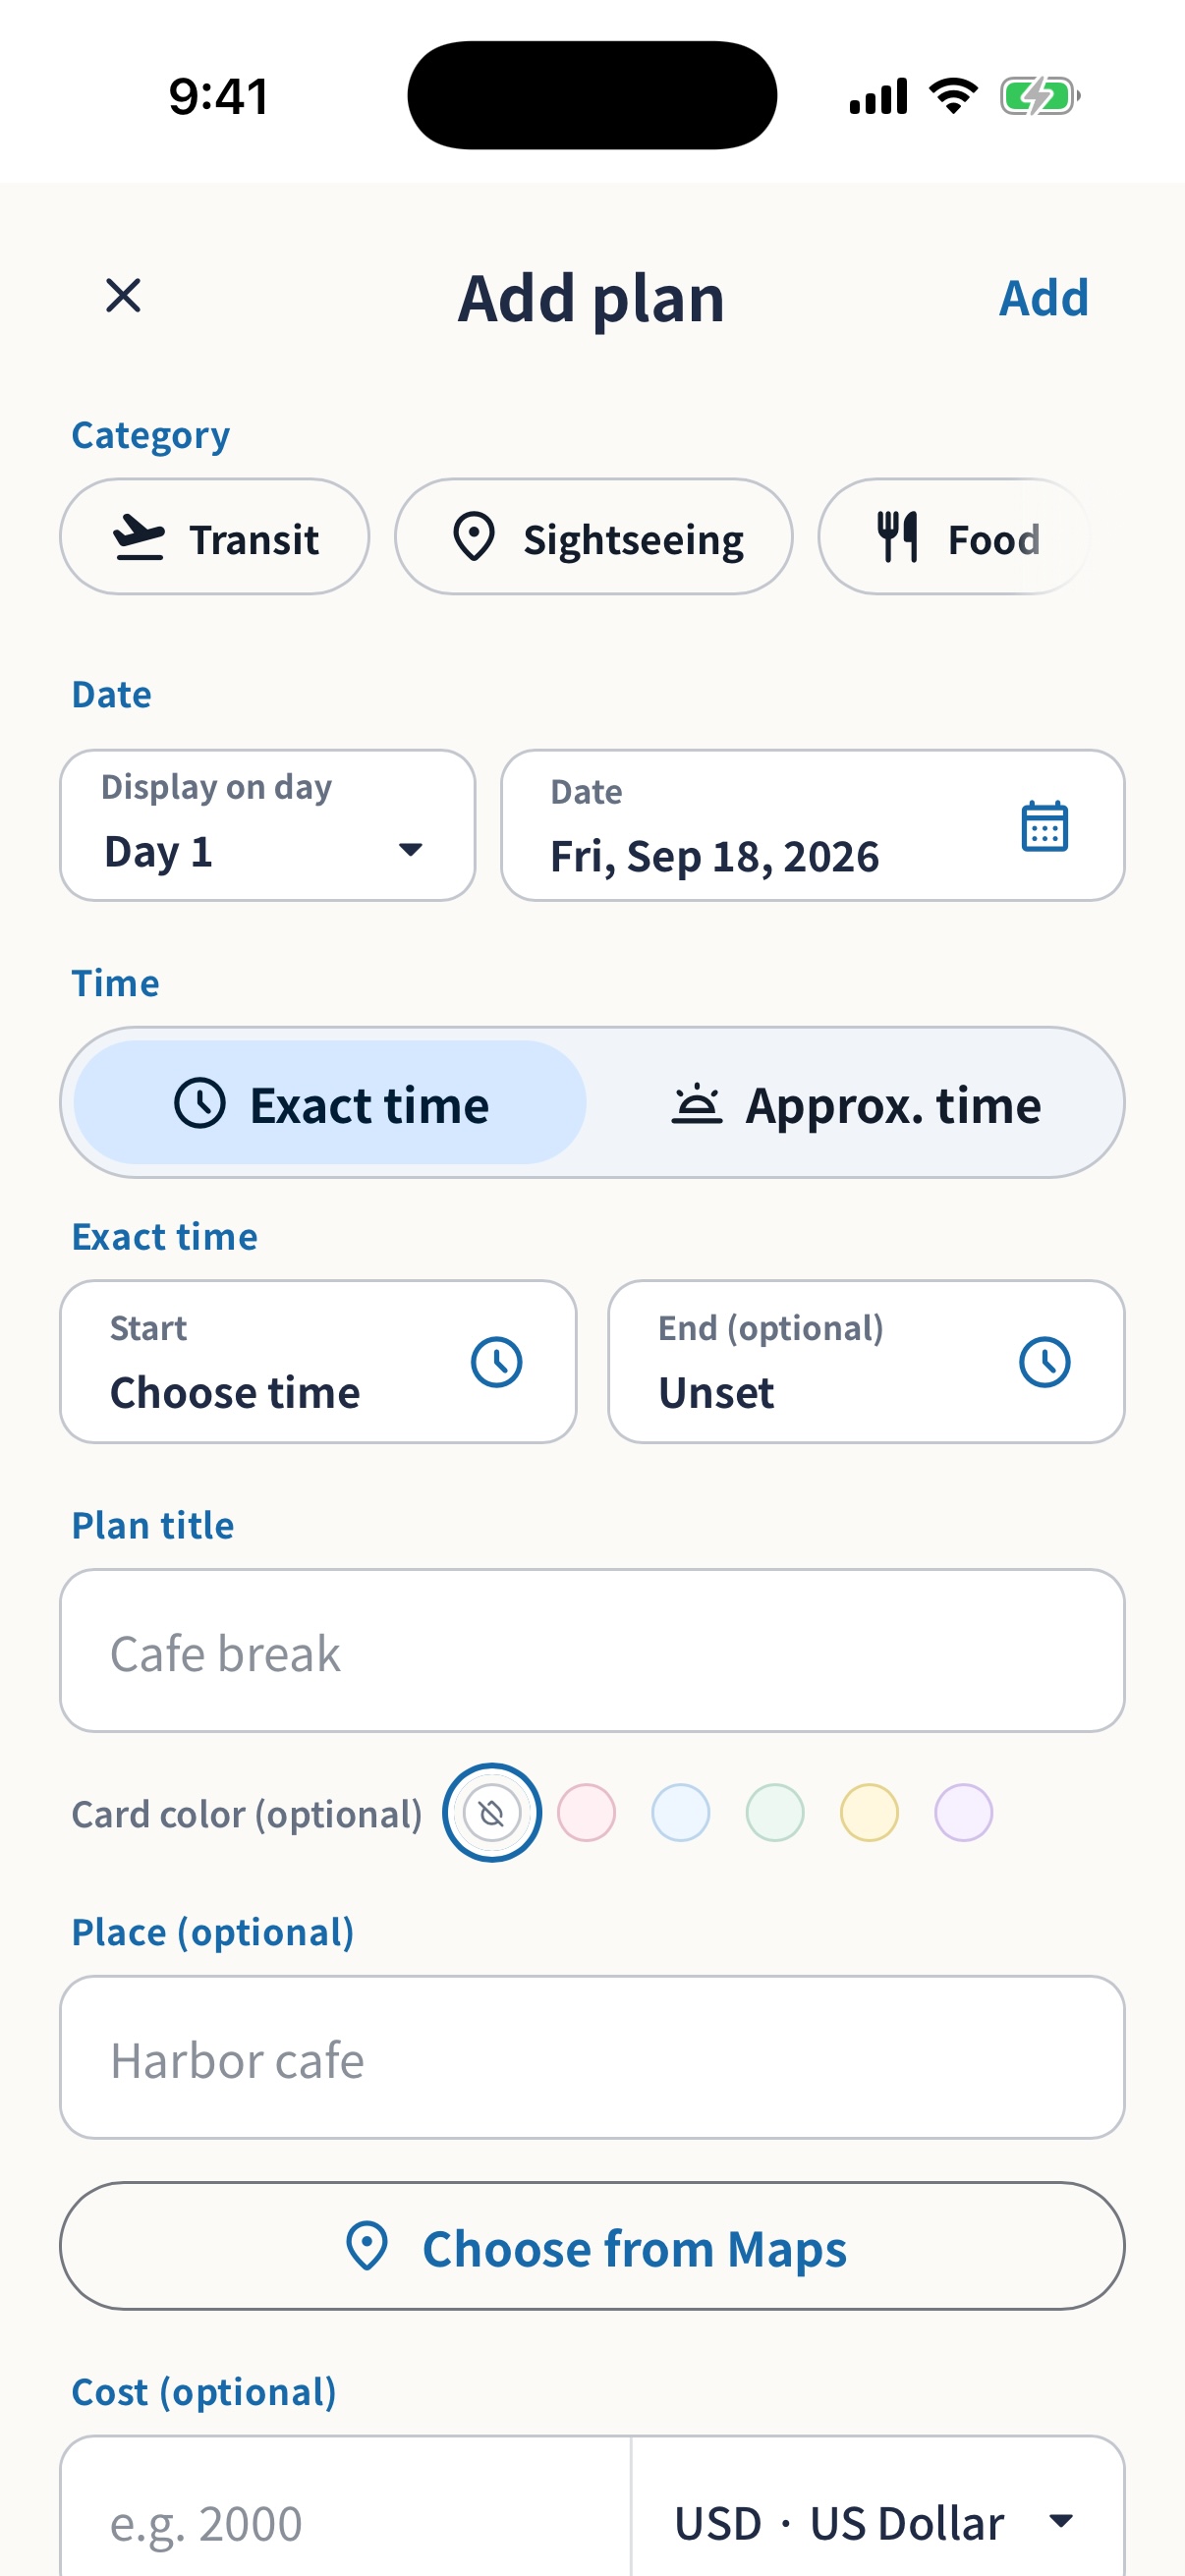
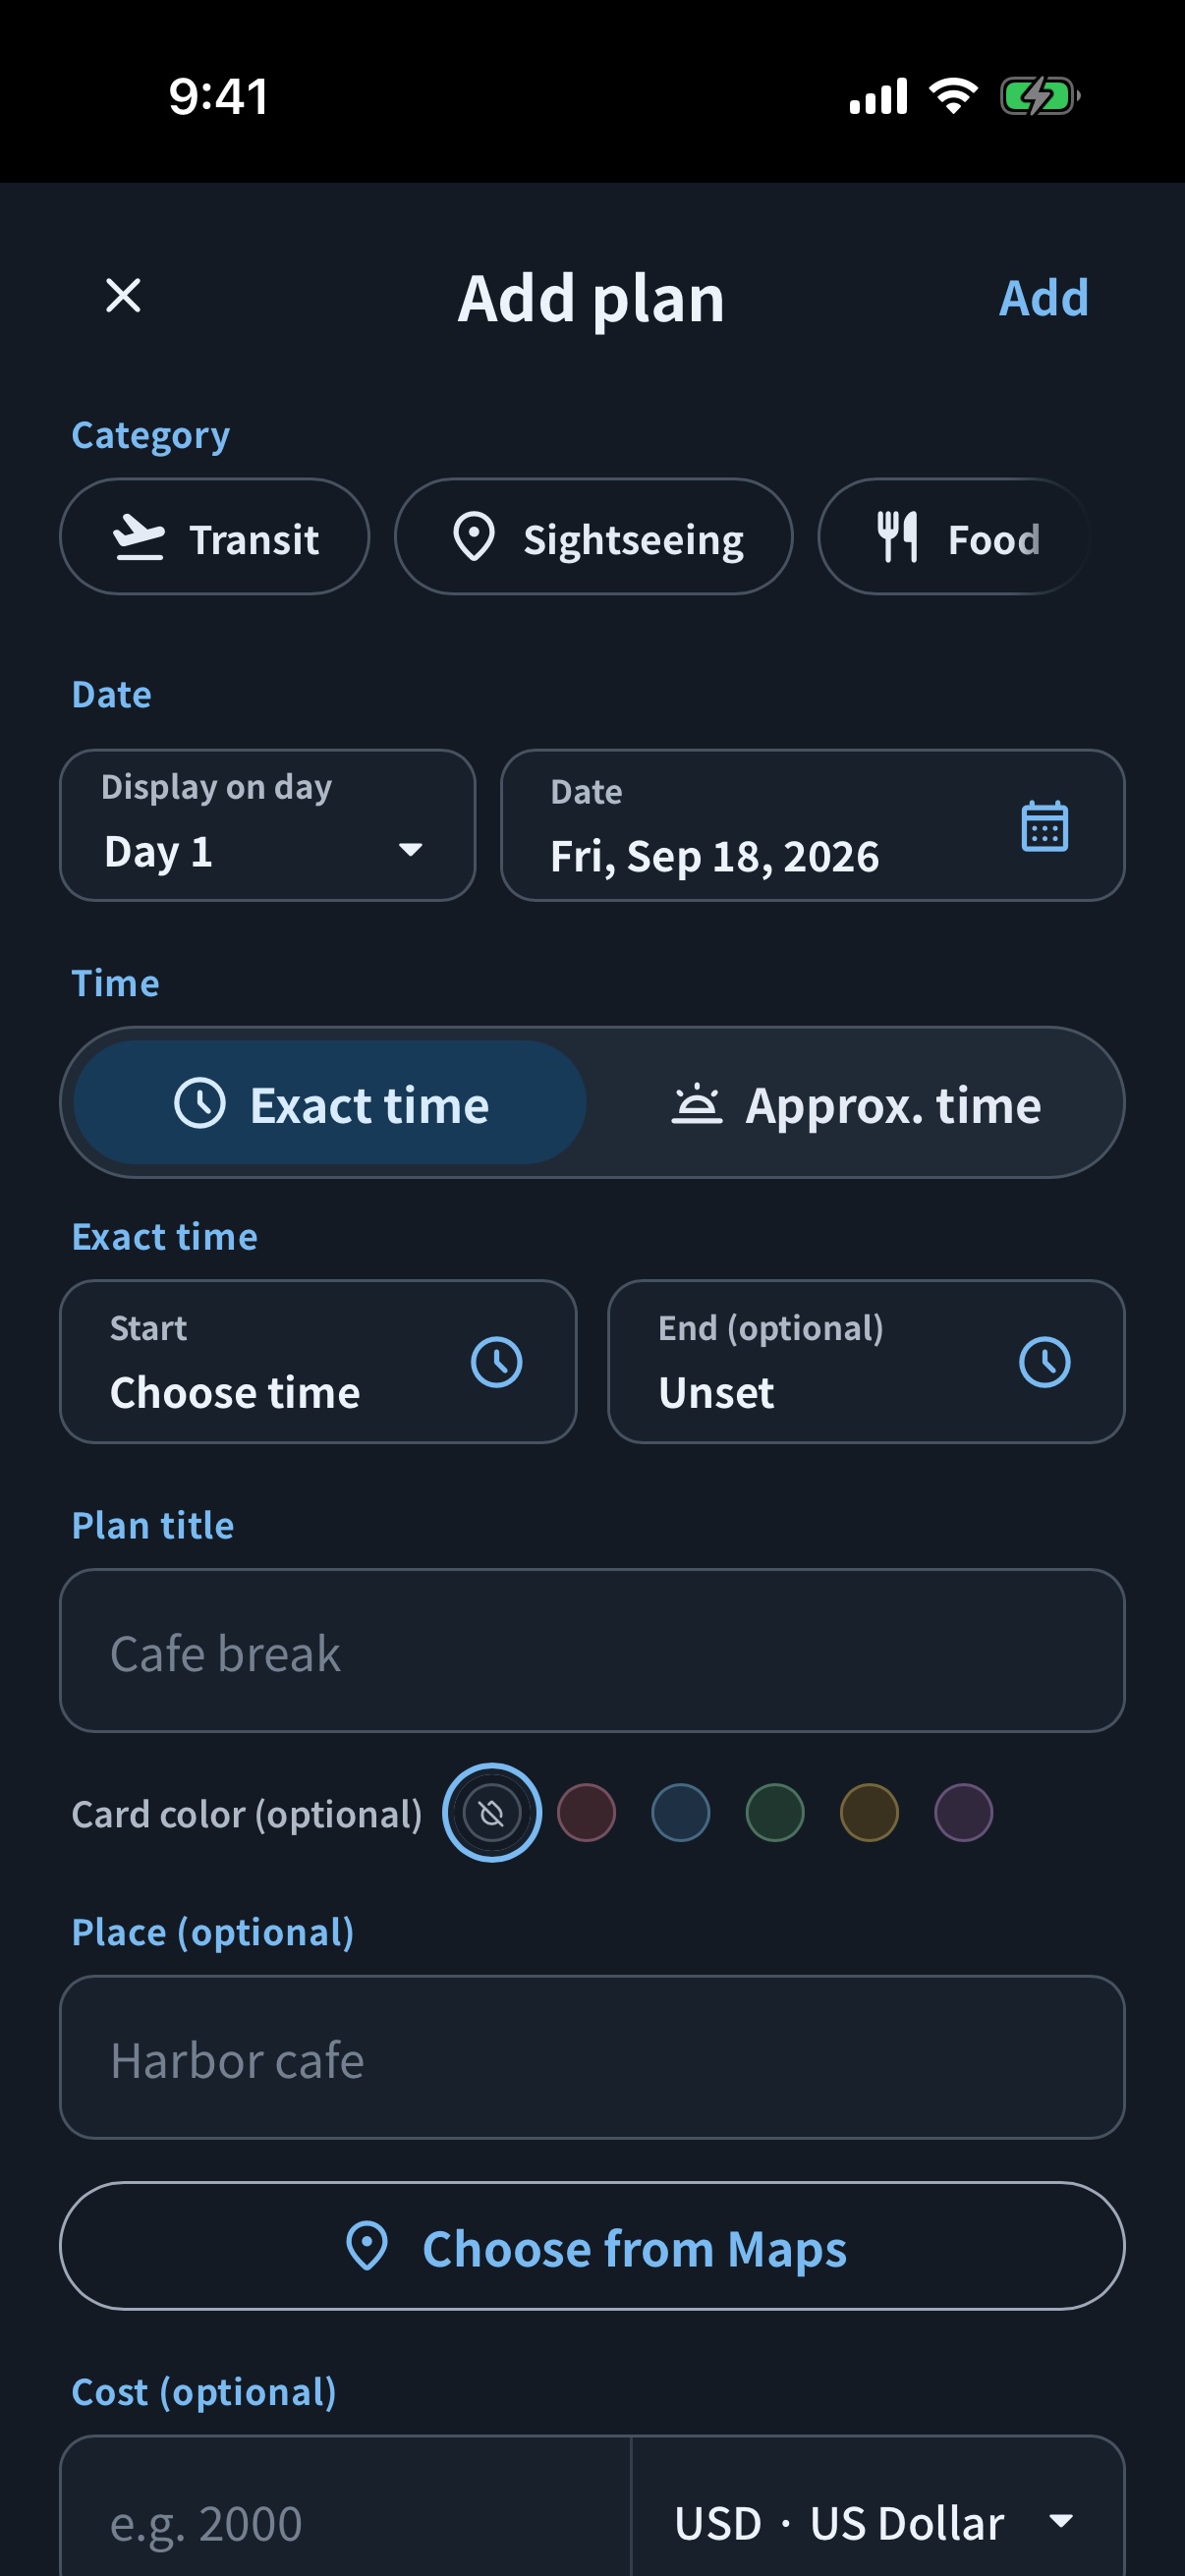
- Select “Add plan”Confirm the calendar date, or the trip day and local date, then use an exact time or a flexible period such as Morning, Afternoon, Evening, All day, or Time undecided.
- Add the details you needEnter the plan name and optionally add transport, a place, notes, and booking information. If it helps you distinguish plans, you can also choose one of five card colors.
- Choose time zones when neededFor international trips, search for a city to treat the date and time as local there. Transit plans can use separate departure and arrival time zones.
- Copy a planSwipe a plan card to the left and select “Copy” to create a new plan with the same details in the same trip. Change the day or time to reuse it.
Open places in MapsSearch for a place, select a result, and open its pin from the plan.
Reorder flexible plansSelect a day in Itinerary and open “Sort.” Drag the handles to move flexible-time plans within that day. Plans with fixed times stay in chronological order.
Place transit and stays on trip daysShow an arrival on a later trip day. Hotel trip days are set from local check-in and check-out dates and can be adjusted.
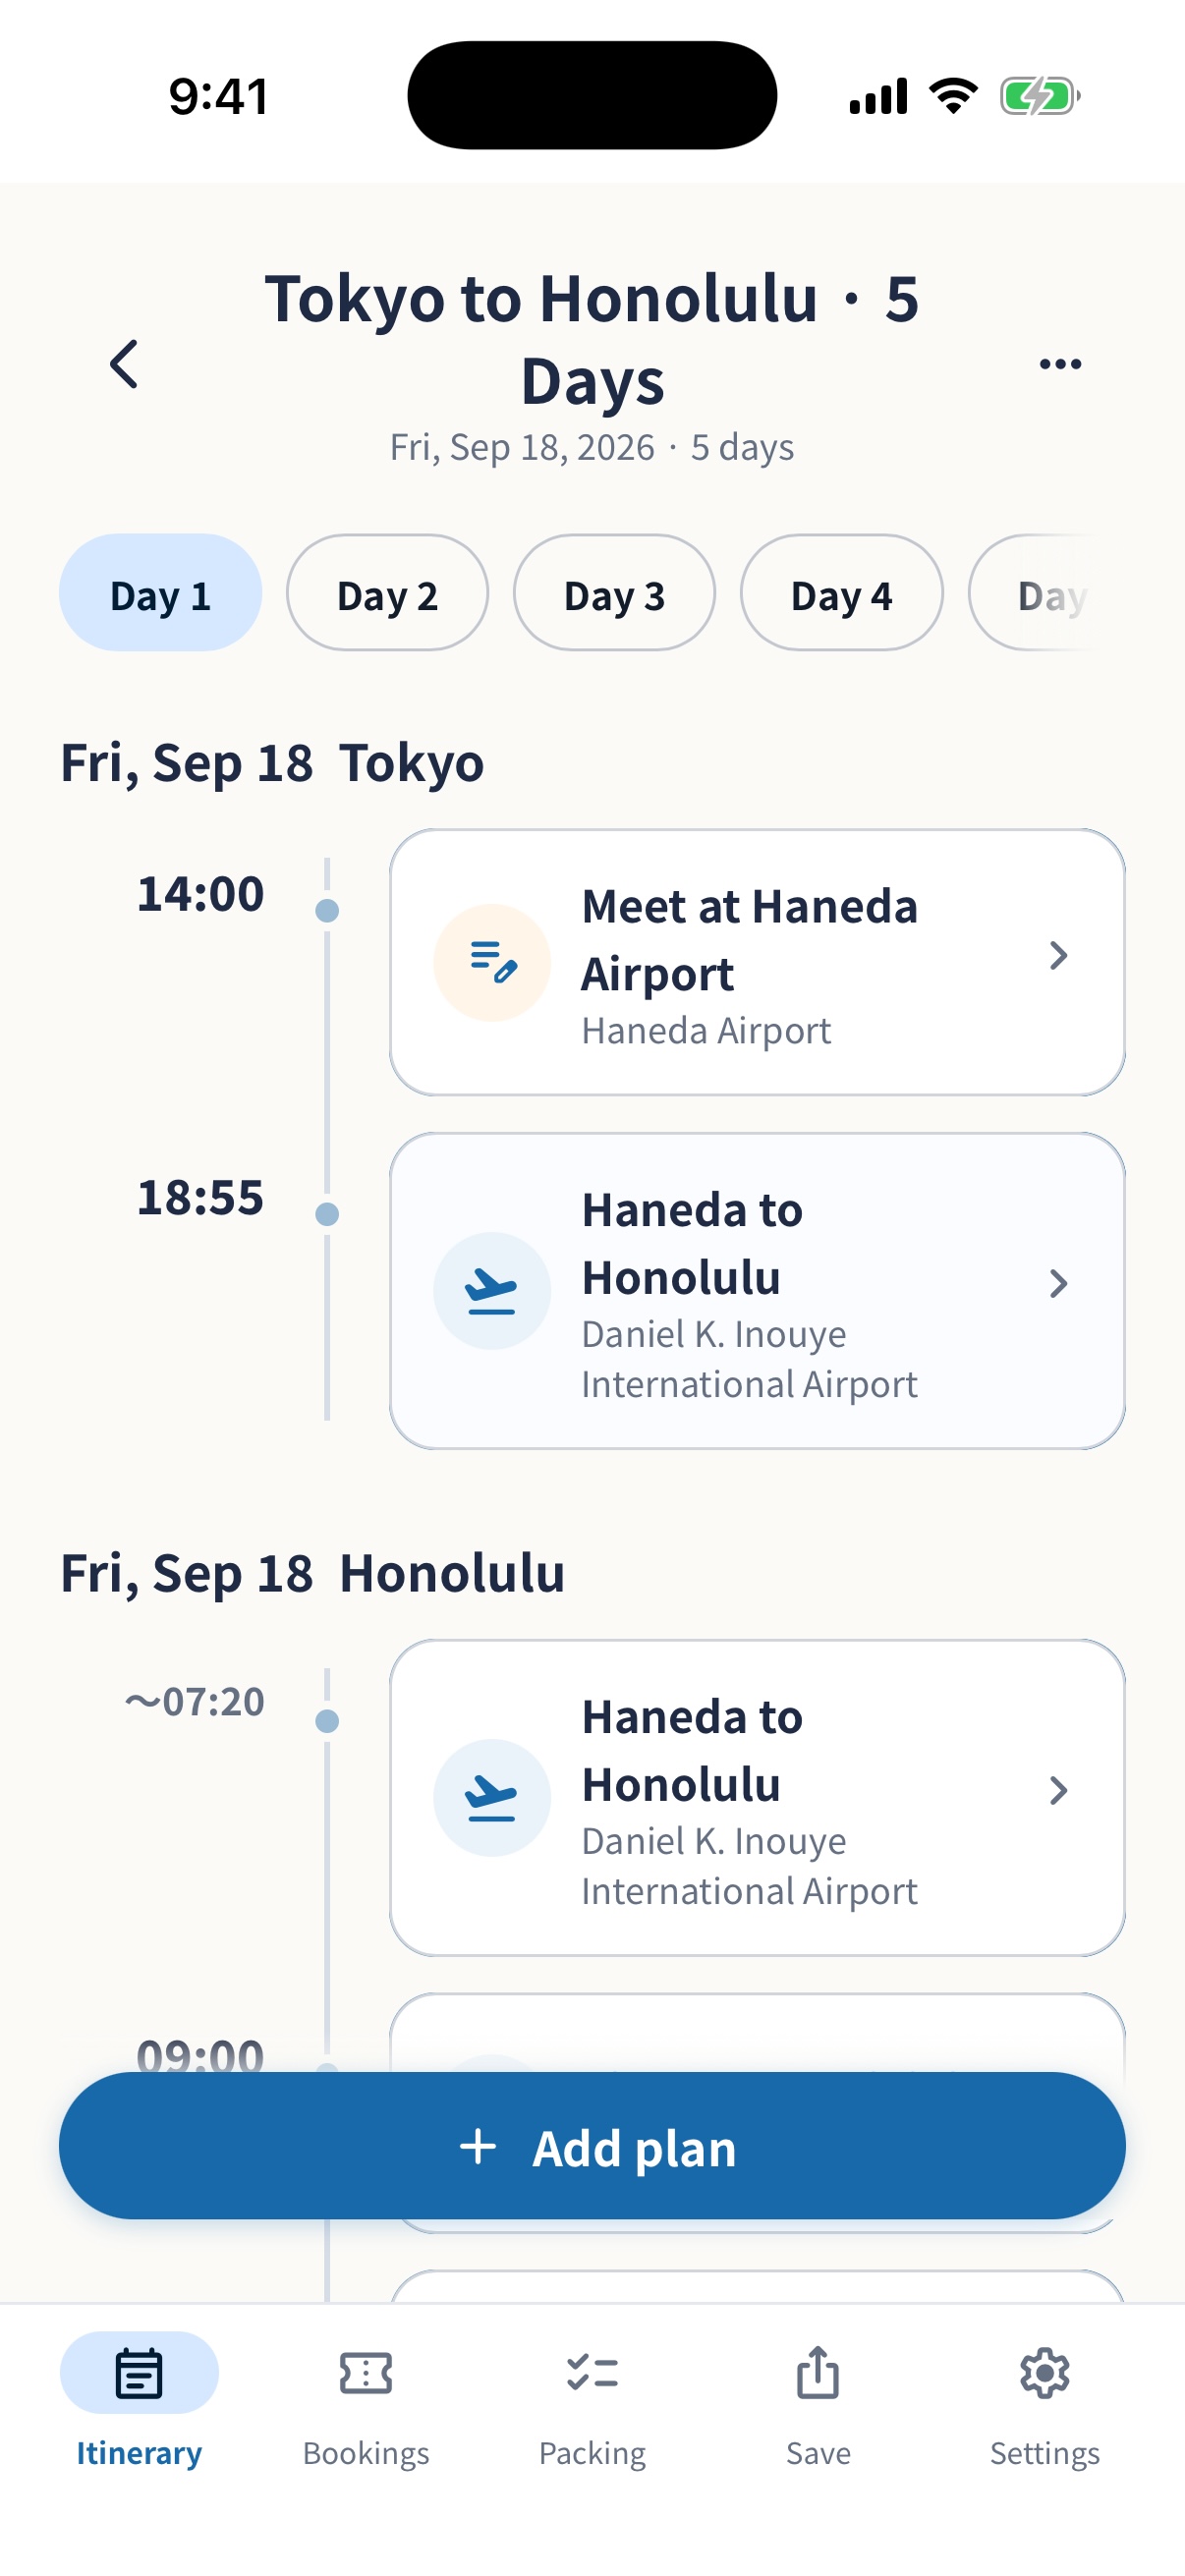
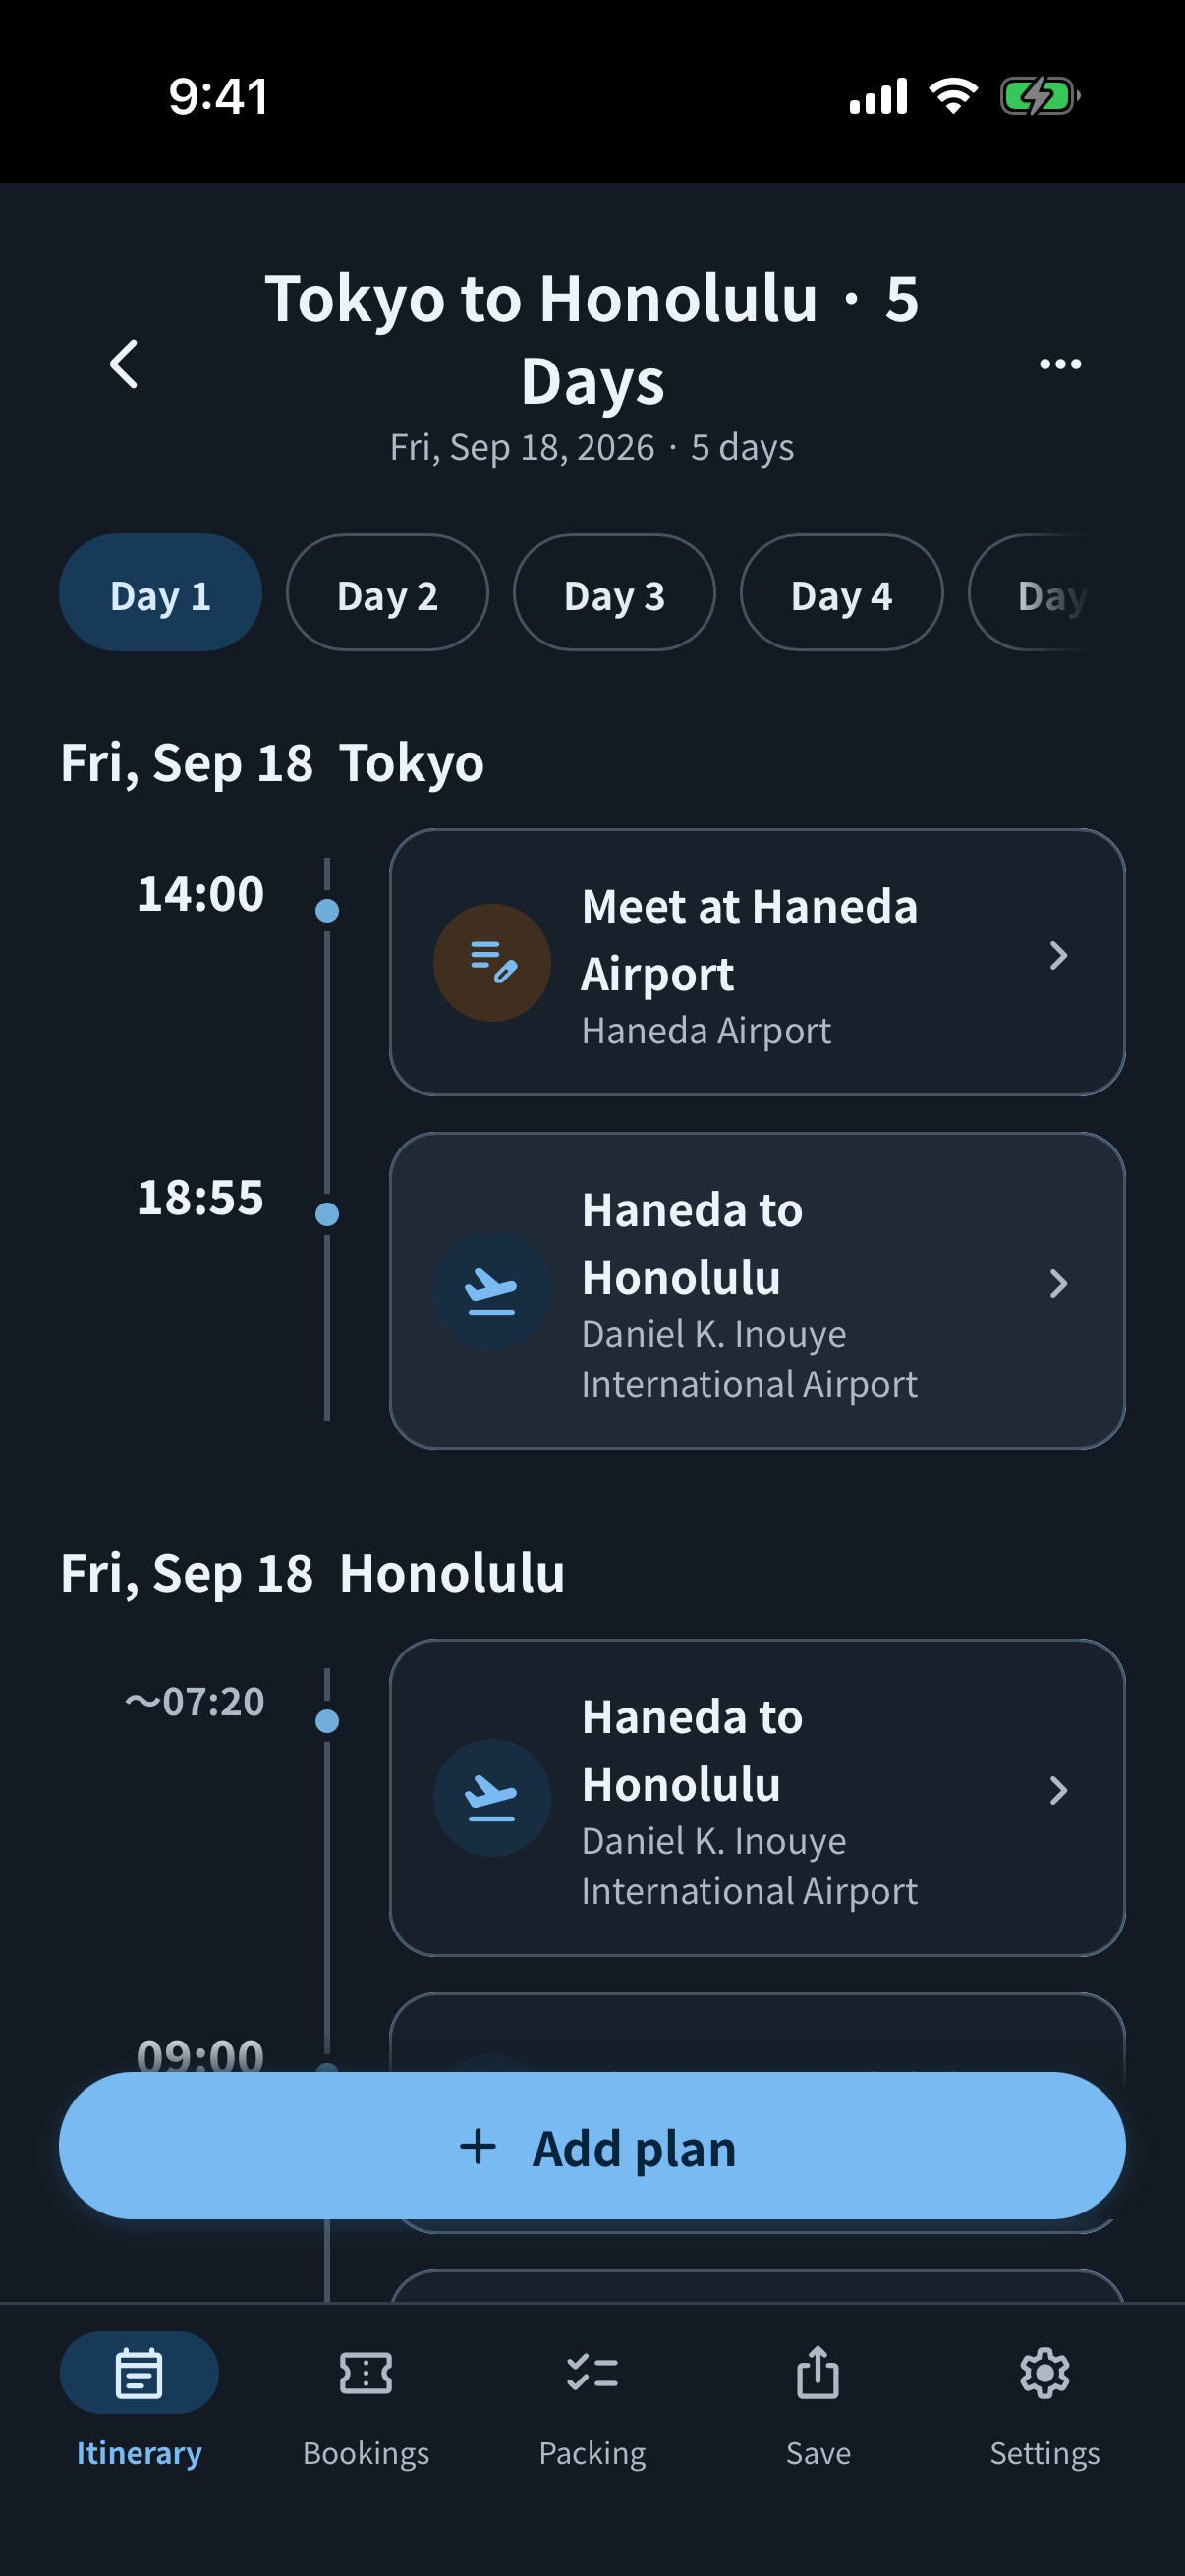
Review a plan before editing
Select a plan card to open its read-only detail screen. Review the schedule, place, notes, booking information, and cost, then select Edit when something needs to change.
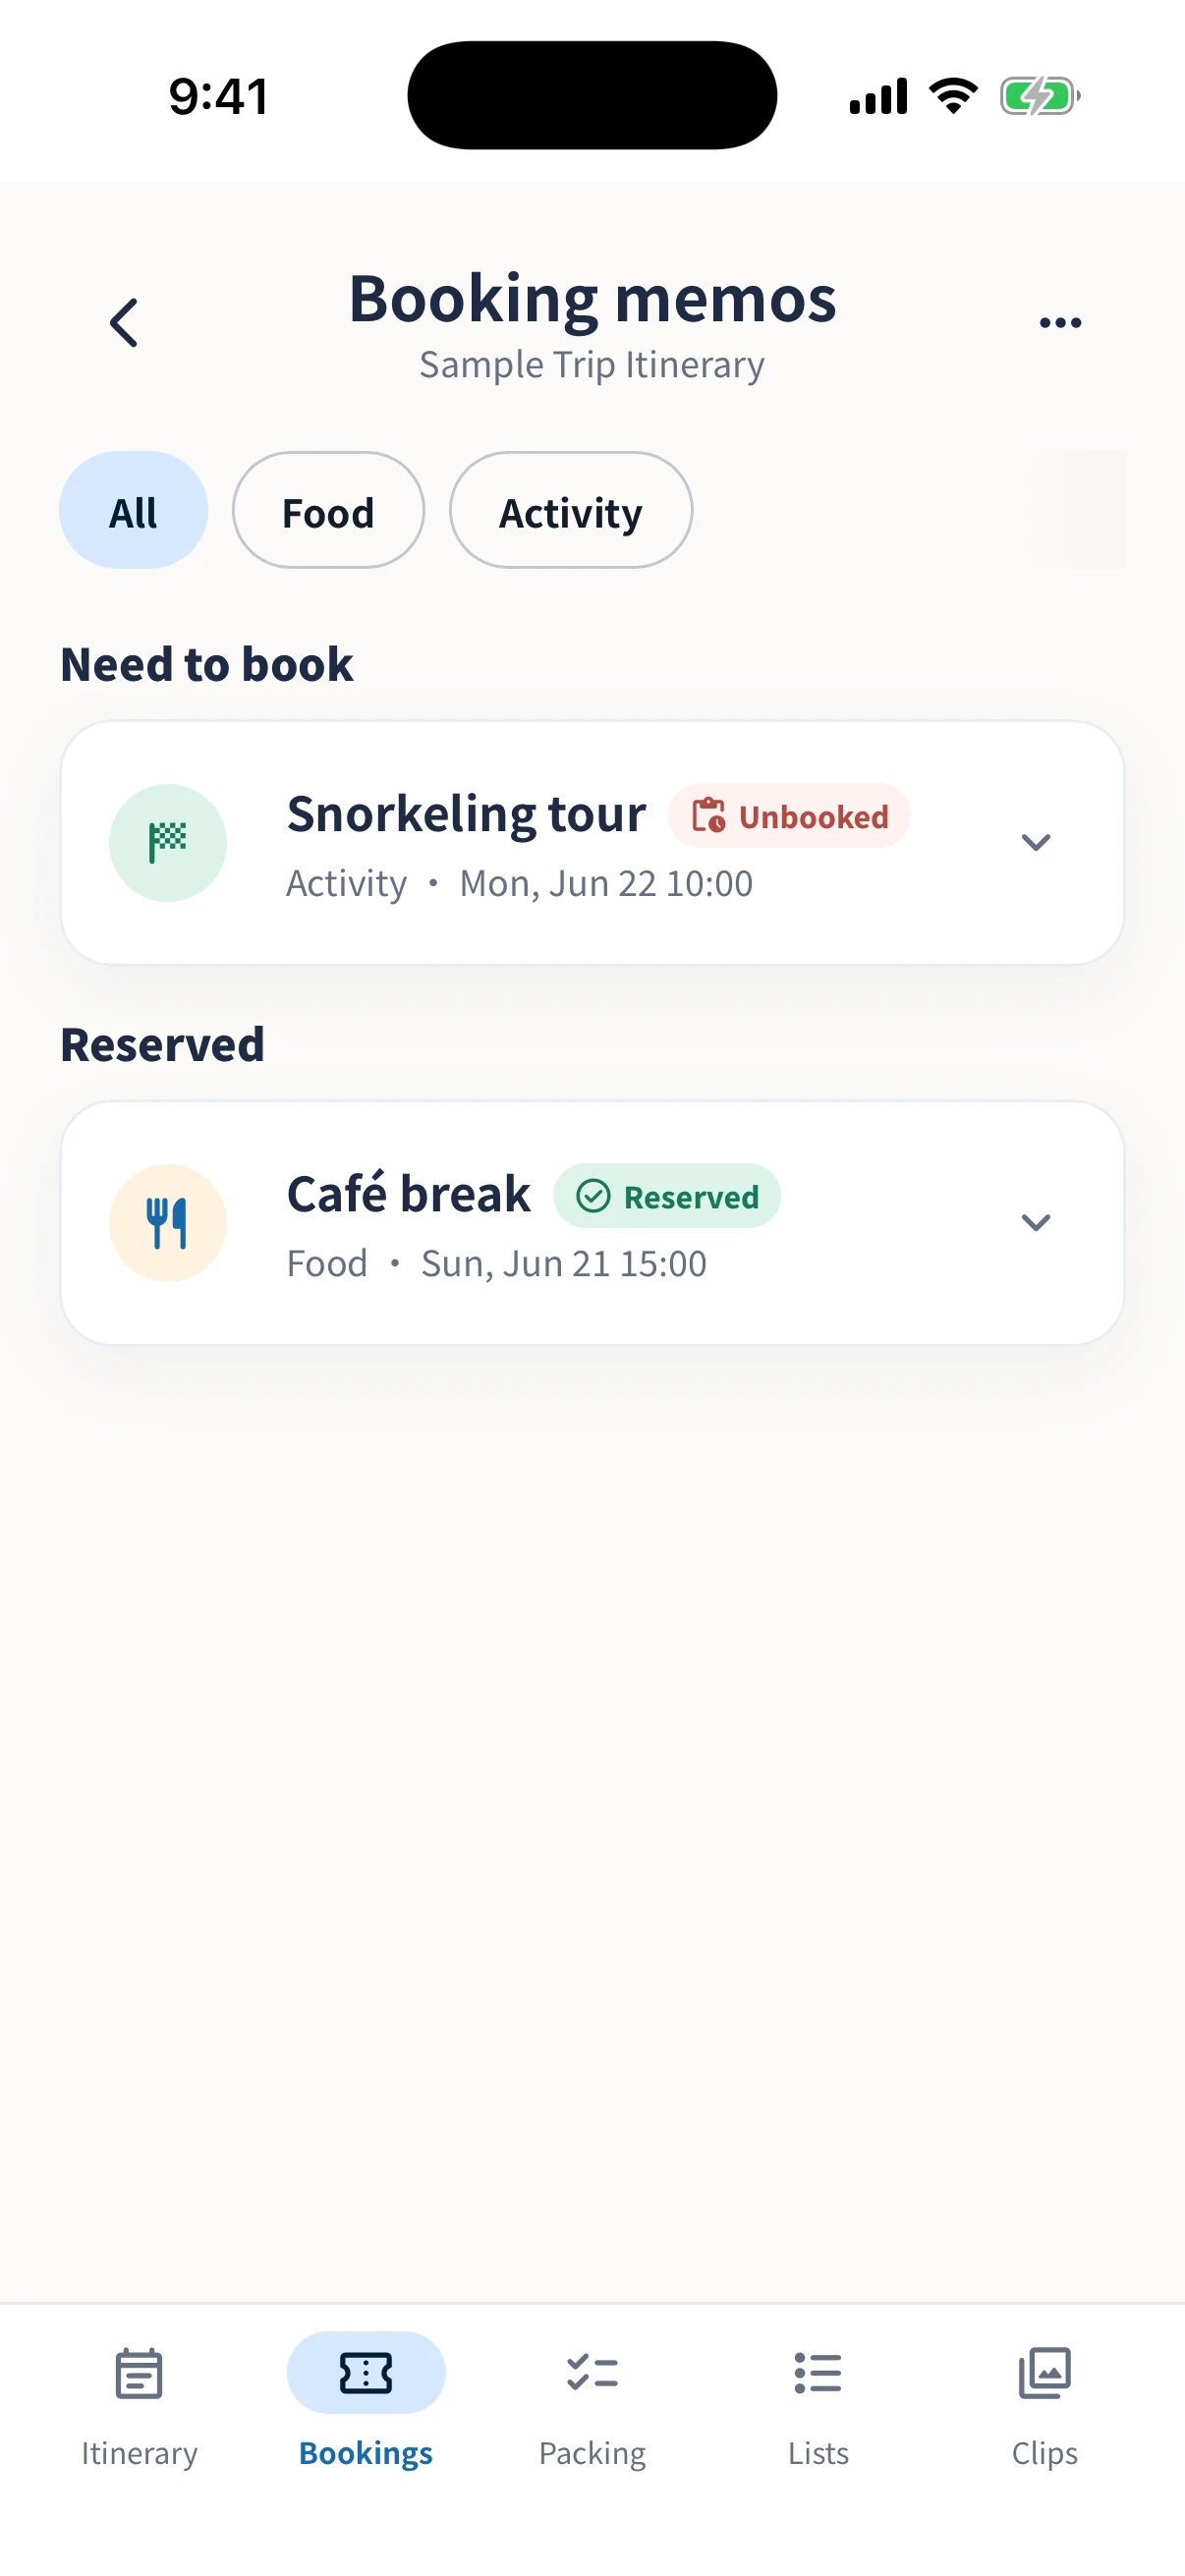
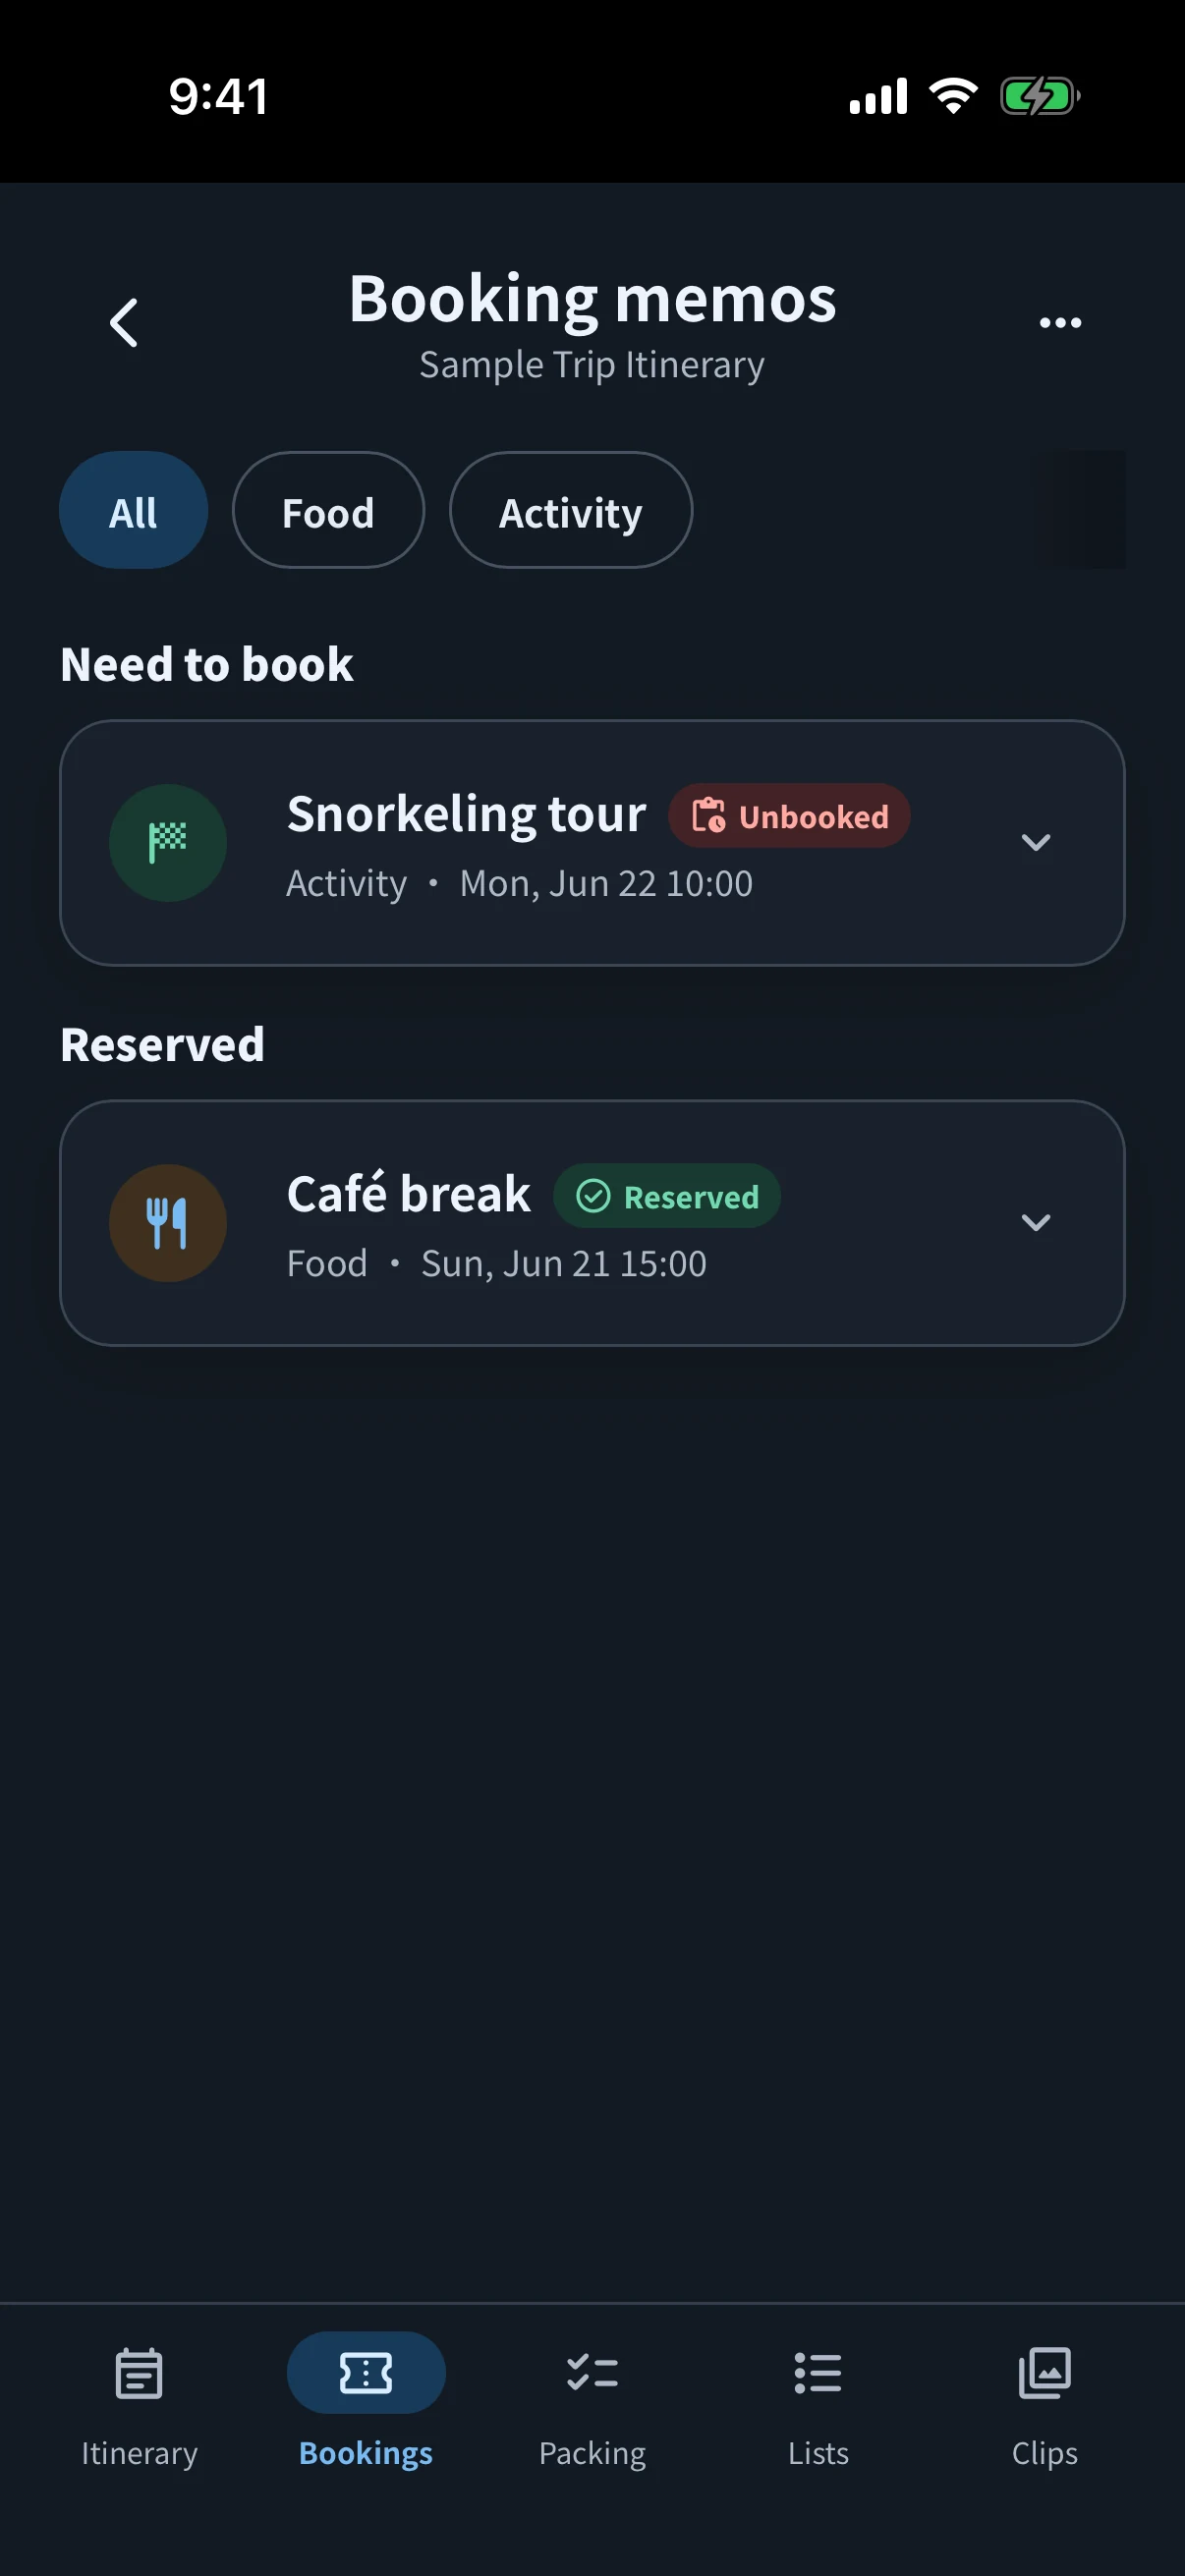
Add sub-plans from the detail screen to keep attractions or smaller activities inside a main plan. Plans marked “Need to book” or “Reserved” also appear under Bookings.
04 BOOKINGS
Keep reservation details where you can find them
Review booking information linked to plans alongside separate booking memos, including references, contact details, prices, and tickets.
- Add a booking memoAdd or edit a plan in Itinerary, then open “Add booking, URL or images” and choose the booking status.
- Enter only what you needAdd a title, date, confirmation number, phone, URL, amount, and note as appropriate.
- Attach tickets or documentsAdd up to 10 images or PDF files to one booking memo.
- Review it in BookingsAfter saving the plan, open Bookings to review its booking information by status.
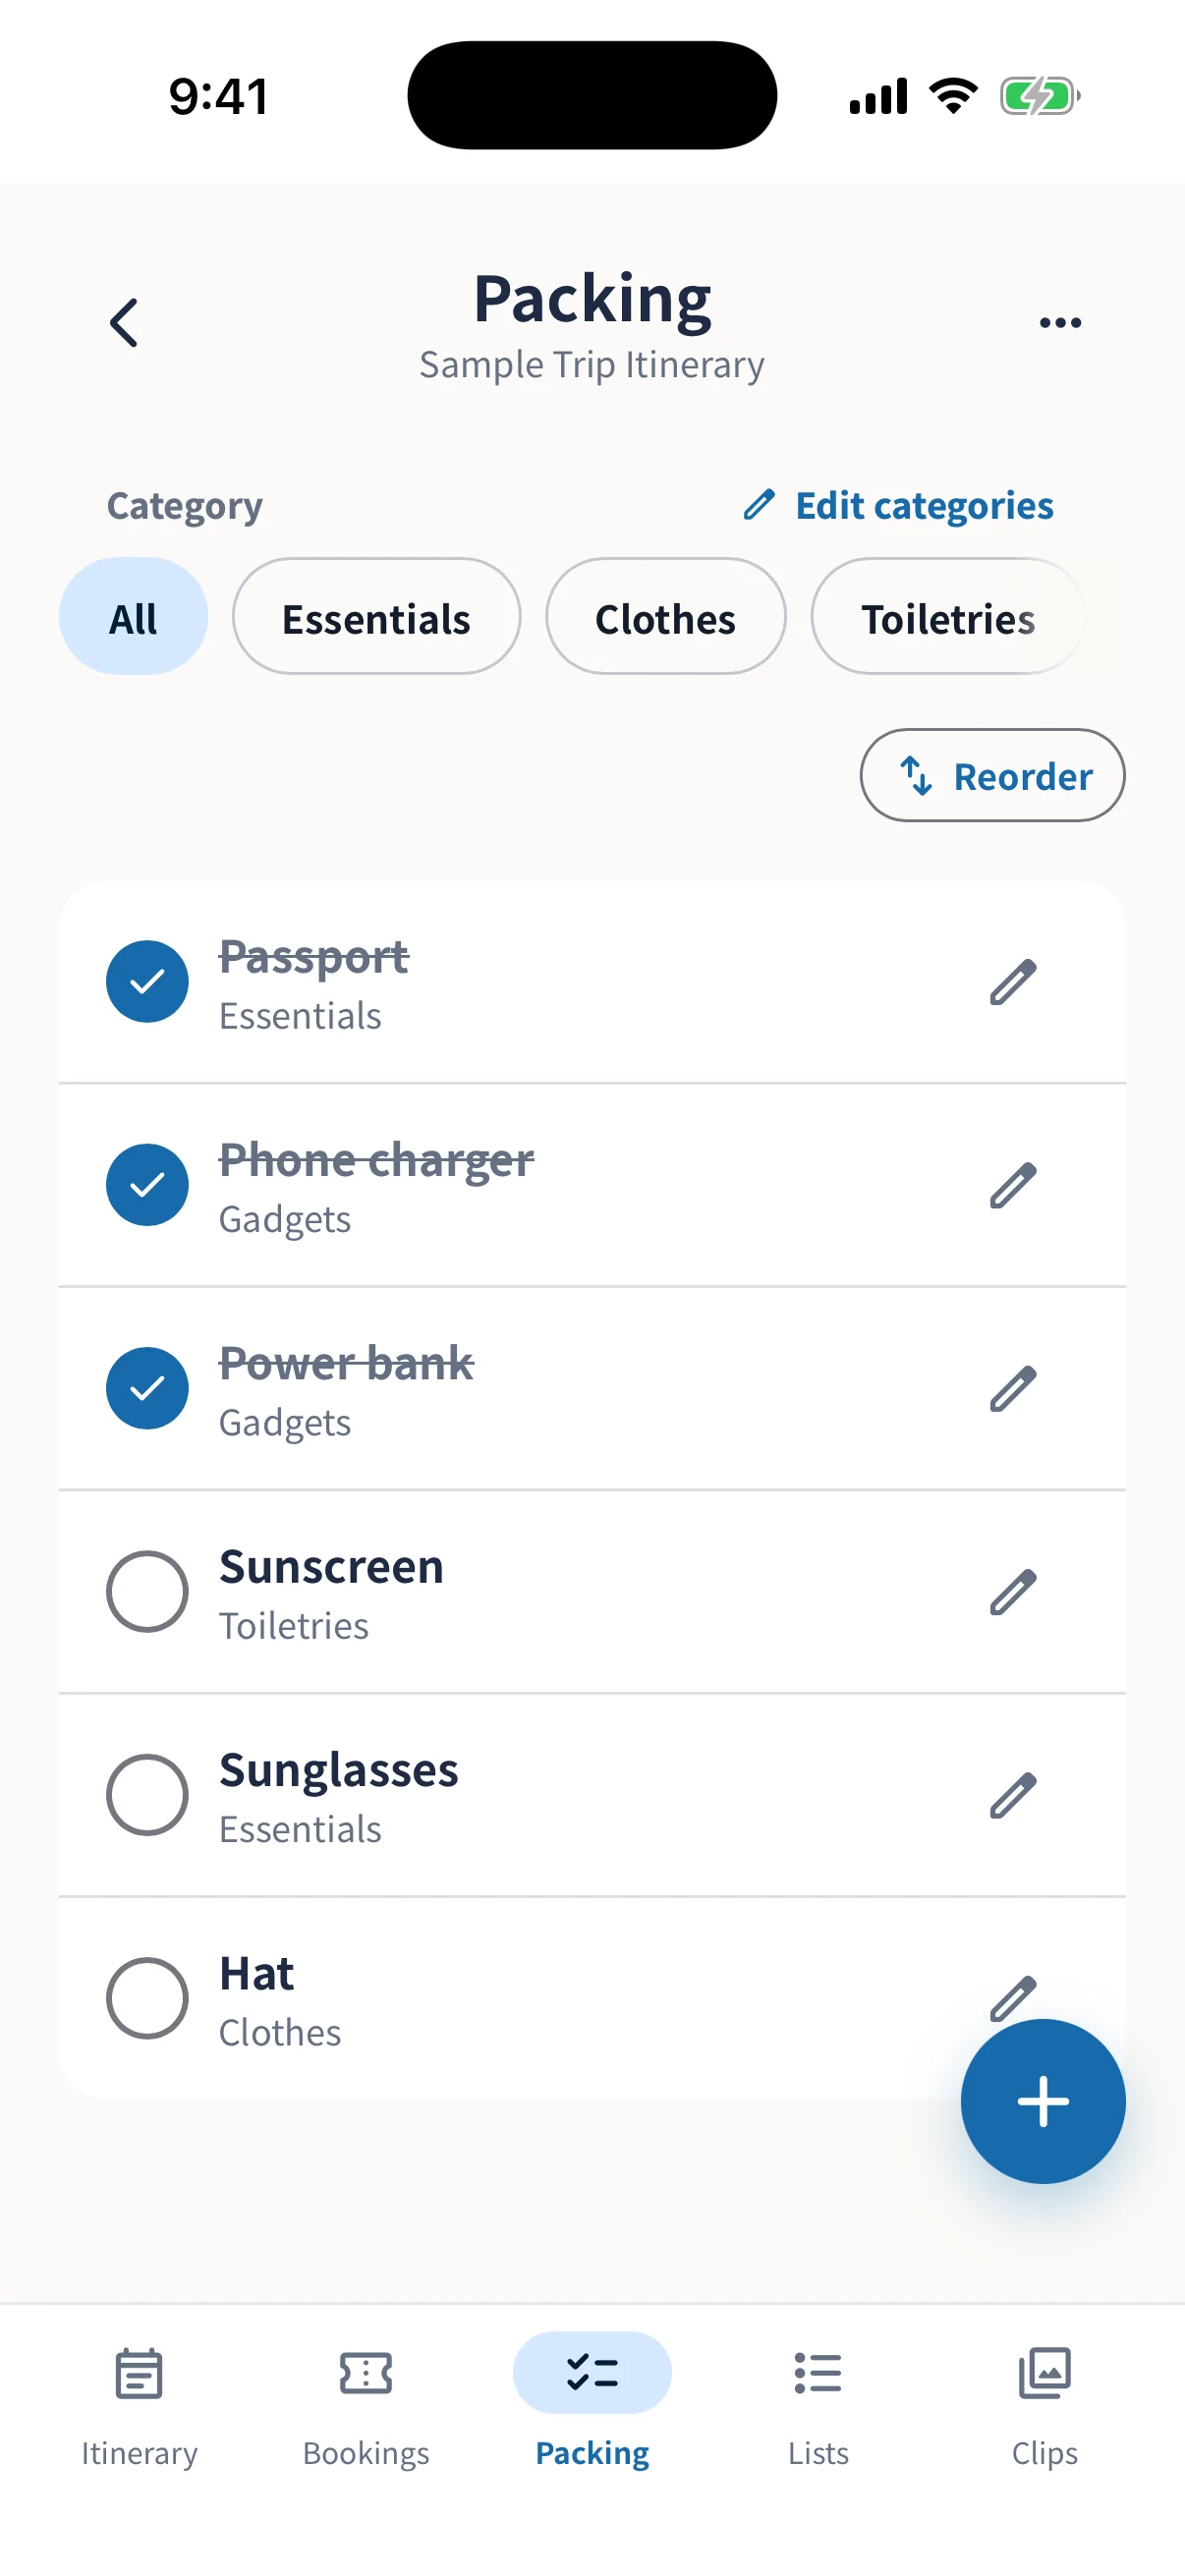
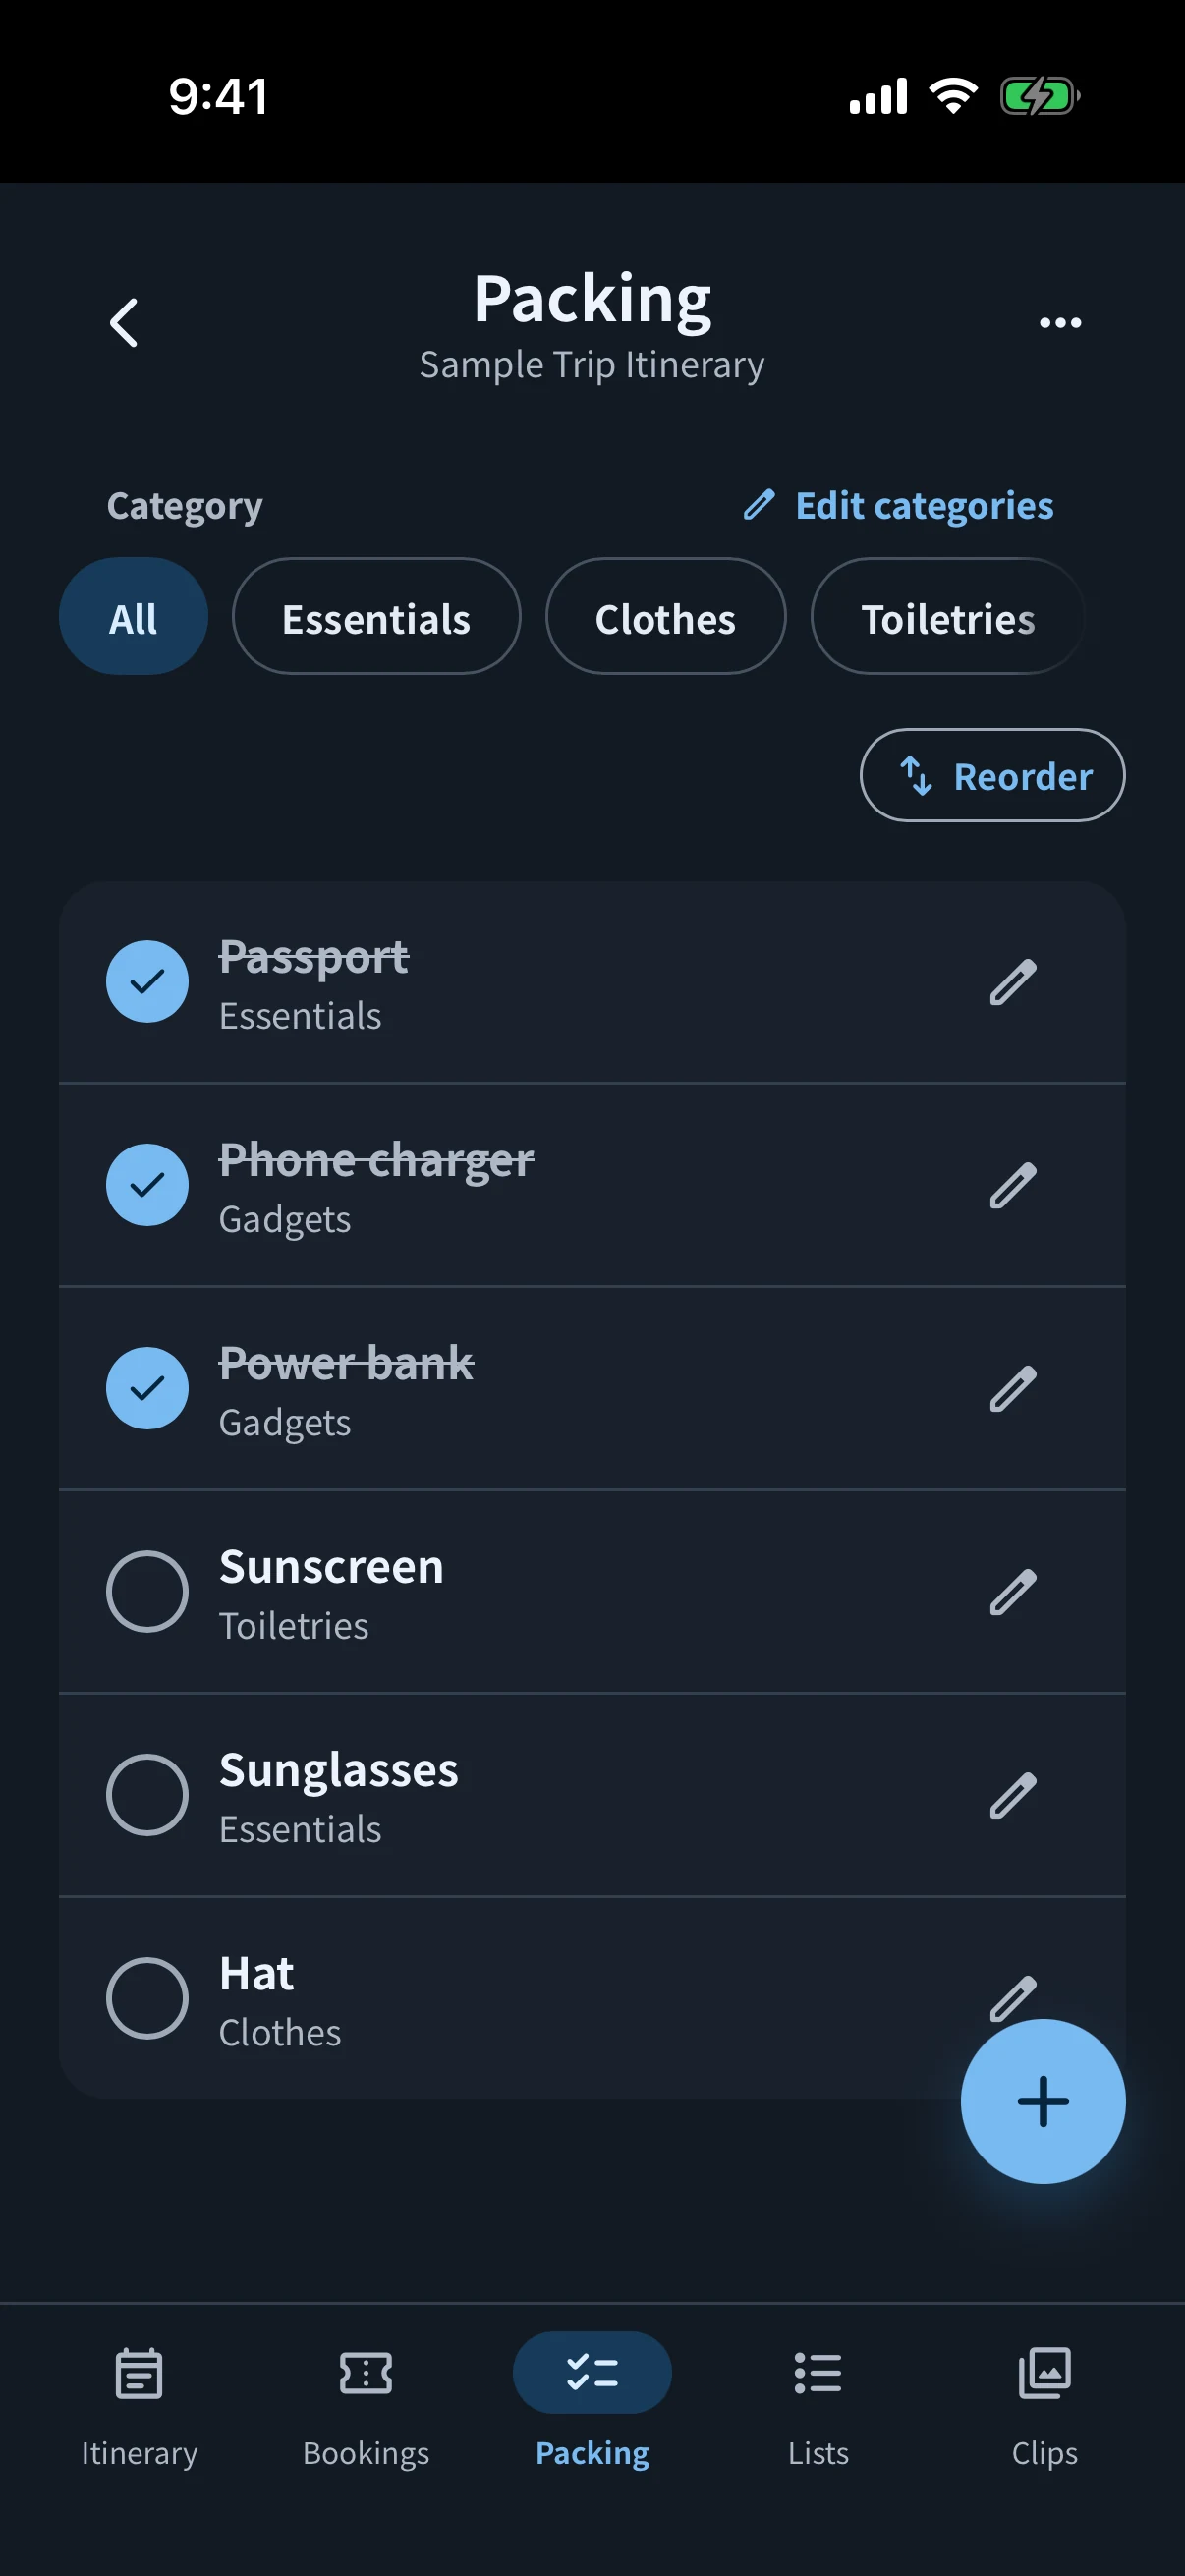
05 PACKING
Add what you need and check items as you pack
Add items one at a time, start from a standard set, or copy packing from another trip.
- Prepare your listAdd one item with the plus button, use the standard set, or copy from another trip.
- Organize categoriesFilter by categories such as Essentials, Clothes, and Toiletries. Categories can be added, renamed, deleted, and reordered.
- Arrange and editReorder frequently used items and edit each item’s name, category, and note.
- Check items when readyMark packed items and see what remains before departure.
06 LISTS
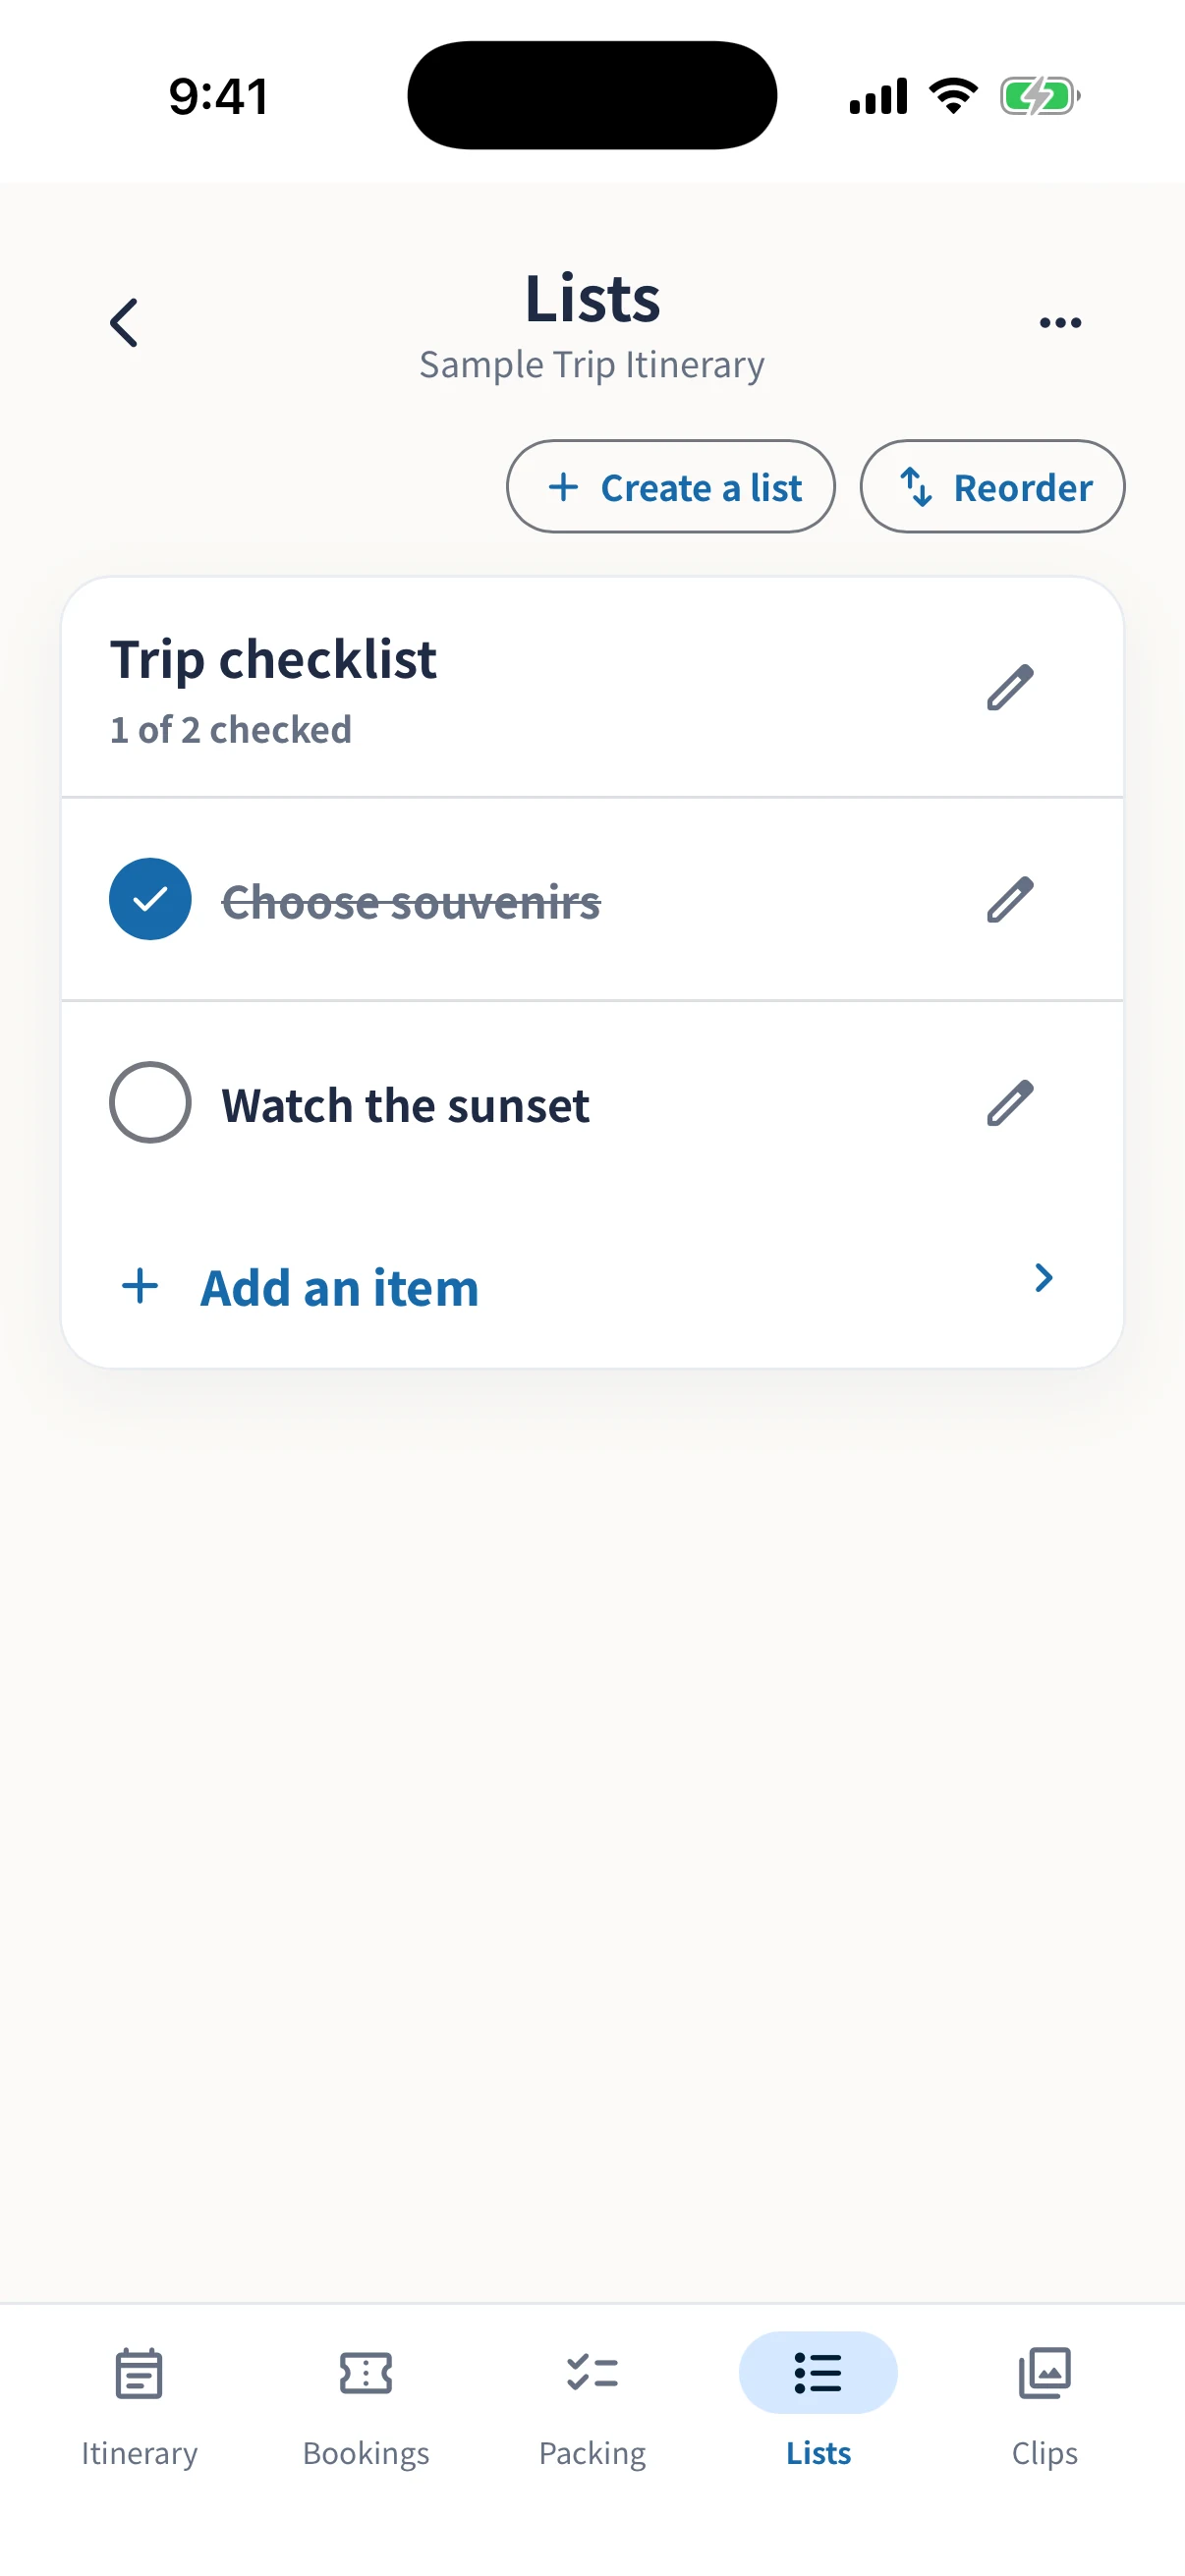
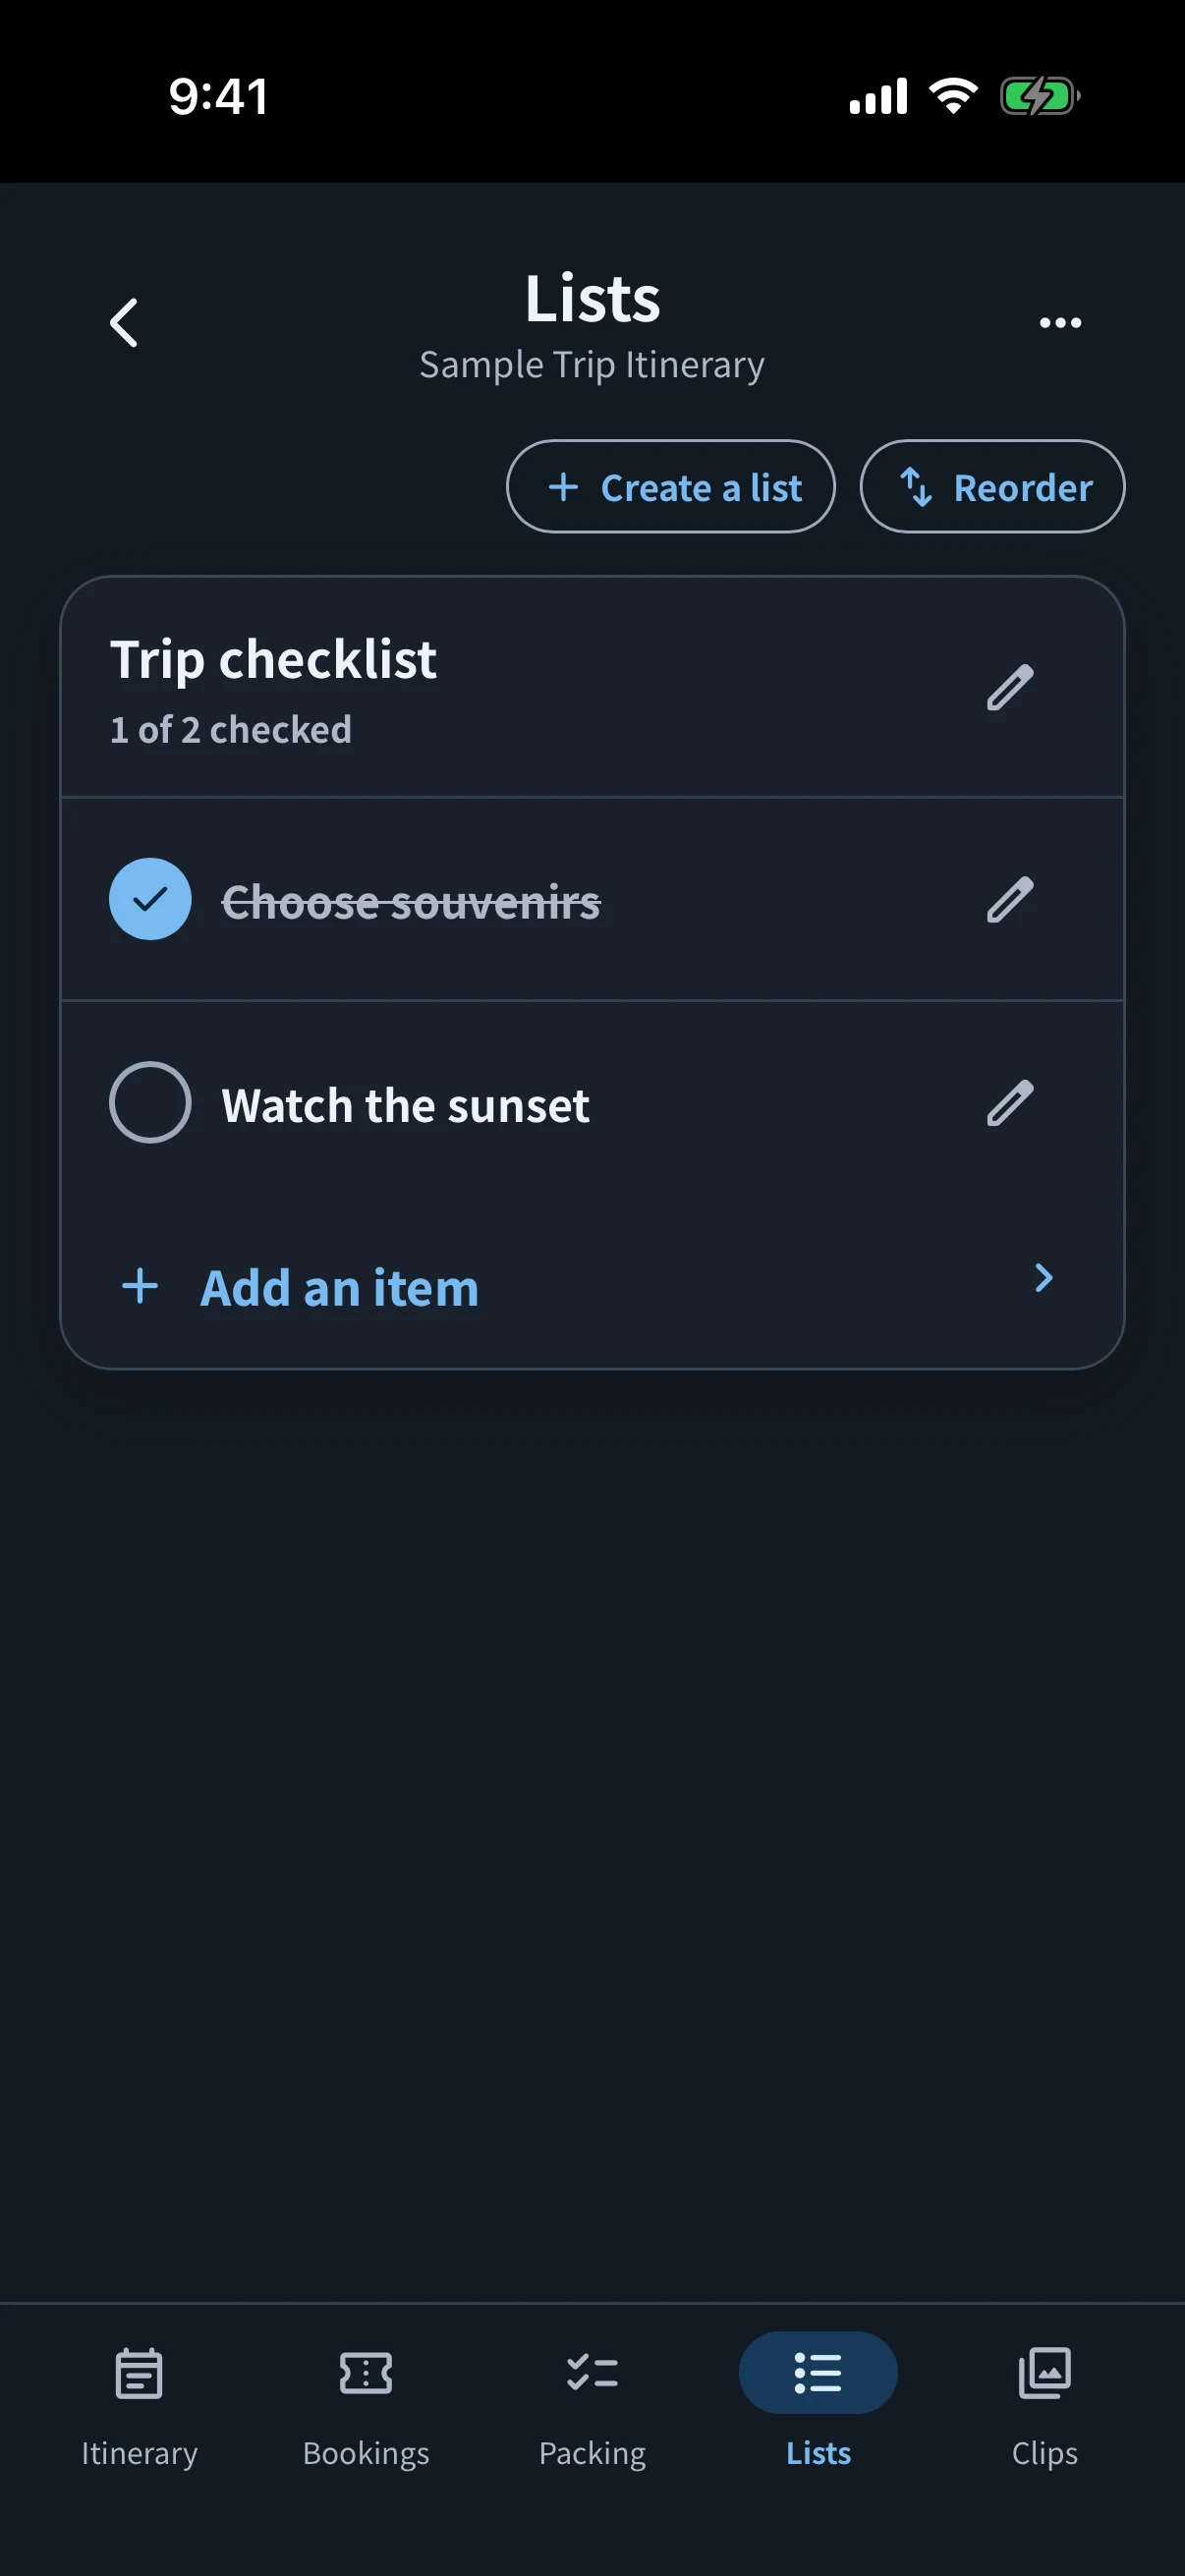
Create flexible checklists for each trip
Keep souvenirs, places to visit, shopping, and other tasks separate from packing.
Create multiple lists
Name each list for its purpose, such as Souvenirs or Places to visit.
Add and check items
Add items quickly, then open details when you need to edit a name.
Arrange them your way
Drag lists and the items inside them into the order you prefer.
Use them together
List structure is shared in Edit together. View & check participants can update their own checks through the trip end date.
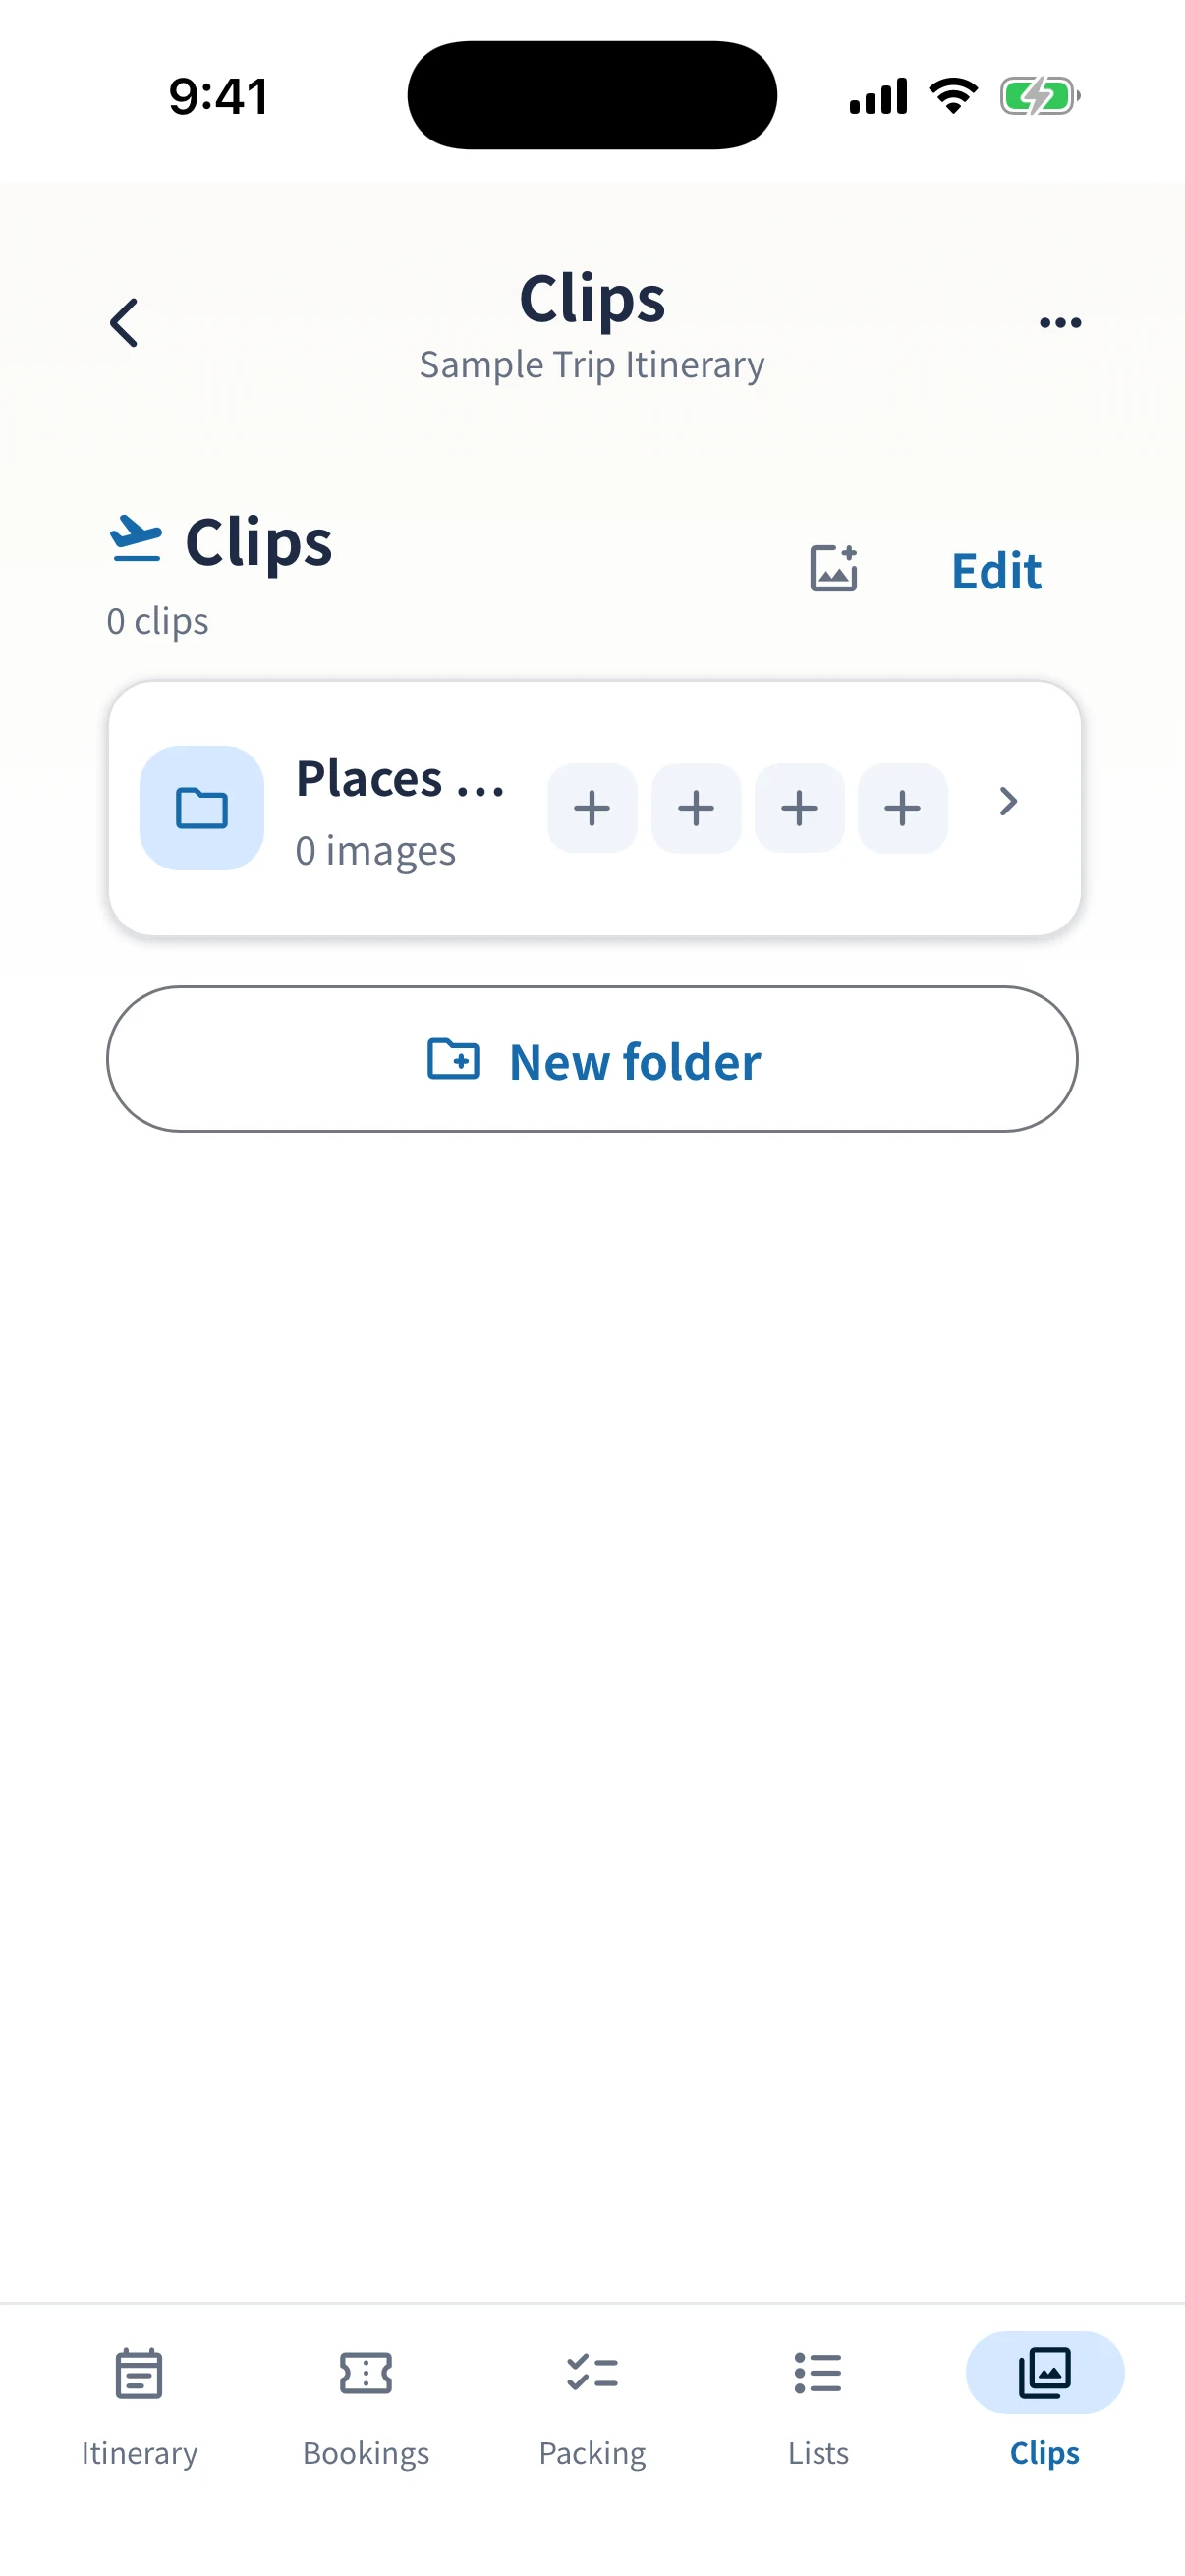
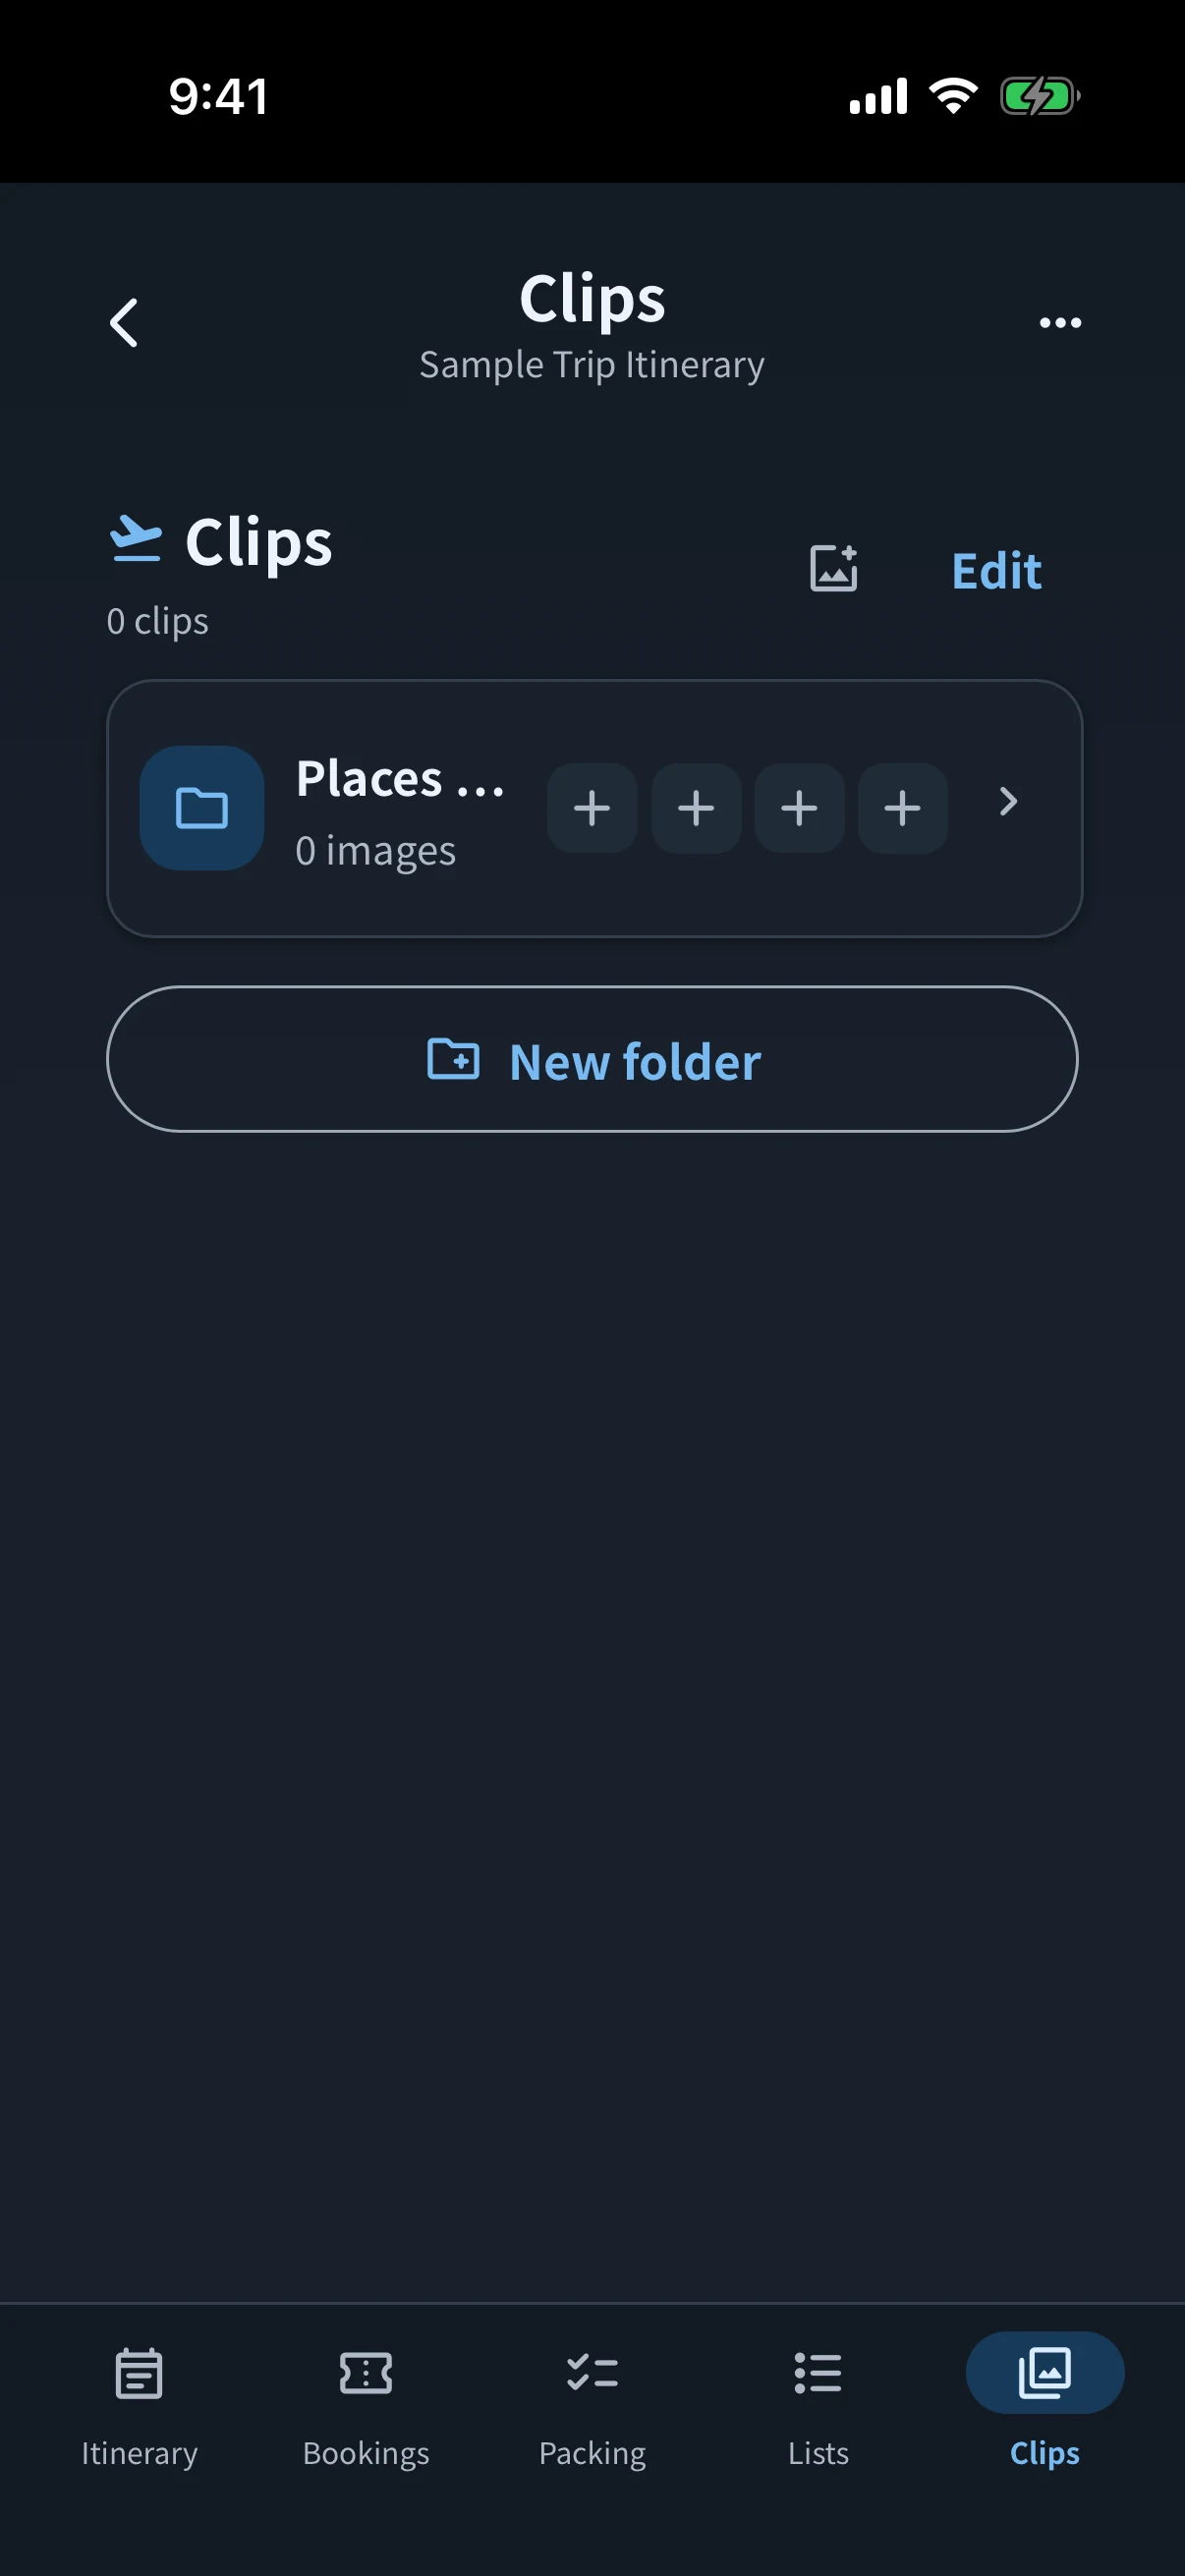
07 CLIPS
Collect places and food ideas as images
Add screenshots and other images to a trip, then sort candidates into folders. Images can be added in the iPhone and iPad apps.
- Create foldersPrepare folders for themes such as Breakfast or Souvenir ideas.
- Add and sort imagesReview uncategorized images, keep the ones you want, and set others aside. Set-aside images can be restored or deleted permanently.
- Change the viewChoose list or card view and sort by added order or Trip order. Mark favorites with the Trip badge.
- Send an image to the itineraryCreate an image-backed plan from a folder, or move several images between folders.
08 MONEY
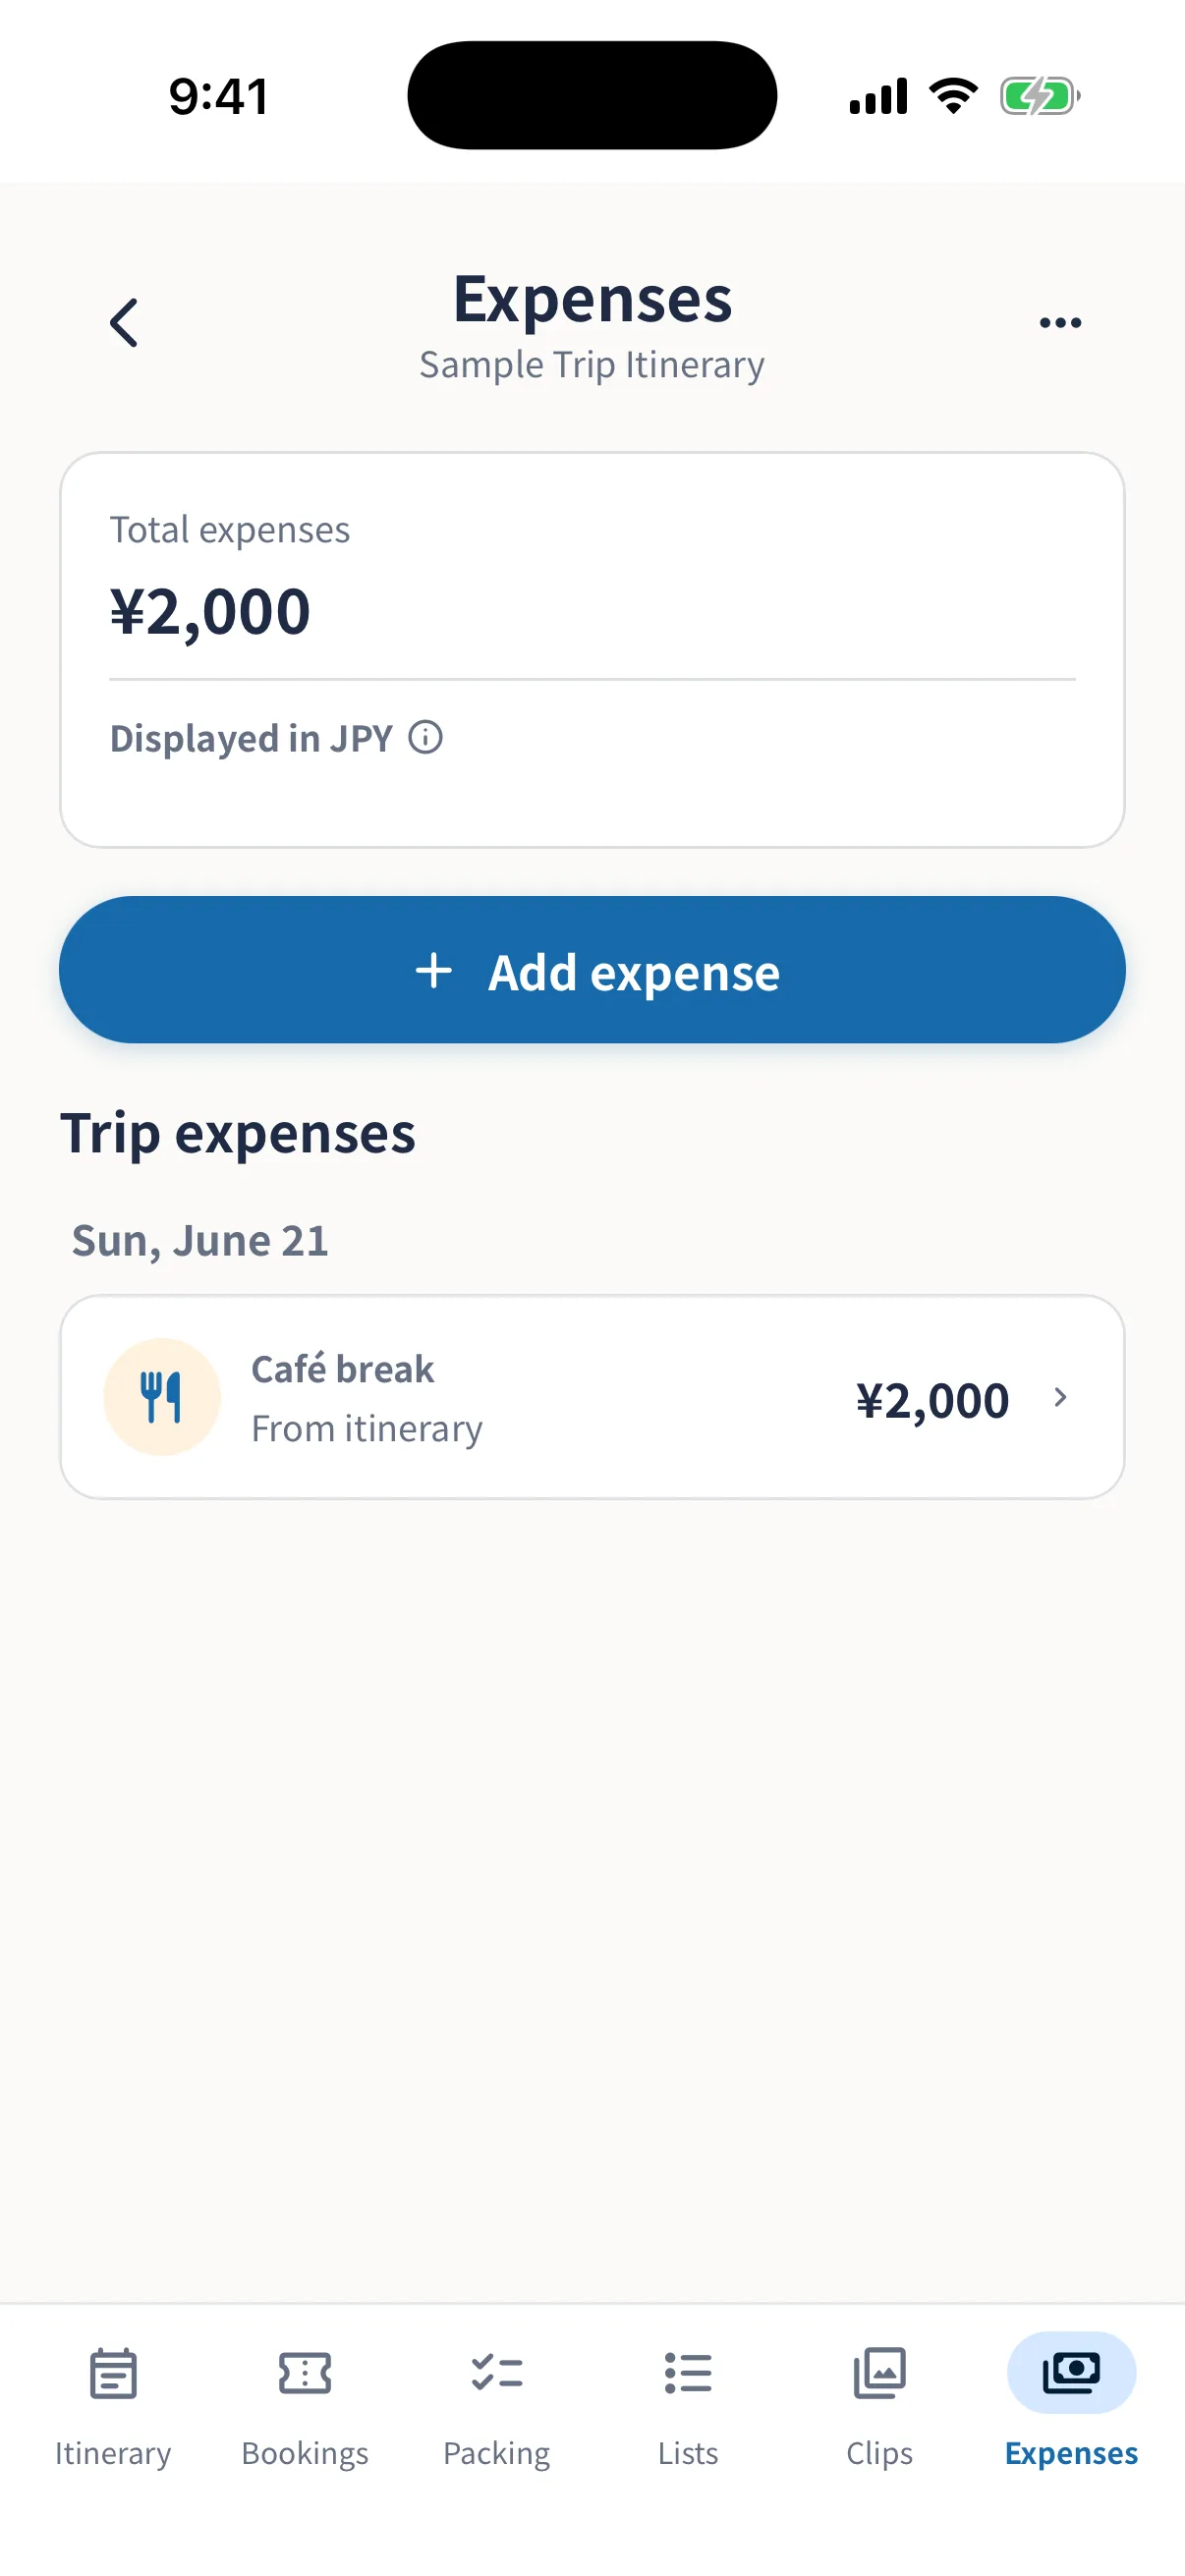
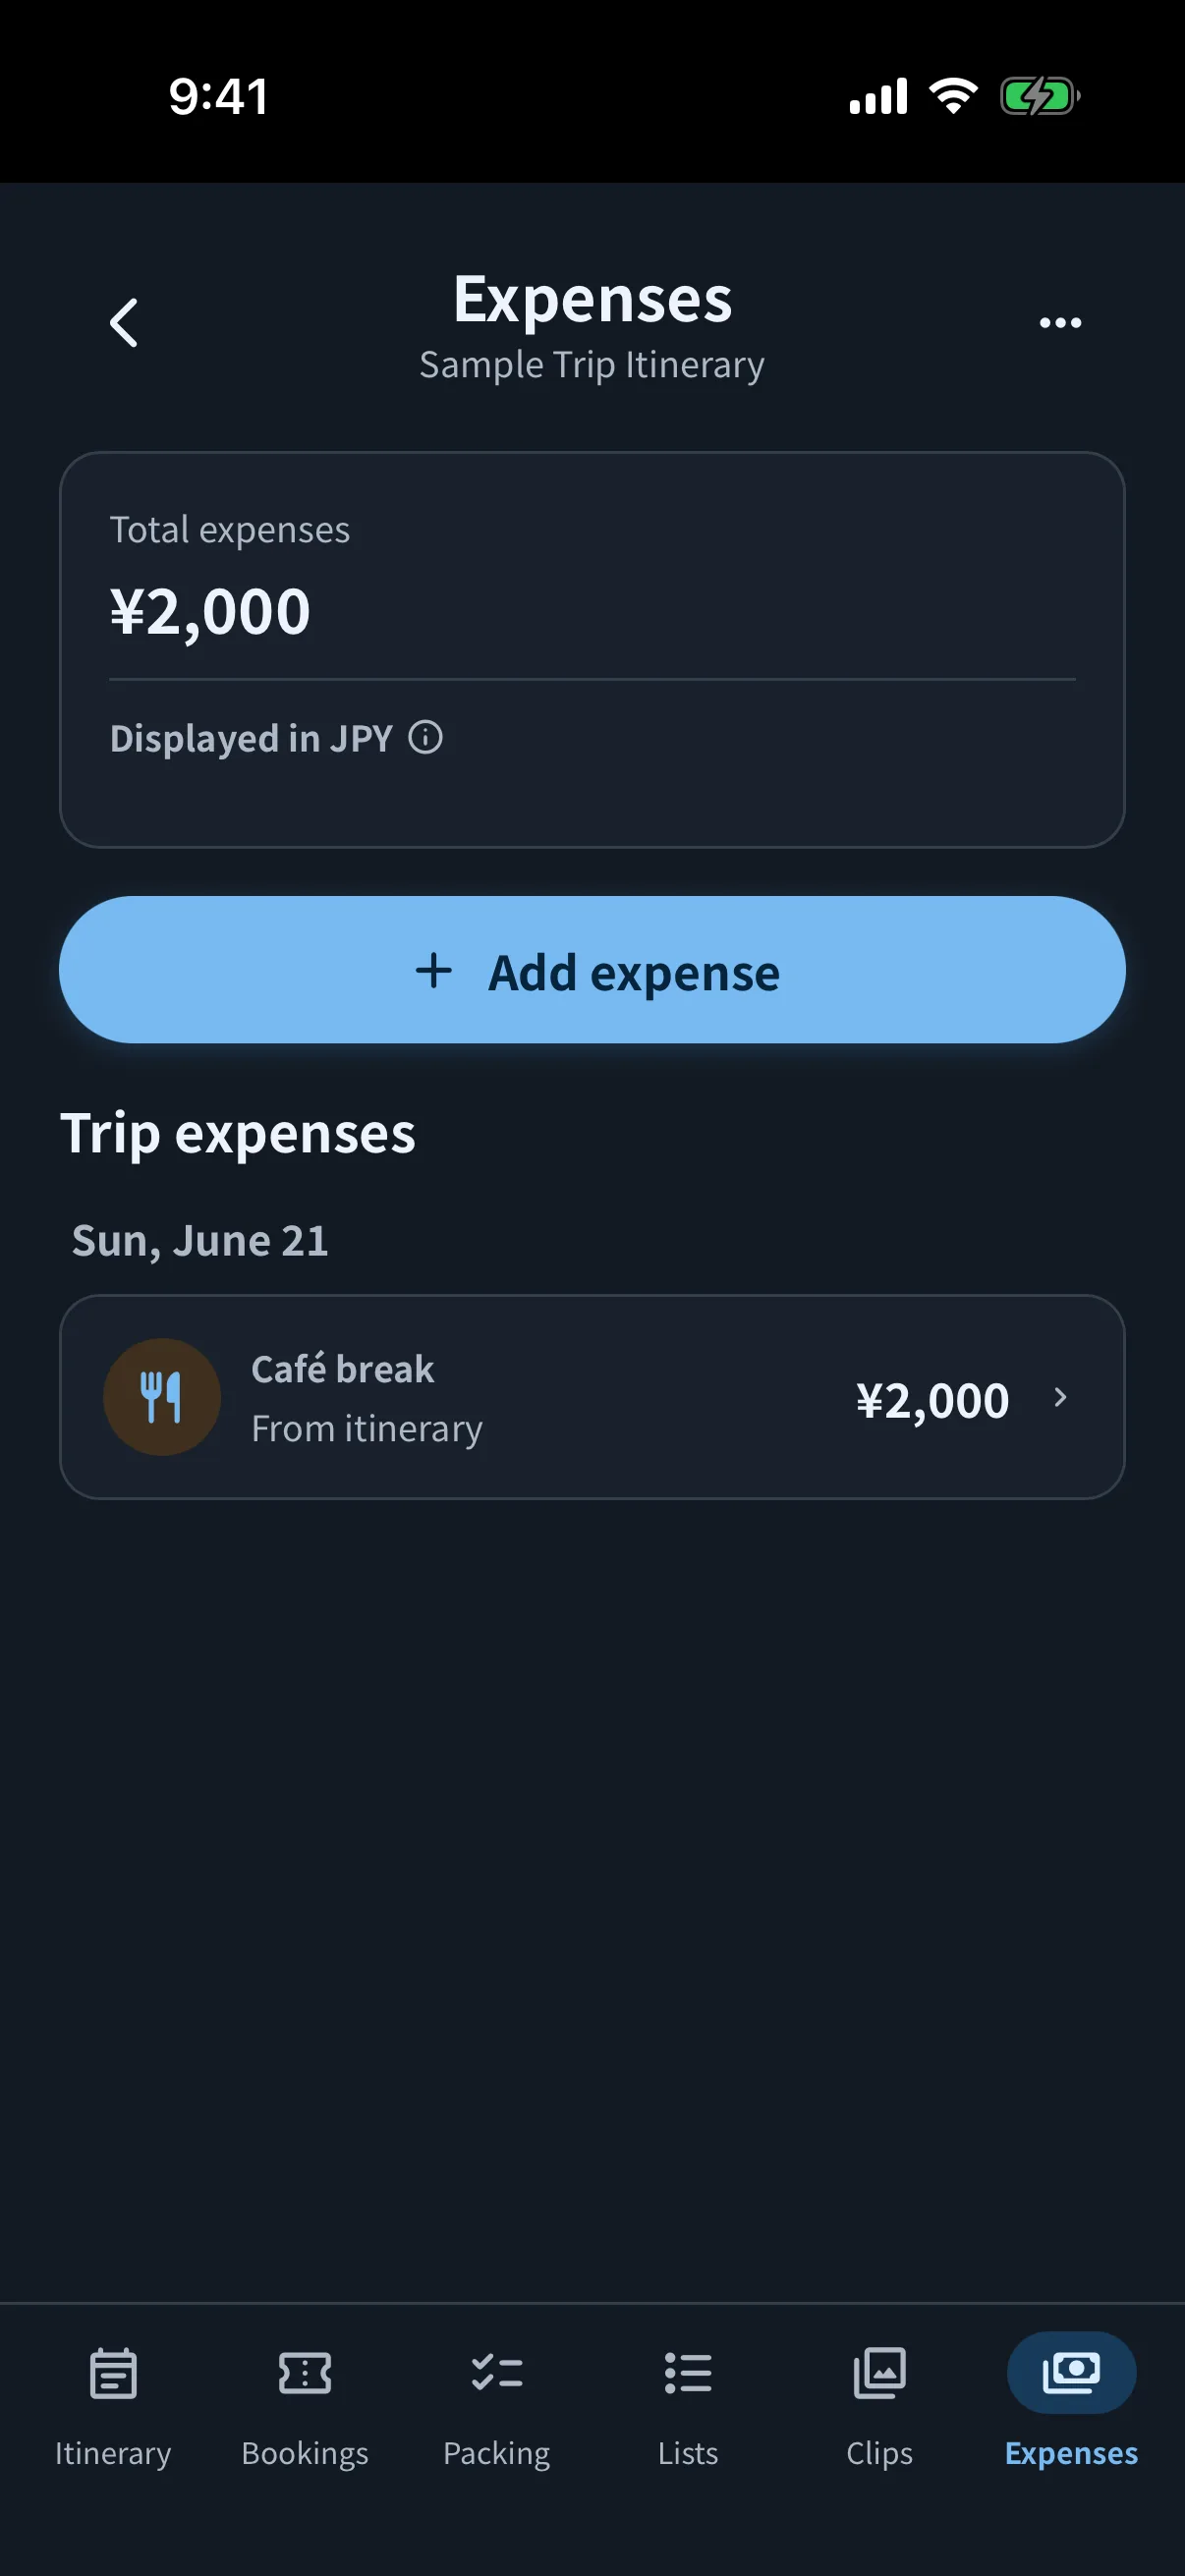
Bring trip spending together and see what needs settling
Collect amounts entered in plans and bookings alongside expenses added on the spot. For trips with multiple currencies, see an estimated total in the base currency.
- Collect trip expensesAmounts and currencies saved in plans or bookings appear automatically. Use “Add expense” to record meals, transport, and other spending directly.
- Review totals and currency detailsKeep each original amount and currency while viewing an estimated base-currency total and per-person amount using reference rates for each expense date.
- Choose who paid and how to splitIn Edit together, select the payer and people sharing the expense, then split equally, by ratio, or by exact amounts.
- Record settlementOpen Split to see who should send what amount, then mark the transfer as settled to keep it in the history.
09 SAVE AND SHARE
Send the trip in the format that fits
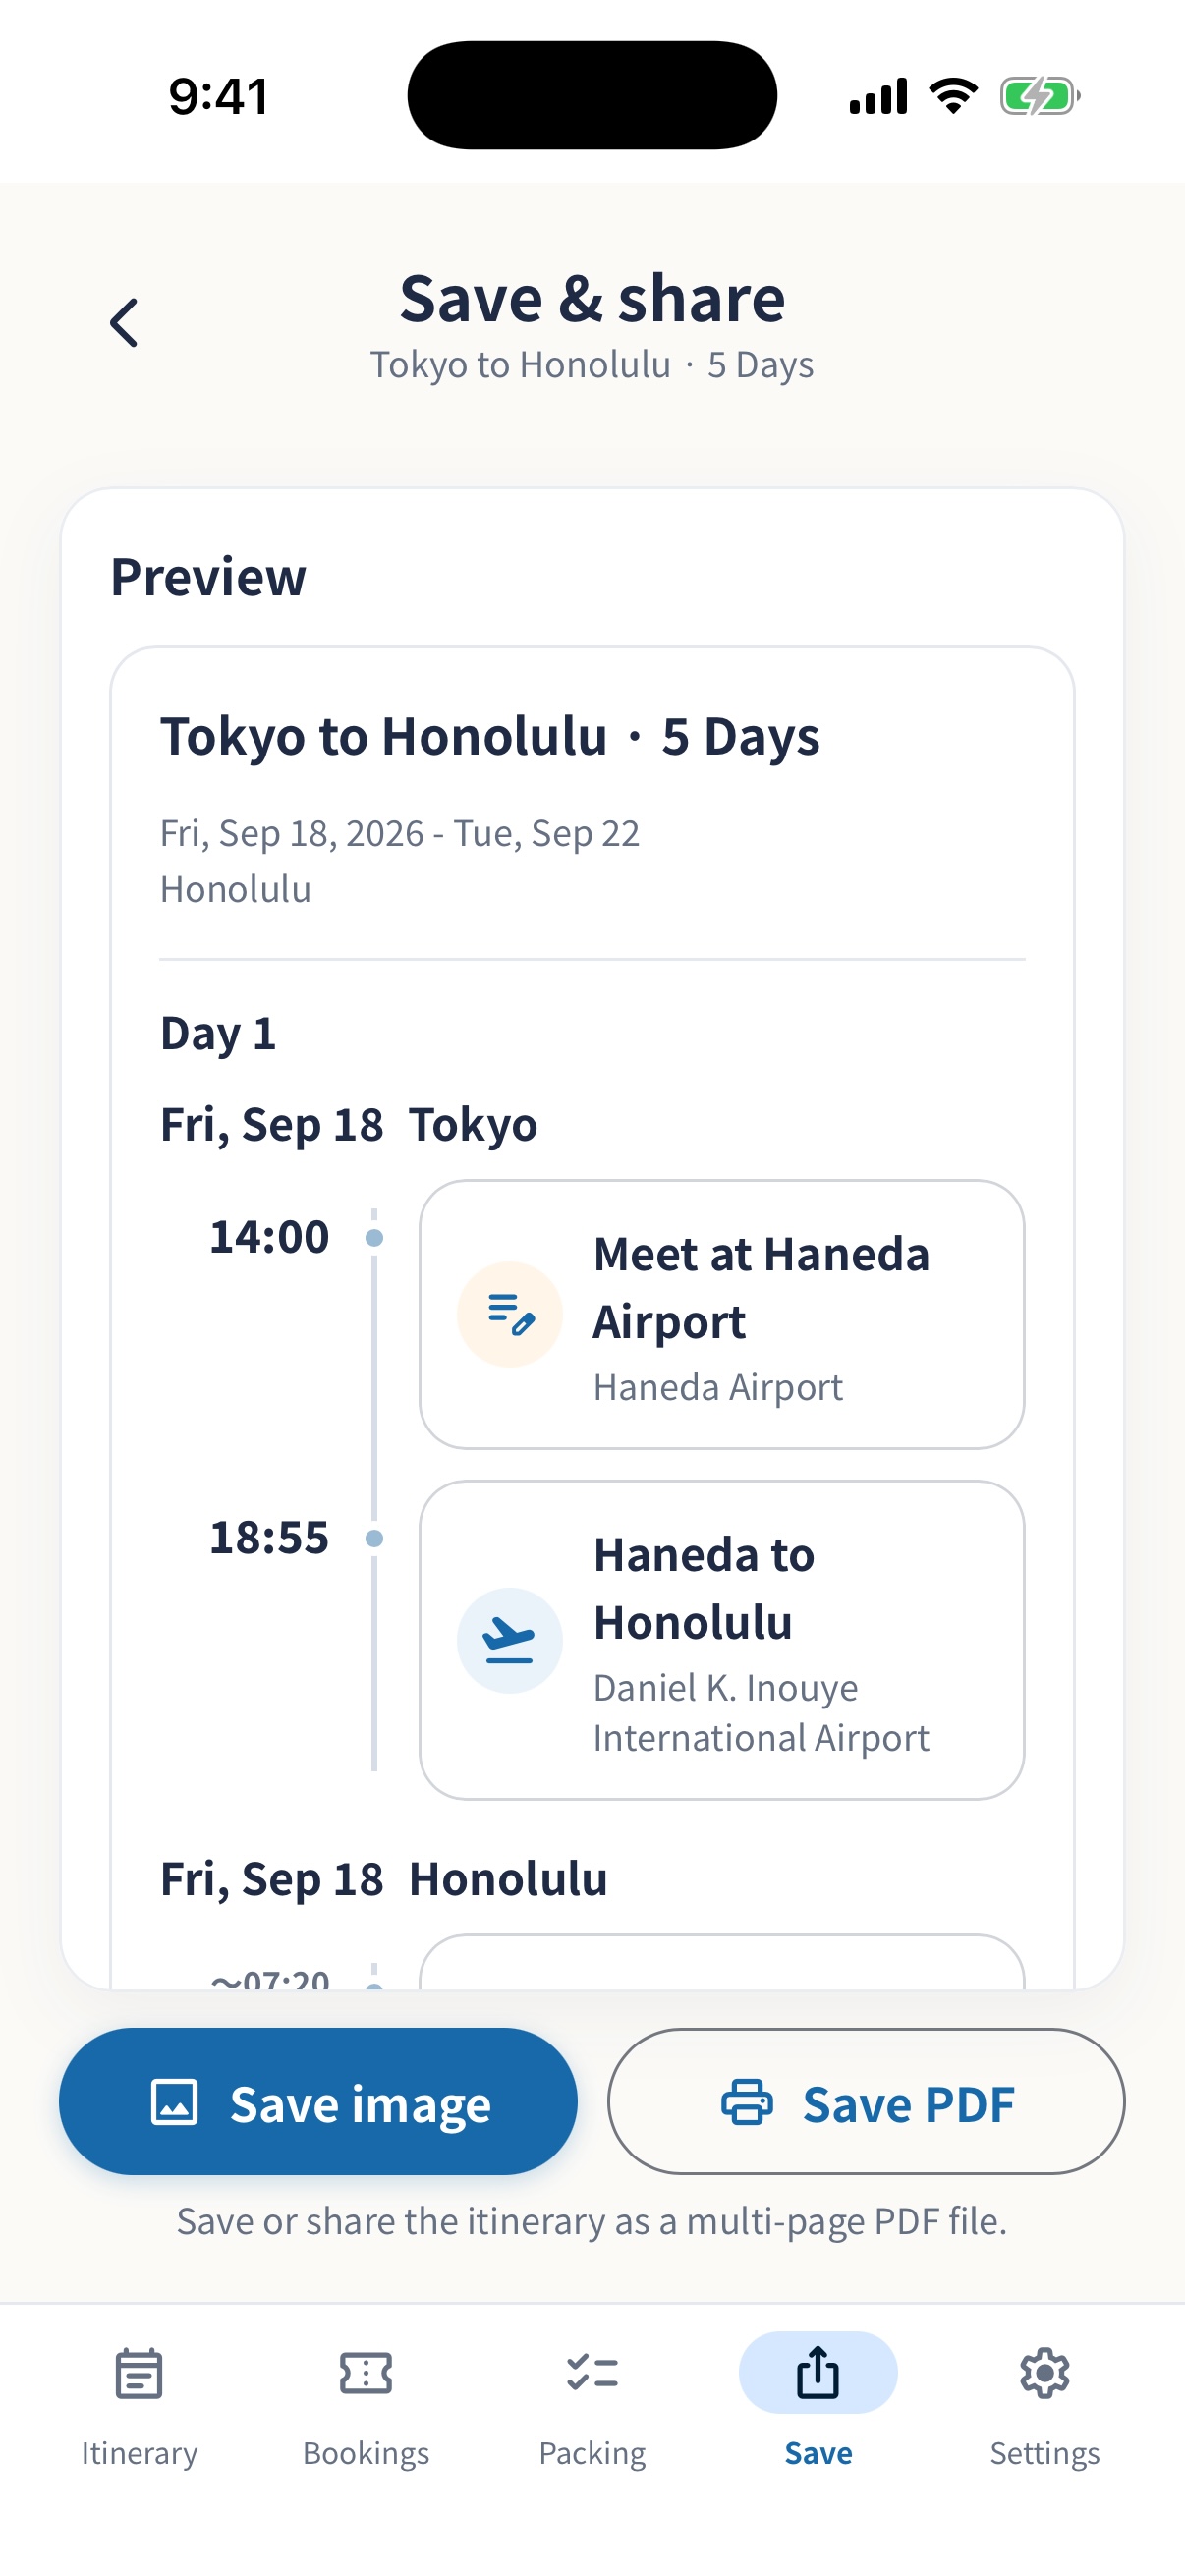
Use images, PDF, or text for someone who only needs to view the trip. Use a backup for data transfer, or Edit together when everyone needs the latest version.
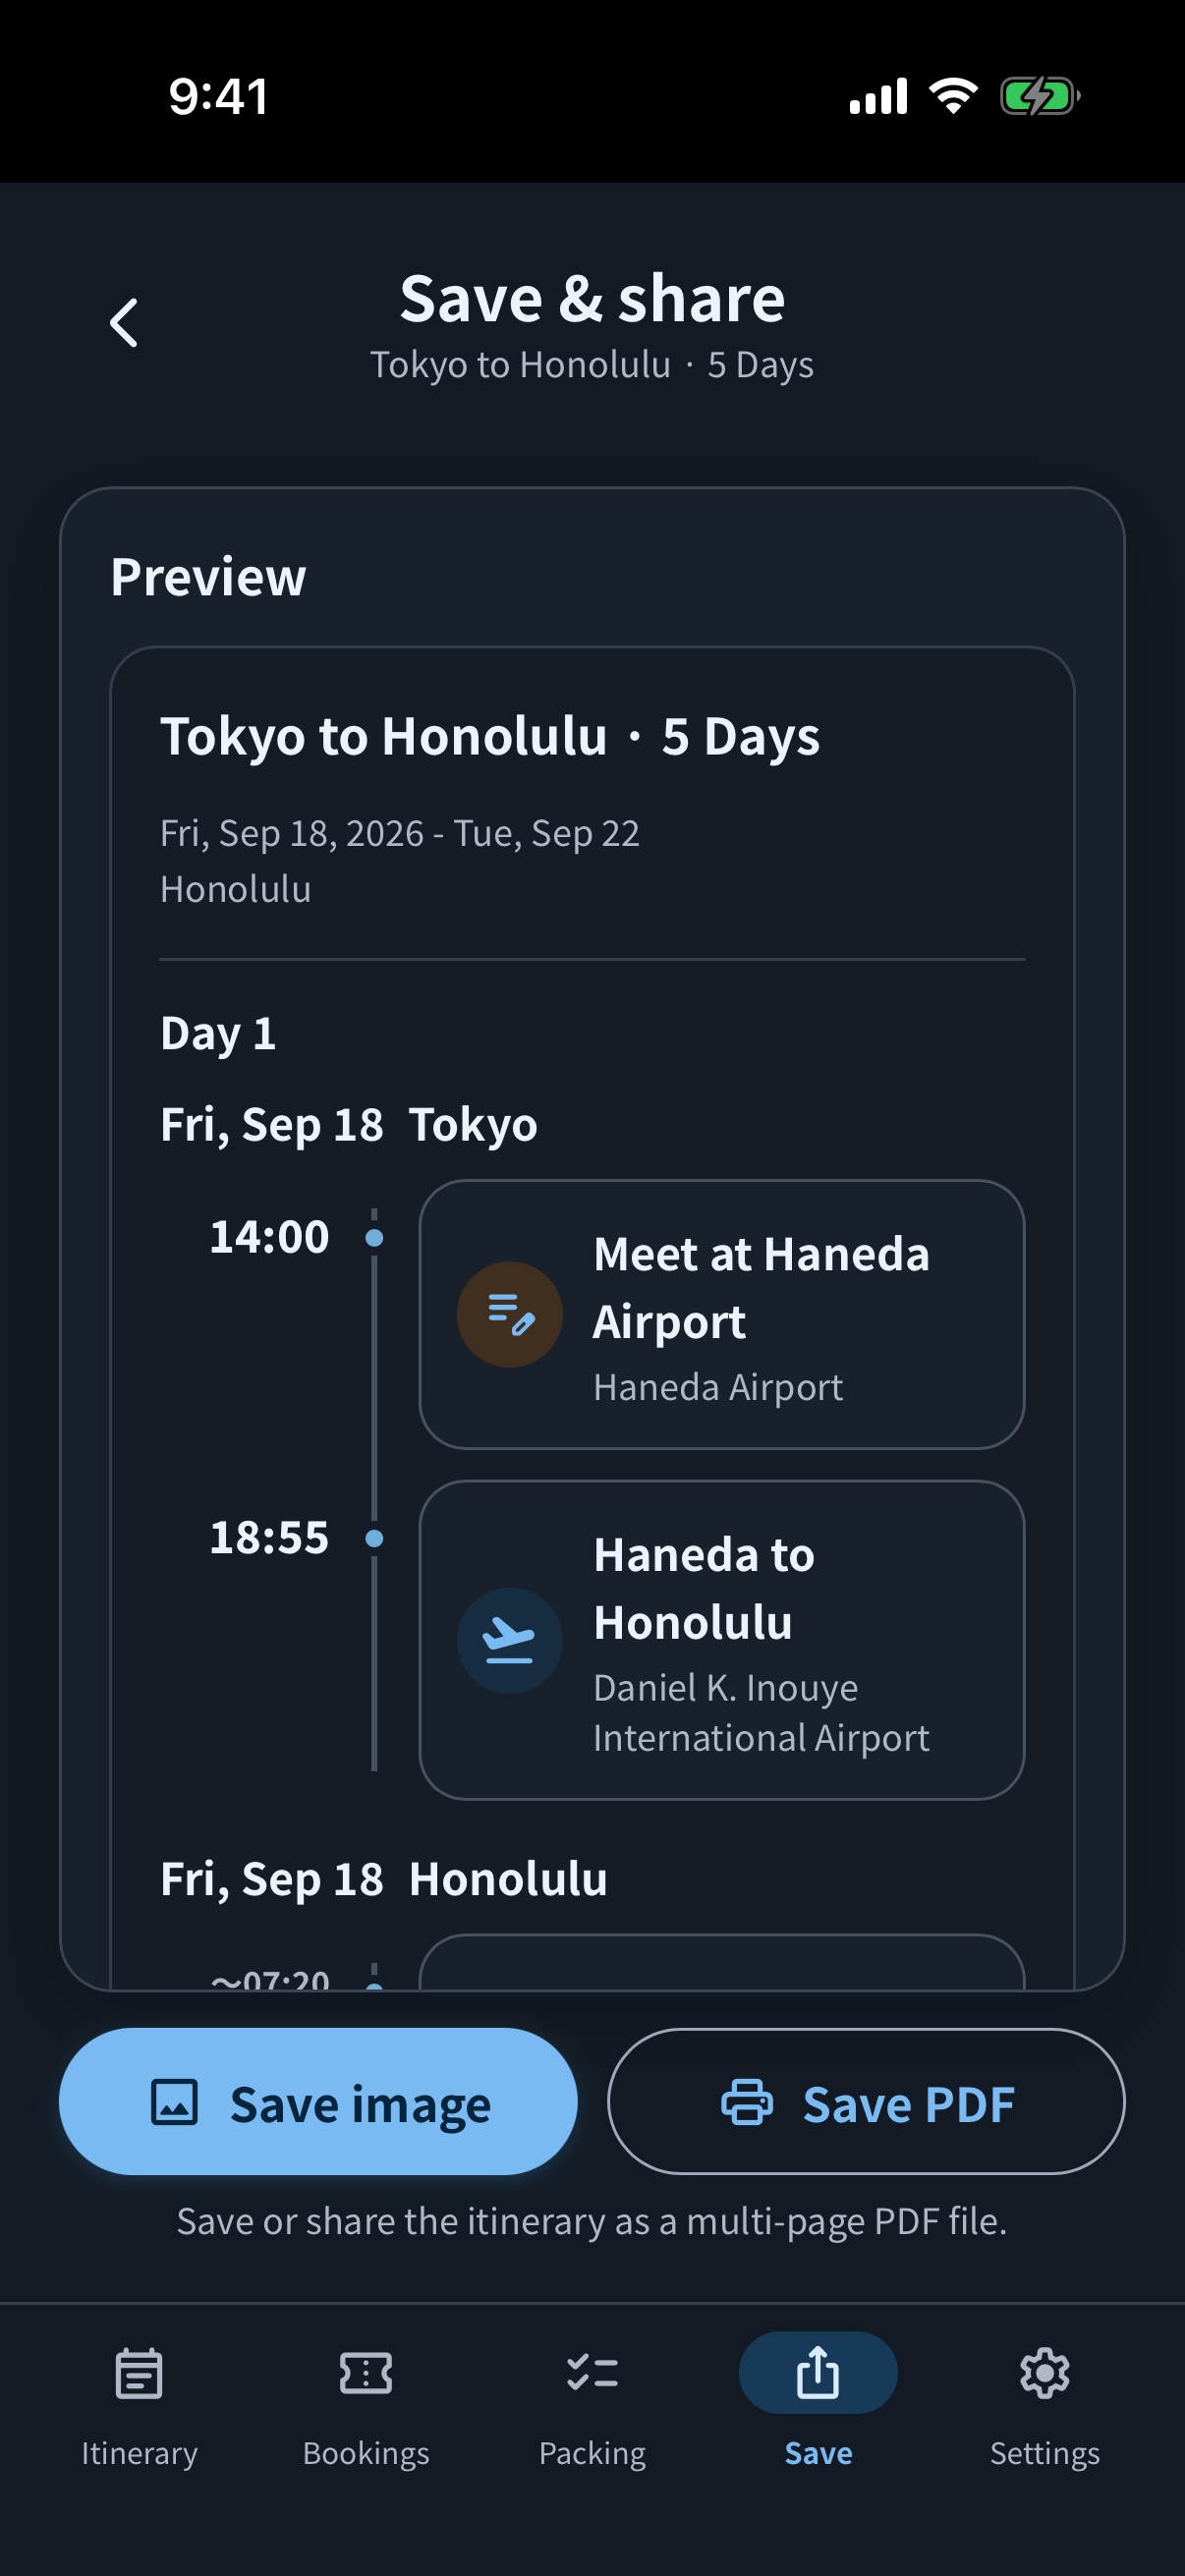
- Open SaveUse Save in the bottom navigation or from the trip menu to preview the whole itinerary.
- Save an image or PDFAn image is easy to share as one file; PDF keeps longer trips readable across pages. International-trip local dates and times, packing, lists, bookings, and Money can be included. A card color is reflected only when you choose one.
- Use the trip card share menuFrom Home, choose text, image, PDF, or backup for a trip.
10 EDIT TOGETHER
Keep one trip updated with up to 10 people
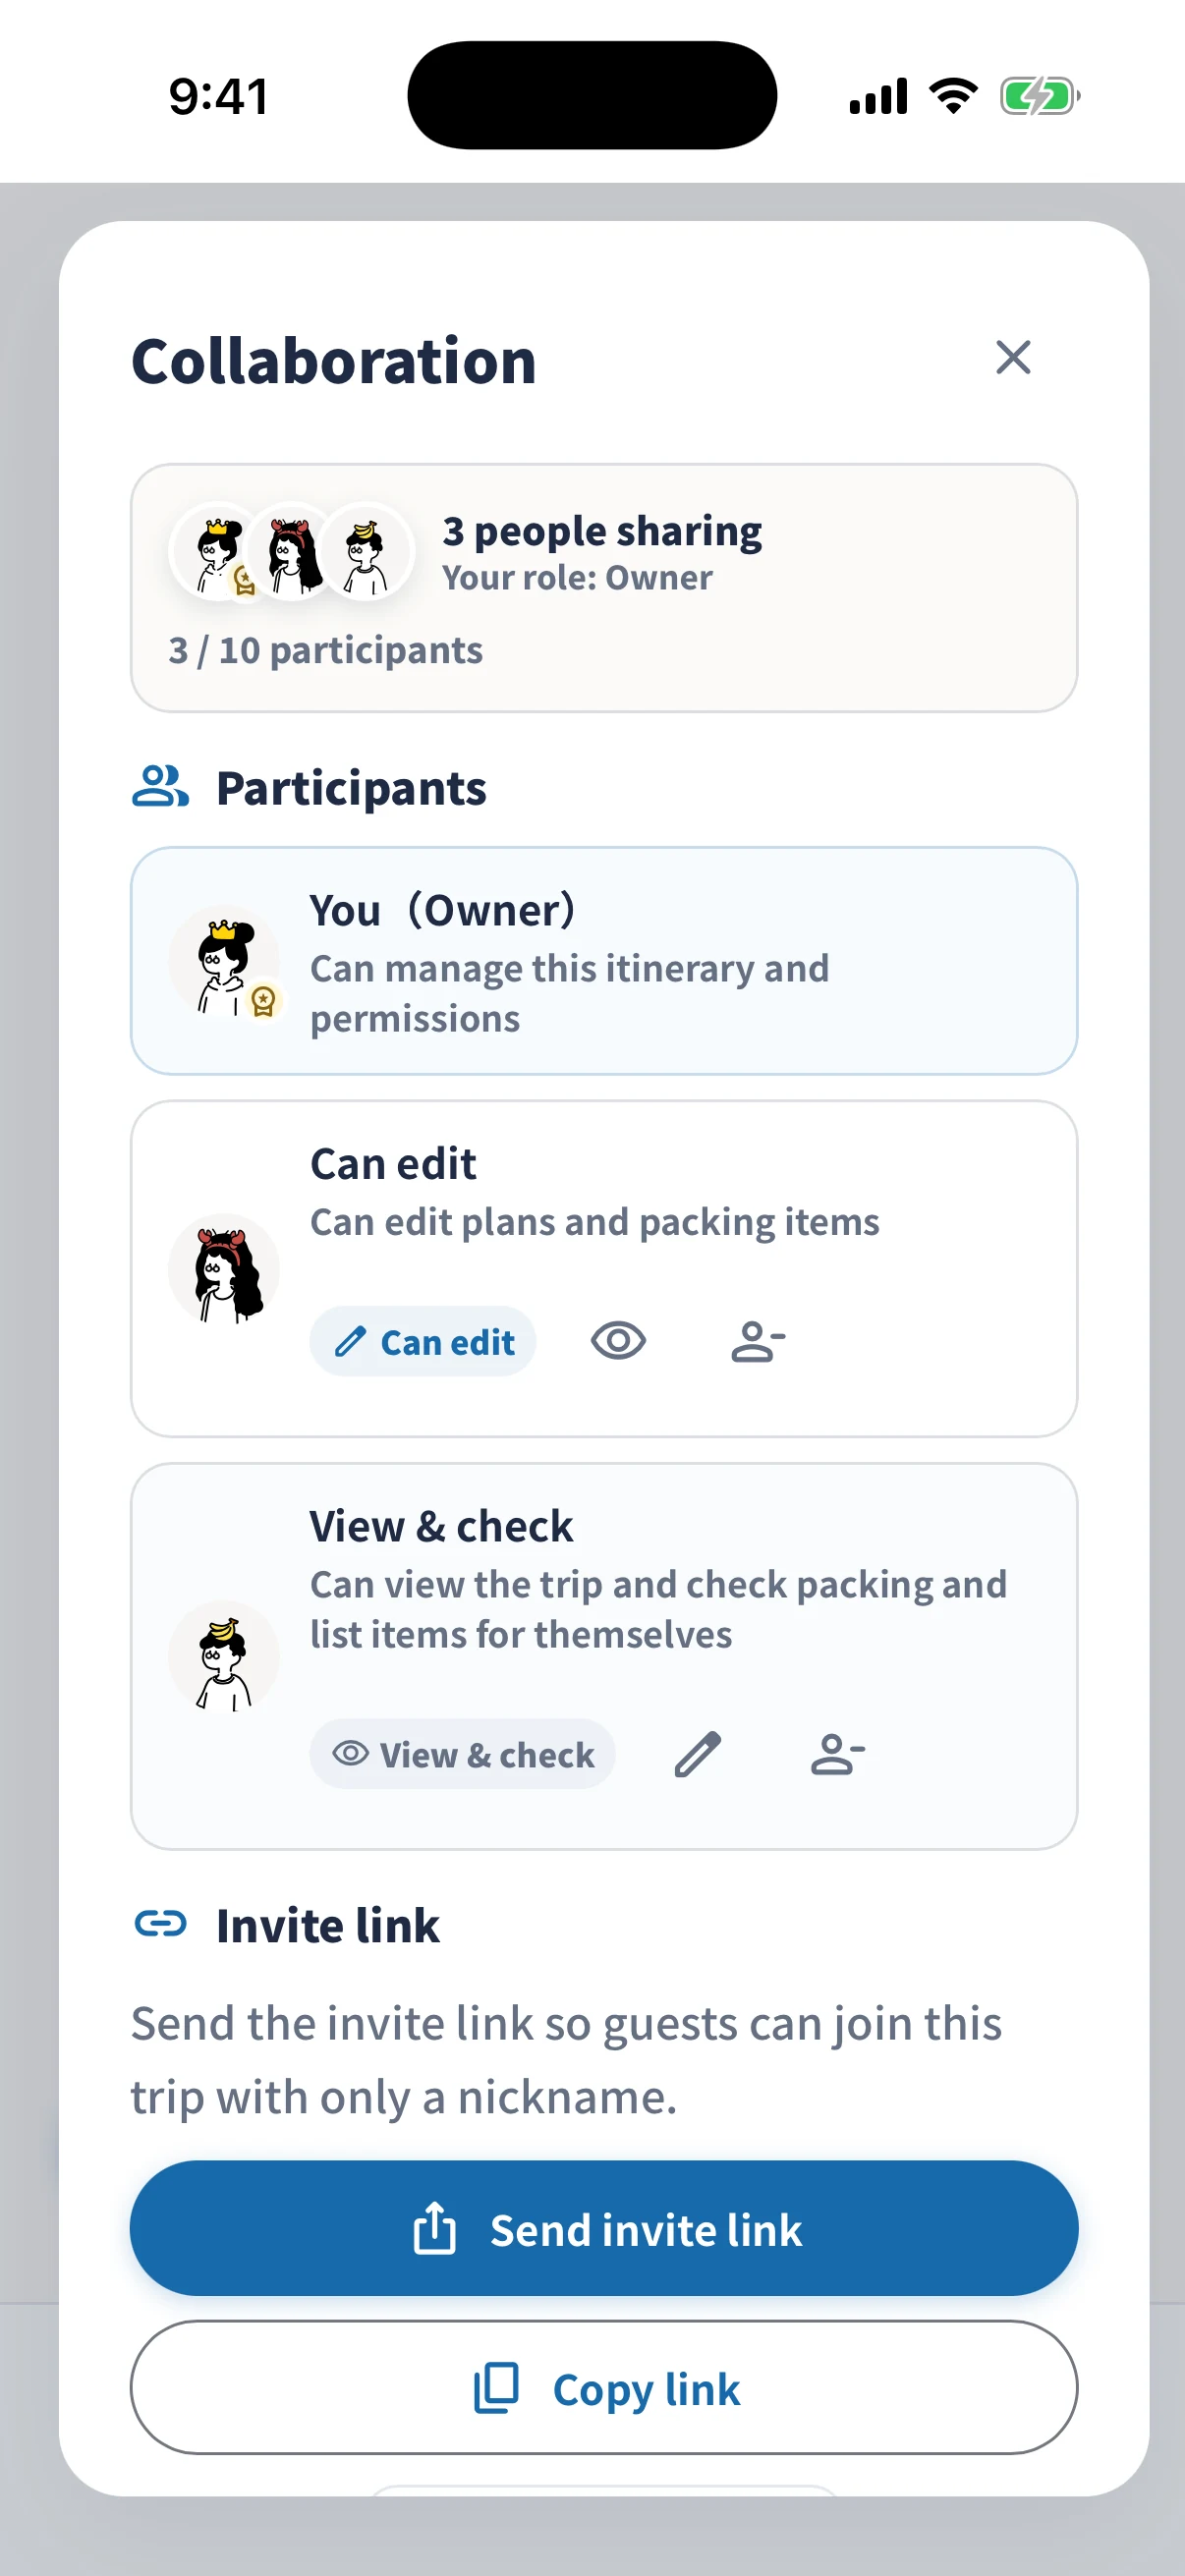
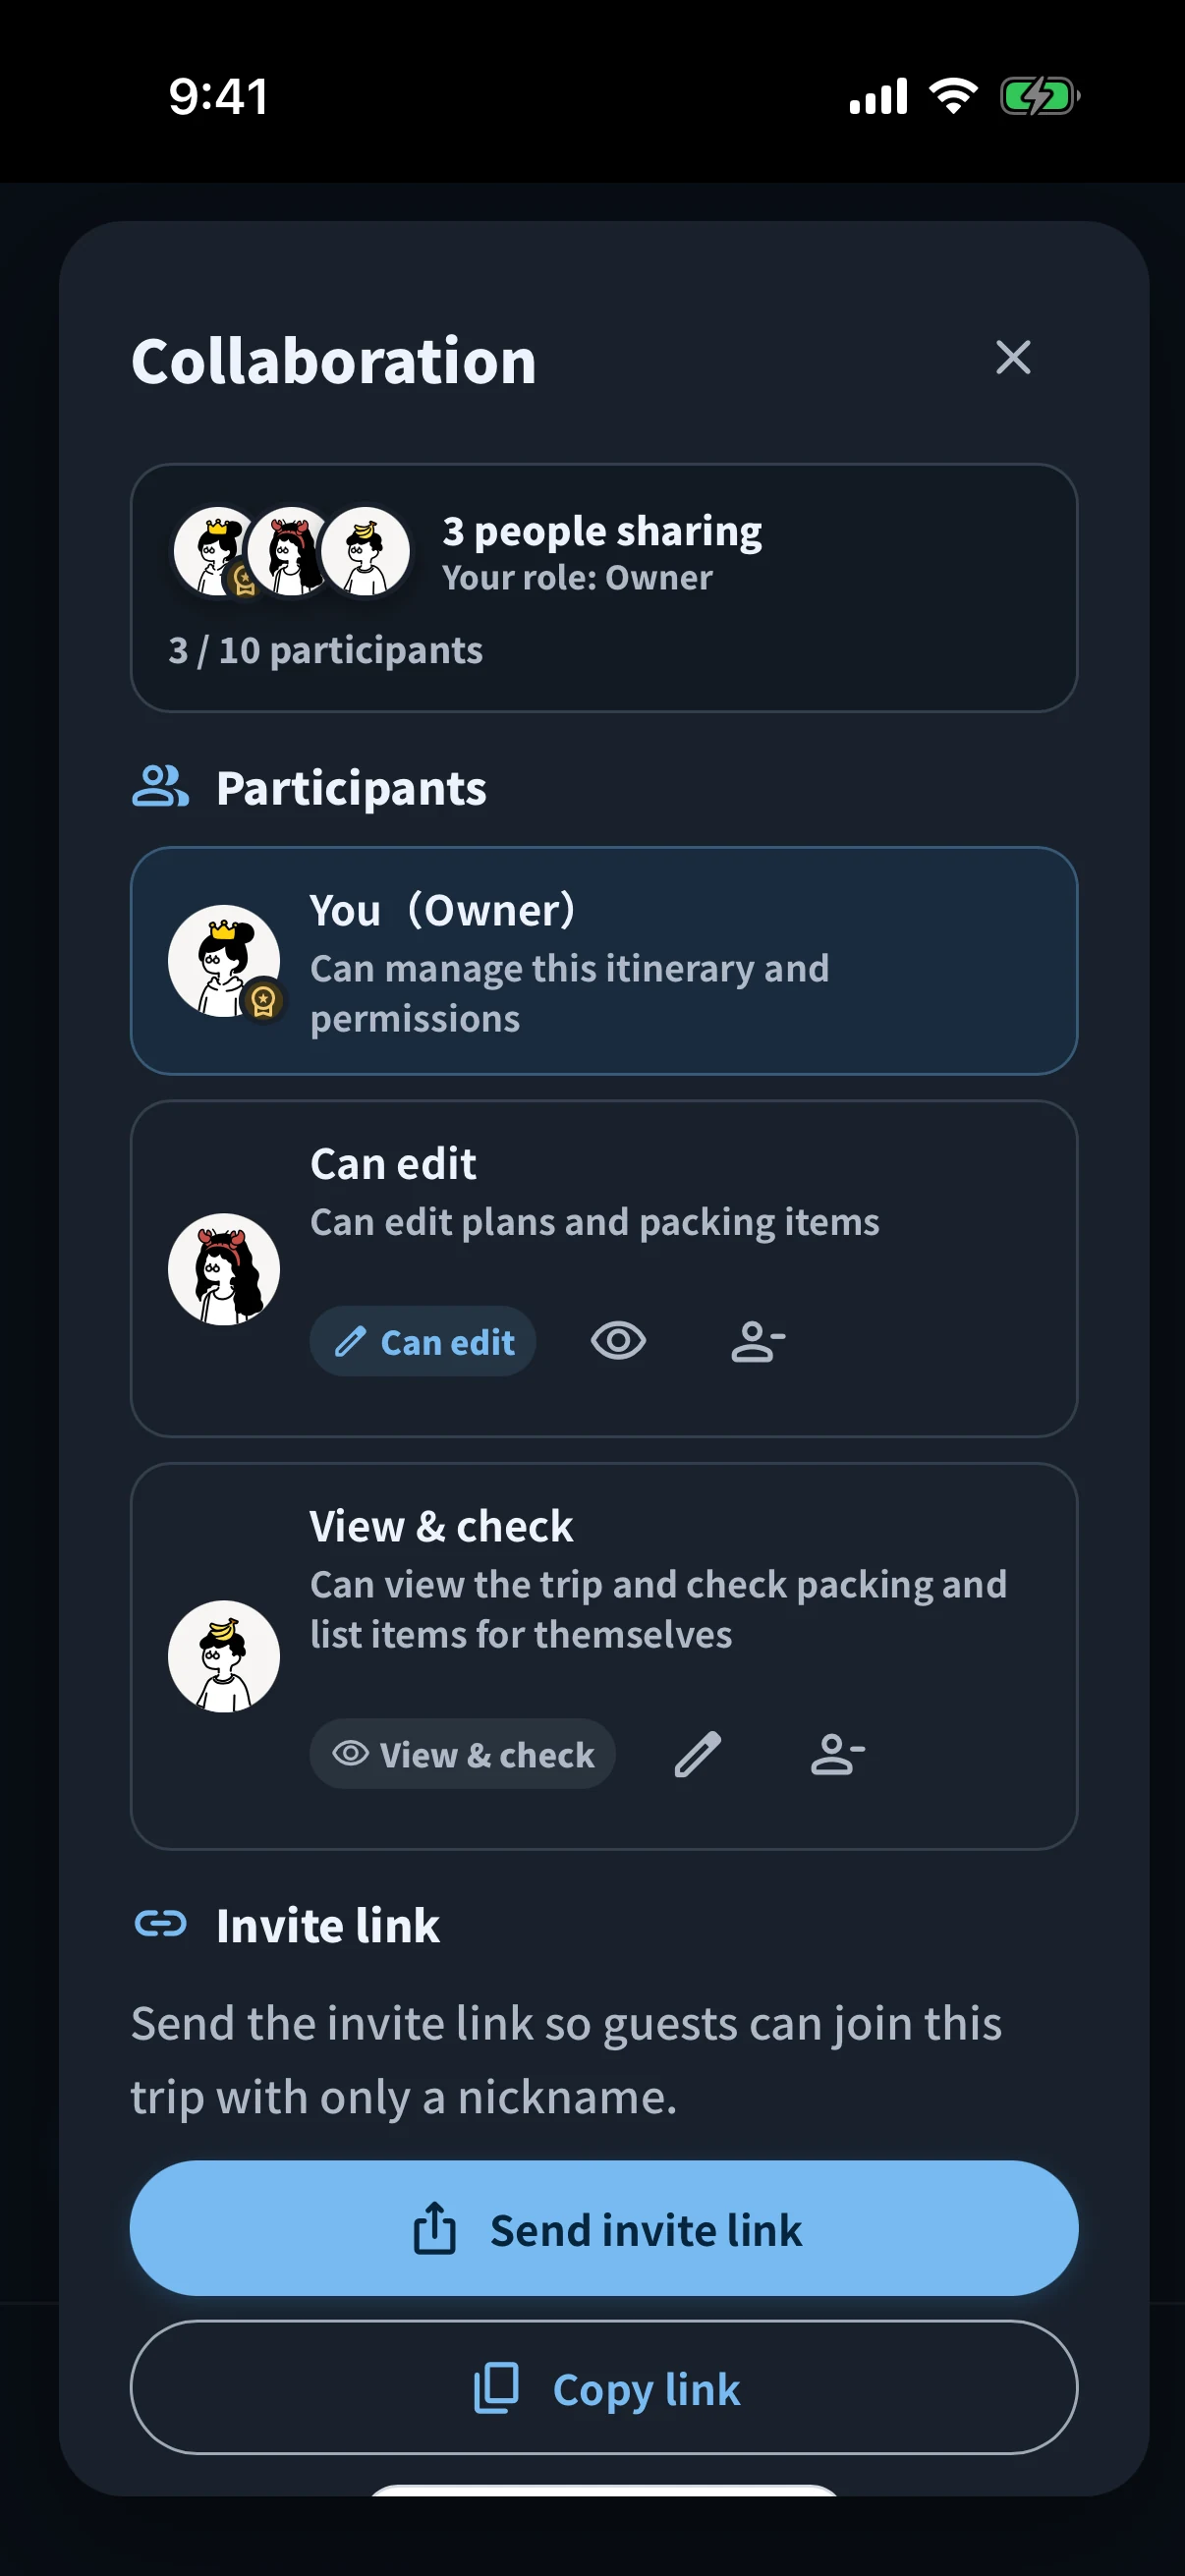
Send an invitation link or QR code to family and friends, then share plans, bookings, packing, lists, clips, and Money in the same trip.
Owner
Edits the trip and manages invitations, participant roles, and ending Edit together.
Can edit
Updates plans, bookings, packing, lists, Money, and other trip content.
View & check
Views the trip and can update personal packing and list checks through the trip end date.
When offline
While the connection cannot be confirmed, saved content may remain viewable but editing may be unavailable. Any unsynced changes saved on the device sync automatically after the connection returns. Check the connection notice and use Retry when it is shown.
- Start Edit togetherThe first trip is free. From the second trip onward, review the per-trip price shown before purchase.
- Send an invitationShare a link or show the QR code. Participants join in simrip after entering a nickname.
- Review rolesThe owner can switch participants between Can edit and View & check, or remove them.
11 SETTINGS AND DATA
Adjust the display and protect your data
Settings brings backups, appearance, ads, support, terms, and privacy into one place.
Data management
Export a backup
Save trip content to a file. Importing adds the backed-up trips without removing current ones. Image and PDF files are not restored.
Display
Maps, appearance, text, and language
Choose a map app, light/dark/device appearance, text size, and Japanese, English, Korean, or Traditional Chinese.
Ads
Ad removal and privacy
Purchase ad removal, restore a purchase, and open ad privacy settings when required.
Support
Contact and updates
Open Contact, Development Notes, and Support simrip for help, recent improvements, reviews, and optional support items.
Terms and privacy
How data and services are handled
Open the Privacy Policy, Terms of Service, and Legal Notice.
Delete all trips
Erase data on this device
This cannot be undone. Export any trips you need before deleting everything.